Before firing up Project 19 there's some details to attend to:
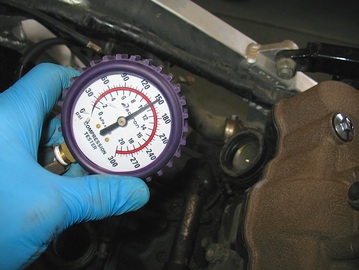
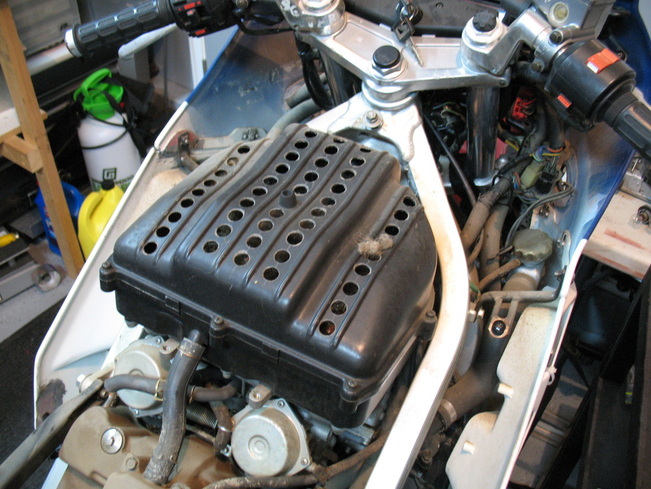
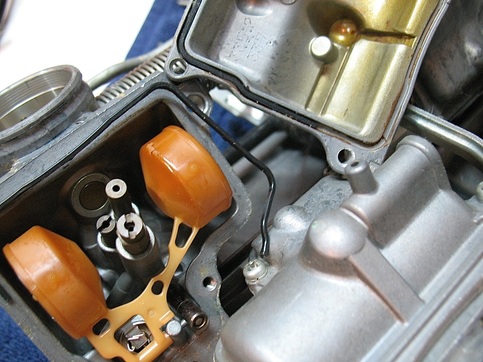
Once the valve check is finished (only four in need of adjustment), the compression is measured. A proper compression check involves a warmed up engine, but most of my projects aren't so fortunate and I have to settle for a cold check on cylinders/valves that may not have been run for years. Still, any compression check is a good indicator of major internal engine issues and so is a must-do. Project 19 does well with all cylinders reading between 140-150.
Once the valve check is finished (only four in need of adjustment), the compression is measured. A proper compression check involves a warmed up engine, but most of my projects aren't so fortunate and I have to settle for a cold check on cylinders/valves that may not have been run for years. Still, any compression check is a good indicator of major internal engine issues and so is a must-do. Project 19 does well with all cylinders reading between 140-150.
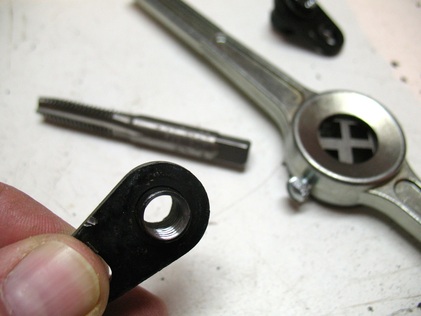
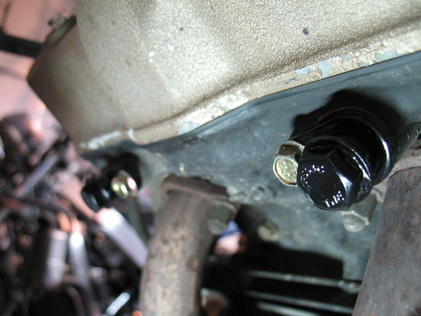
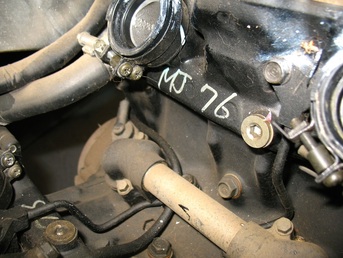
Next up is an issue I occasionally see with the side fairing support posts. The post's threads sometimes jam in their frame bracket and upon removal the soft aluminum threads twist off. The fix is a careful center-drilling of the old post material (trying not to damage the old threads) followed by re-tapping with the same thread size. Only once have I had to drill & tap to a larger diameter thread. Both sides of this bike were damaged.


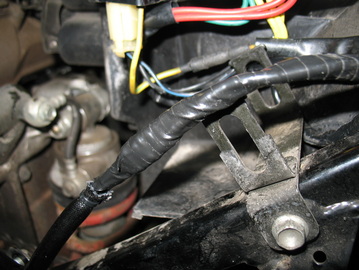
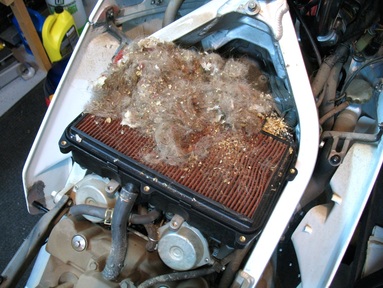
Well, this can't be good. Here we have a fried 3-wire connector between the stator leads and the regulator/rectifier. When the R/R fails the wires heat up (they carry about 75 amps IIRC) and the high resistance in these little blade connectors results in this mess.
This is a fairly common problem with this era of Japanese bikes and Hondas are not exempt. As late as 2005 Honda had to issue a VFR800 recall for this sort of thing.
The problem stems from a bad R/R design and is way more complicated than my analog brain can follow, but the real fix is a better R/R, like Rick's (http://ricksmotorsportelectrics.com). This particular bike has an unknown replacement R/R in place so I elected to make the repair and test the charging system later when the bike is up and running.
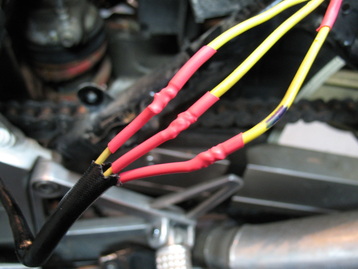
And here's my repair. No high-resistence connectors for me. Nope. Hardwire the stator leads with a solid soldered joint. Leave as much excess wire as possible so a future repair can be easily done.
NOTE: The three yellow wires are not particular about their partners — they can be reattached to any one.
After individually wrapping the joints, the entire length is taped and tucked into place. Job done.
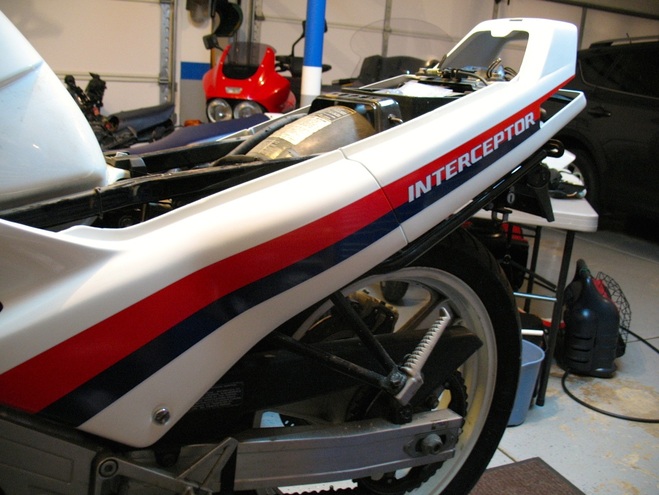
All that's left is to mount up a carb set, top off the coolant, fire the engine and see if the electrons are moving as they should.


 RSS Feed