Honda's V4 Interceptors
V4 Dreams
  • Home
  • Shop Blog
  • Maintenance
  • Products
  • My VFRs
  • Historical

From Lithuania With Love

12/30/2021

0 Comments

 
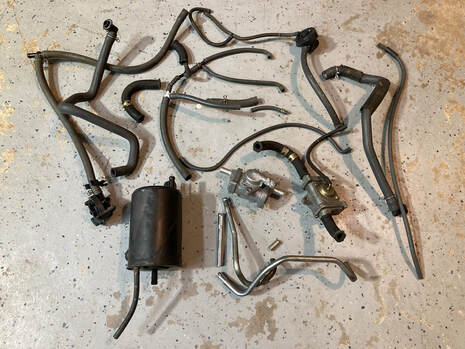
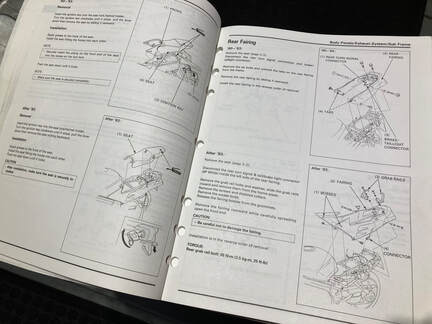
As our vintage bikes' parts and pieces become less available I find it increasingly necessary to search farther afield for those bits. Case in point, the plastic infill panels for the second-gen Interceptor. Finding these elusive panels in useable, undamaged condition has become nearly impossible. So it was that, when I saw this set pop up on eBay a few weeks back, I clicked the buy-it-now button with little hesitation.

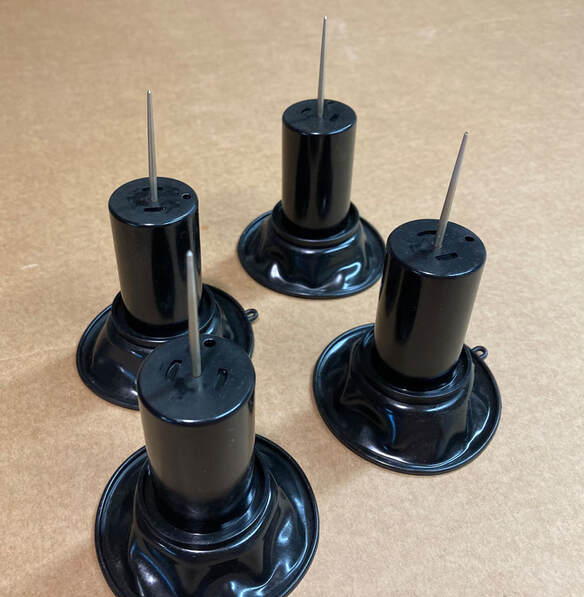
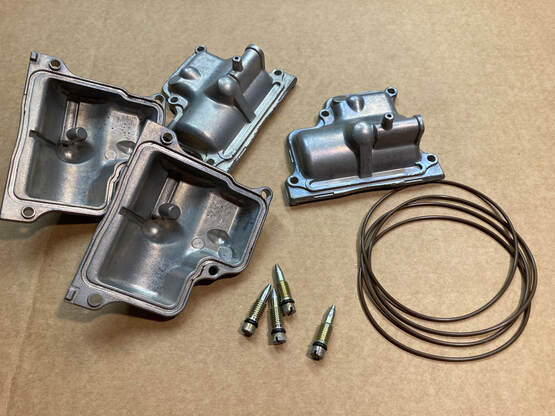
All the way from Lithuania. With no "round-gauge" model available for the European markets, these panels will only fit the U.S.-spec F2 bikes. No worries, as there's something like twice the number of '86-87 700 F2s in America as there are '86 Fs. These will sand and polish to an acceptable level, or possibly be painted for a restoration project. They even included the rubber side gaskets. Thanks, eBay!
0 Comments

Smog Delete

12/26/2021

0 Comments

 
Picture
The next item on the list for Project 37, a '93 VFR750, is actually a delete operation. This California-spec model is saddled with the hardware collection you see in this photo. This was Honda's answer to tightening emissions requirements imposed by the California Air Resources Board (CARB), effective with the introduction of the Gen-3 models. I suspect that this California-only requirement may also have been a contributing factor in the absence of the VFR model from the U.S. market for 1988-89.

The purpose of all this plumbing is to capture the carburetors' evaporative fuel vapors and send them back into the engine to be re-burned rather than escape to the atmosphere. A secondary function was to inject fresh air into the exhaust ports (PAIR system), igniting unburned vapors exiting the engine, again preventing vapors escaping out the exhaust pipes. A noble endeavor, but after 29 years or so we have no way of knowing how effective the system is or if it may even be causing a drivability issue. A further rationalization for binning the whole affair is that our old bikes have mostly been relegated to occasional recreational use, and so their contribution to the warming of our planet will be minuscule at best. In any case, out it goes.

Beginning at the carburetors, I simply follow the various hoses along their paths, removing hardware parts as I go, culminating at the charcoal canister located near the #2 exhaust pipe. In addition, I'll unbolt the PAIR injection pipes from the front two cylinders at the exhaust ports. The rear two will be left in place, as they're nearly impossible to unbolt without removal of the shock, etc. These four pipes will need to be plugged, and for that I'll use four allen-head screws, pictured below. Screw or hex-head bolts will work just as well. I use 3/8" course threads.

My technique is to tap threads into the four pipes and insert the plugs coated in an epoxy, in this case JB Weld (this procedure is also covered on the "Maintenance" page). I begin by cutting the brackets off the front pipes, leaving enough pipe to thread and plug. I'll need to tap the rear pipes where they exit on the right side of the engine area. In the photos the new threads being cut are visible on the outside of the soft metal pipes.
(click on an image to enlarge)

The epoxy won't adhere to the oily threads, so I'll carefully clean them with cotton swabs wetted with brake cleaner. When dry, simply coat the threads generously with JB Weld and screw in place with a firm snug. Allow the epoxy to cure before running the engine.
We're not quite finished. There's five vacuum pipe fittings on the carburetors and two hose fittings on the air filter housing which will also need to be plugged.

For the carbs, you can simply slip a rubber vacuum cap over them, but I'm more comfortable with a permanent mechanical seal, just like the PAIR plugs covered above. NOTE: This procedure is only possible with the carburetors separated, so if that's not the case, we'll need to use the vacuum caps.

There's two sizes of pipes on the carburetors. For these I use hardware store self-tapping metal screws, numbers 6 and 8, 1/2' in length. I first gently tap the pipes with a dry screw — go slowly, these are brass pipes and could easily split open. Remove the screw, coat with JB Weld and snug into place. For a neater job, a Dremel cutoff tool will quickly slice the screw head off, but there's not always access for the tool. In any case, they're not visible when assembled.
(Below) Finally, I'll plug the two airbox fittings. There's any number of approaches here, just remember that these two holes locate below the filter element, so anything that enters here has a direct path through the carbs and into the engine. I simply go to my hardware stash, locate a couple of crusty old 8mm bolts, clean everything up, coat liberally in epoxy and install. A little more elegant solution is to coat a suitably-sized vacuum cap in RTV and push into the fitting (right photo).
P.S. (Below) Depending on model, the intake manifold screw plugs (for sync-ing connections) may have short hoses in place of the screw plugs. These hoses and their brass fittings should be discarded and replaced with screw plugs. If you don't have suitable screws/washers available, Honda still supplies them.
Picture
0 Comments

Happy Holidays

12/25/2021

0 Comments

 
Picture
0 Comments

Sixth-Gen For Sale in IN

12/19/2021

0 Comments

 
PictureClick on image for the Craigslist ad
What: 2003 VFR800
Where: Griffith Indiana (near Chicago)
Why: Low miles, well-kept, nice extras
Price: $4250

"Not perfect, but damn near." Now that's effective ad copy. This second-year Gen-6 sports Delkevic slip-ons, fresh tires, an aftermarket windscreen and shows only 8392 miles! The seller seems to be a straight-talker, stating the bike is ready to ride and has been maintained "with an open checkbook."

This non-ABS model includes the original parts and seems only to be let down by the non-matching passenger seat cowl. I think it would be worth the money to have it painted to match the beautiful Force Silver Metallic, or better yet, source an original matching cowl.

Nice bike, fair price, lots of happy miles ahead.

0 Comments

Carb Removal - Project 37 (video)

12/14/2021

0 Comments

 
Picture
The next step in Project 37's rejuvenation is to remove and rebuild the carburetor set. This set has actually been rebuilt fairly recently but I would come to find that it was an incomplete attempt, so a complete rebuild was in order.

But, first, let's get them off the bike — below is the next video in a series following this project.

Note: This is a California-spec '93 VFR750.

0 Comments

Body Panel Removal - Project 37 (video)

12/10/2021

1 Comment

 
Picture
The next step for Project 37, a 1993 VFR750, is to remove the plastic panels and fuel tank. Each generation of Interceptor grew increasingly complex bodywork, such that the Factory Service Manual for this third-generation bike began including a section dedicated to removal and installation of the ten assemblies making up the bodywork. In addition, those assemblies further break down into some 15 separate items. My painter will have a lot to keep track of.

Below is the second video in the series following this refurbishment project.

1 Comment

Carburetor Tribulations

12/7/2021

0 Comments

 
Picture
I'm in the midst of rebuilding a few sets of VFR carburetors and at least one set has languished far too long in old degraded gasoline. The result is a sticky varnished mess, clogging passages and gluing various parts to one another.

Case in point; this needle and slide. The needle itself looks as if it's sat at the bottom of a swamp for a few decades but the plastic slide is also covered in gooey varnish. All this needs to be completely removed if this part is to ever effectively meter fuel again.

It would be nice if the ultrasonic cleaner would magically make this badness go away, but no such luck. This requires careful hand cleaning. I like to use a product called Ballistol, a multi-purpose cleaner and preservative. I gently rub the affected areas with a patch of kitchen non-scratch pad as the varnish slowly dissolves. In the second photo below I'm using the reflected light to see that there's still some stubborn varnish on the slide. A little more effort and everything's back to normal.

NOTE: Upon disassembly, three of the four slides in this set were stuck in their bores along with three immovable butterfly valves. I've had good luck freeing these items by soaking overnight in a tub of hot water and soap solution — in this case I used Simple Green. Forcing the plastic slides will often crack the plastic so patience pays off.

Picture
(Below) Next I'll deal with the float bowls, where the drain passages have filled with a sticky black residue from evaporated fuel. I begin by removing the drain screw and scraping the crud out. I polish the drain screw tips with a fine sandpaper then let everything buzz away in the ultrasonic cleaner. Little by little these carbs parts are brought back to service, pictured below with a fresh set of VITON bowl gaskets.
Picture
0 Comments

Market Watch: Eighth-Gen

12/6/2021

0 Comments

 
PictureClick on image for eBay link
SOLD: $6900

​Recently offered on eBay auction this base (non-Deluxe) 2014 VFR800 sold for $6900 after 22 bids.

The bike shows only 2057 miles and sports an aftermarket taller windscreen and OEM saddlebags.

That's a lot of motorbike goodness for not a lot of money.

0 Comments

Video — Project 37 Arrives

12/1/2021

1 Comment

 
With the arrival of Project 37 a few days ago, I thought I'd try something a little different, at least for me; a video introduction. Everyone and their brother has a YouTube channel these days — some good, some garbage — so I figured…how hard can it be?
1 Comment

    THE SHOP BLOG
    •••

    An on-going account of miscellaneous information, project bikes and noteworthy VFRs for sale


    Archives

    May 2025
    April 2025
    March 2025
    February 2025
    January 2025
    December 2024
    November 2024
    October 2024
    September 2024
    August 2024
    July 2024
    June 2024
    May 2024
    April 2024
    March 2024
    February 2024
    January 2024
    December 2023
    November 2023
    October 2023
    September 2023
    August 2023
    July 2023
    June 2023
    May 2023
    April 2023
    March 2023
    February 2023
    January 2023
    December 2022
    November 2022
    October 2022
    September 2022
    August 2022
    July 2022
    June 2022
    May 2022
    April 2022
    March 2022
    February 2022
    January 2022
    December 2021
    November 2021
    October 2021
    September 2021
    August 2021
    July 2021
    June 2021
    May 2021
    April 2021
    March 2021
    February 2021
    January 2021
    December 2020
    November 2020
    October 2020
    September 2020
    August 2020
    July 2020
    June 2020
    May 2020
    April 2020
    March 2020
    February 2020
    January 2020
    December 2019
    November 2019
    October 2019
    September 2019
    August 2019
    July 2019
    June 2019
    May 2019
    April 2019
    March 2019
    February 2019
    January 2019
    December 2018
    November 2018
    October 2018
    September 2018
    August 2018
    July 2018
    June 2018
    May 2018
    April 2018
    March 2018
    February 2018
    January 2018
    December 2017
    November 2017
    October 2017
    September 2017
    August 2017
    July 2017
    June 2017
    May 2017
    April 2017
    March 2017
    February 2017
    January 2017
    December 2016
    November 2016
    October 2016
    September 2016
    August 2016
    July 2016
    June 2016
    May 2016
    April 2016
    March 2016
    February 2016
    January 2016
    December 2015
    November 2015
    October 2015
    September 2015
    August 2015
    July 2015
    June 2015

    Categories

    All

    RSS Feed

Site powered by Weebly. Managed by HostGator