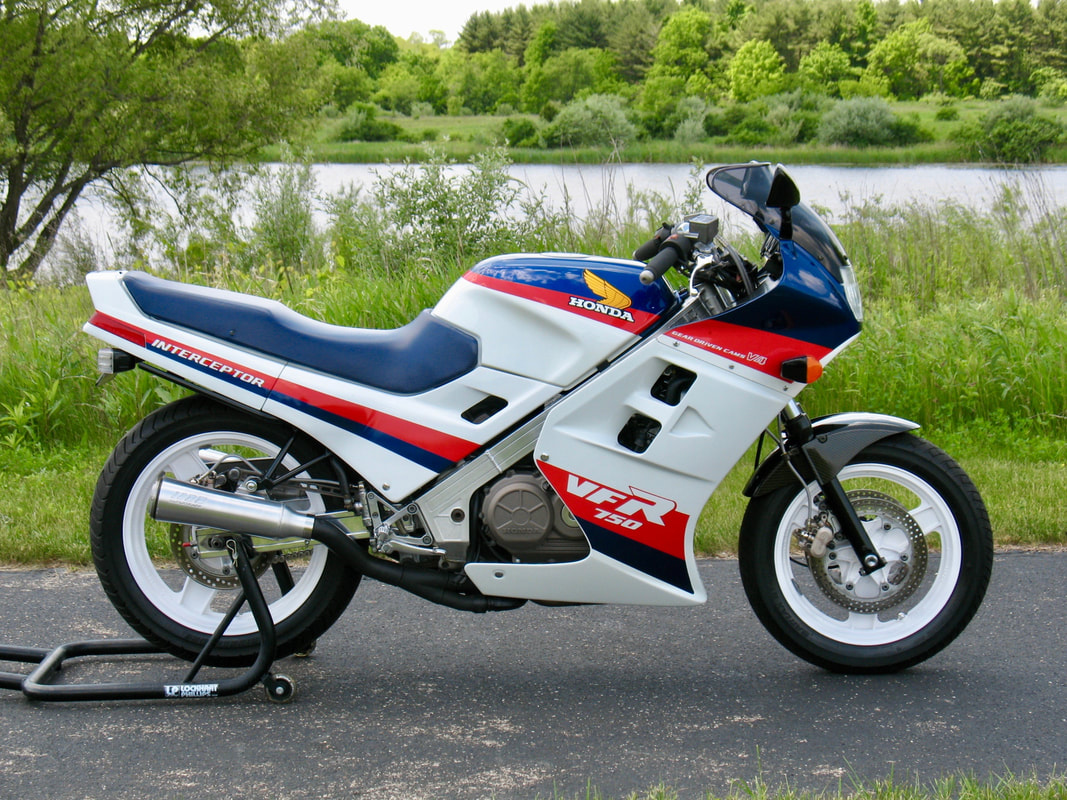
Yellow Ducatis. Yellow Ferraris. Yellow Hondas? Yep, conservative Honda would occasionally play with the color, and the VFR got the treatment for one year only; 2000. Honda dubbed it Pearl Shining Yellow, and if it strikes your fancy, you're in luck — eBay has three yellow Interceptors listed as we speak.......
 Click on image for the eBay link.
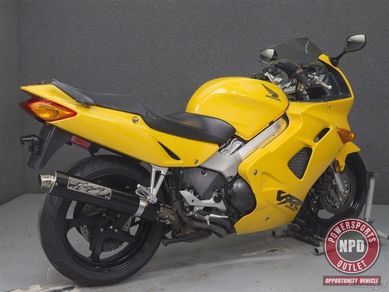
 What: 2000 VFR800F
Where: Merrimack, New Hampshire
Price: $2150 or make offer
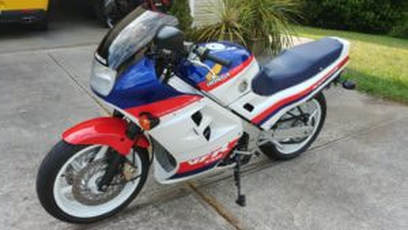
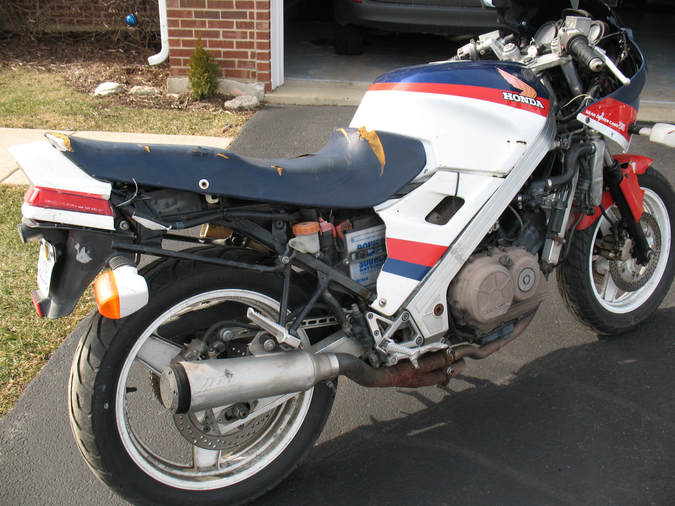
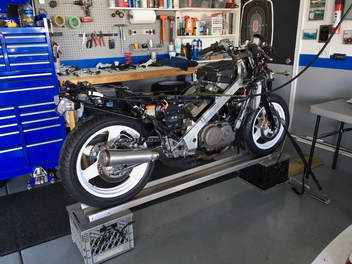
Showing 40K miles, the selling dealer calls this an "opportunity vehicle," meaning it has some issues and is for sale in "as is" condition. This looks like an easy fix-up project. The body looks great in the photos and there's no obvious road rash. The Corbin seat looks a bit tired but the Erion Racing slip-on is a nice touch. The "make offer" part makes this one a contender.
Where: Merrimack, New Hampshire
Price: $2150 or make offer
Showing 40K miles, the selling dealer calls this an "opportunity vehicle," meaning it has some issues and is for sale in "as is" condition. This looks like an easy fix-up project. The body looks great in the photos and there's no obvious road rash. The Corbin seat looks a bit tired but the Erion Racing slip-on is a nice touch. The "make offer" part makes this one a contender.
 Click on image for the eBay link.
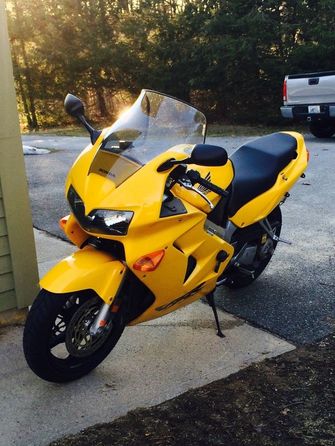
 What: 2000 VFR800F
Where: Narragansett, Rhode Island
Price: $3000 or make offer
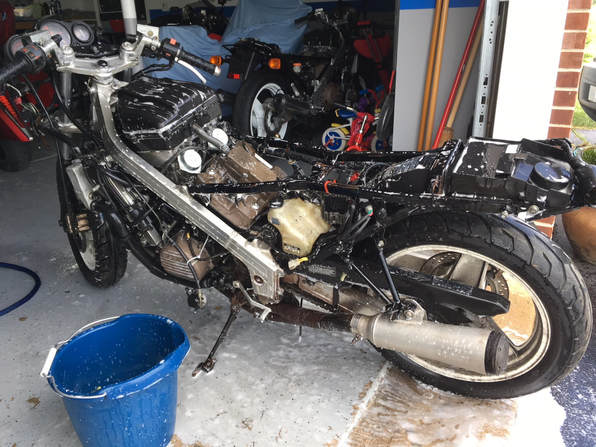
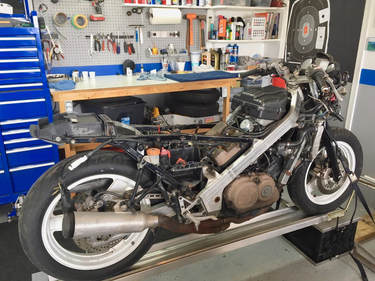
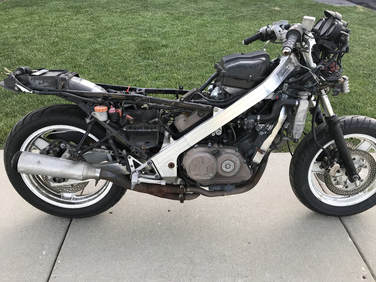
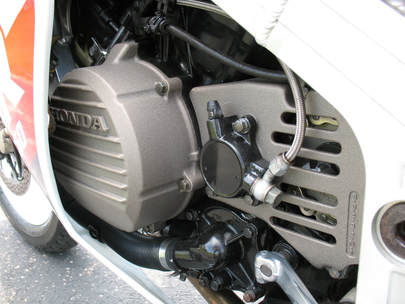
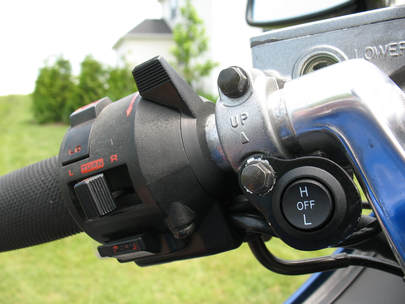
Also located in the northeast, this 800 shows half the miles at 20,000, but needs more cosmetic TLC — there's evidence that the frame sliders have been in use. Several nice extras including a Two Brothers slip-on are included. The long-time owner claims excellent mechanical condition with dealer servicing.
The seller is calling it an "Anniversary Edition," but I'm not sure why.
Where: Narragansett, Rhode Island
Price: $3000 or make offer
Also located in the northeast, this 800 shows half the miles at 20,000, but needs more cosmetic TLC — there's evidence that the frame sliders have been in use. Several nice extras including a Two Brothers slip-on are included. The long-time owner claims excellent mechanical condition with dealer servicing.
The seller is calling it an "Anniversary Edition," but I'm not sure why.
 Click on image for the eBay link.
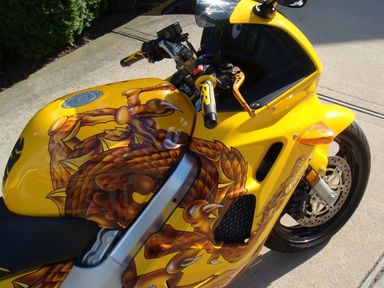
 What: 2000 VFR800F
Where: Merrick, New York
Price: $4950 or make offer
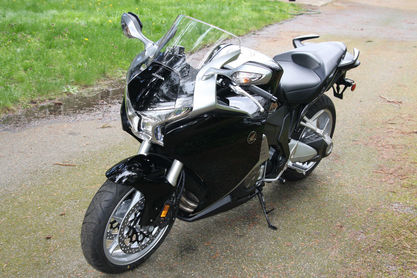
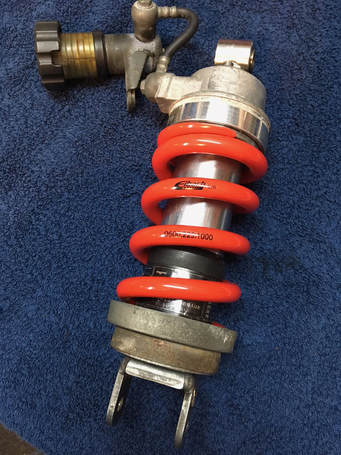
This unique-looking example will require a unique buyer, and could be a tough sell. An original-owner bike with only 9500 miles and a bunch of boy racer extras, this one has some pretty aggressive custom paint work.
Vance & Hines, Pazzo, Scotts, Zero Gravity and more. If the paint speaks to you and you're able to see added value in it, your new ride is waiting in New York state.
Where: Merrick, New York
Price: $4950 or make offer
This unique-looking example will require a unique buyer, and could be a tough sell. An original-owner bike with only 9500 miles and a bunch of boy racer extras, this one has some pretty aggressive custom paint work.
Vance & Hines, Pazzo, Scotts, Zero Gravity and more. If the paint speaks to you and you're able to see added value in it, your new ride is waiting in New York state.


 RSS Feed