Project Magna is progressing and we're turning our attention to the front end. With the wheel, forks and brakes on the work bench each component can be dealt with.
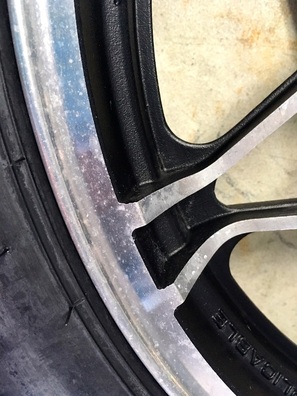
First up, the wheel. After a new Dunlop 404 was mounted I wanted to address the tired-looking wheel. These cast rims are a combination of black painted and polished alloy, and both the metal and paint were looking pretty tired after 34 years on the road.
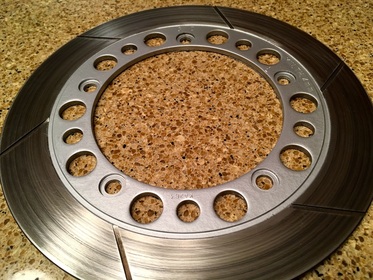
< Here's a before shot.
First up, the wheel. After a new Dunlop 404 was mounted I wanted to address the tired-looking wheel. These cast rims are a combination of black painted and polished alloy, and both the metal and paint were looking pretty tired after 34 years on the road.
< Here's a before shot.
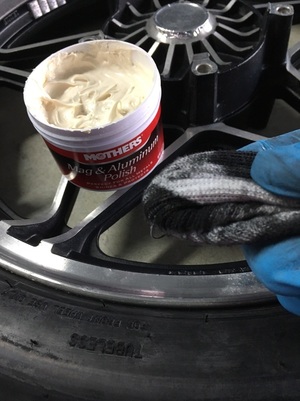
Working with Mother's Mag & Aluminum Polish, I hit the polished areas by hand. If your polishing cloth turns black, as in this picture, then you know you're working with aluminum as opposed to clear-coat paint or some other metal. That's aluminum oxide being removed, aluminum's version of rust.
This brings back memories of my first restoration, a 1972 Norton. Many, many hours of hand polishing (what seemed like) acres of shiny aluminum brought out the bling in all those gorgeous castings.
Aluminum has a soft, luxurious shine that even chrome can't compete with. Taking the time to go over your polished bits once per year keeps them free of corrosion and nice to look at.
Next up is the black painted portions. I really don't want to paint anything on my projects that doesn't absolutely require it. There's nothing wrong with some age spots on an old vehicle — I think it provides a genuine touch.
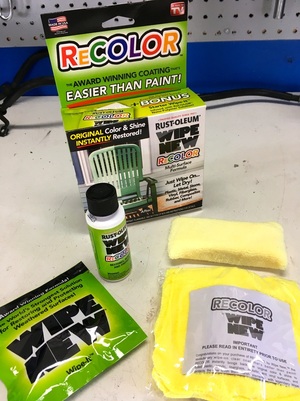
Some time ago I came across this product on the shelf at my local home improvement big box store. It's from Rustoleum and is called ReCOLOR or Wipe New, depending on where you look on the box. Well, anything with "As Seen On TV" on the package gets my attention so I had to give it a try.
I'm here to report...it works. This little bottle of magic is a watery potion that smells of sickeningly sweet cherry which is okay at first but after awhile has Patti "asking" that the item be removed from the premises.
I don't know what kind of chemistry is at work here, but this is no glorified Armor-All. The product requires 24 hours to cure and it can't come in contact with water for that time or it will permanently spot.
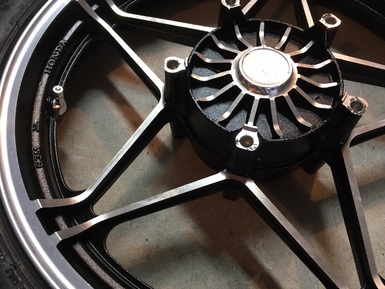
I've tried it on smooth plastic, like a chain guard, with good results, but the rough satin finish of these Magna wheels is where it really, ah, shines. I can't speak to how long the effect lasts, but the spec sheet warns that if you screw up the application it's extremely difficult to remove. The color really pops and the dingy, faded corners and crevices come back to life. The 3-ounce bottle and the stuff with it cost me $20. A little goes a long way.
I've tried it on smooth plastic, like a chain guard, with good results, but the rough satin finish of these Magna wheels is where it really, ah, shines. I can't speak to how long the effect lasts, but the spec sheet warns that if you screw up the application it's extremely difficult to remove. The color really pops and the dingy, faded corners and crevices come back to life. The 3-ounce bottle and the stuff with it cost me $20. A little goes a long way.
With those jobs done, I set to cleaning and prepping the brake discs for a facelift. They just weren't quite up to par with the refurbished wheels so a quick application of silver wheel paint ties it all together.
Job done. On to the forks.
Job done. On to the forks.


 RSS Feed