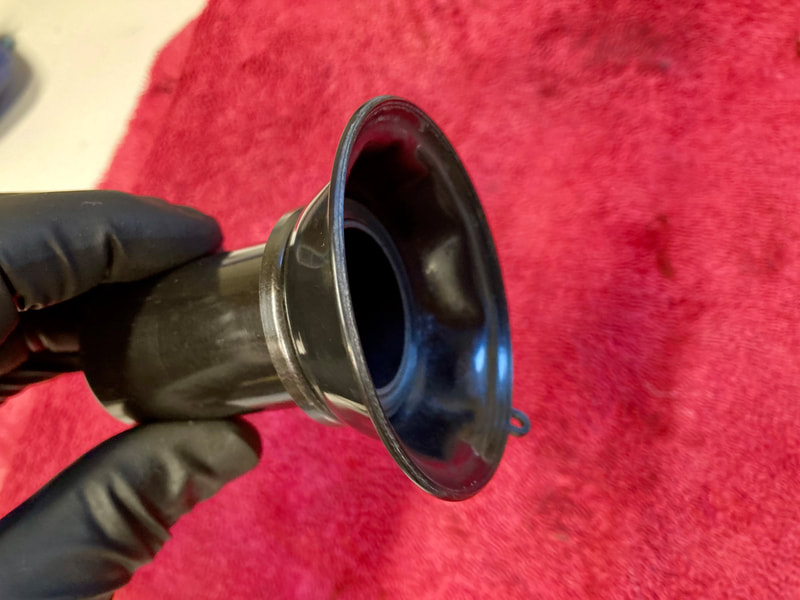
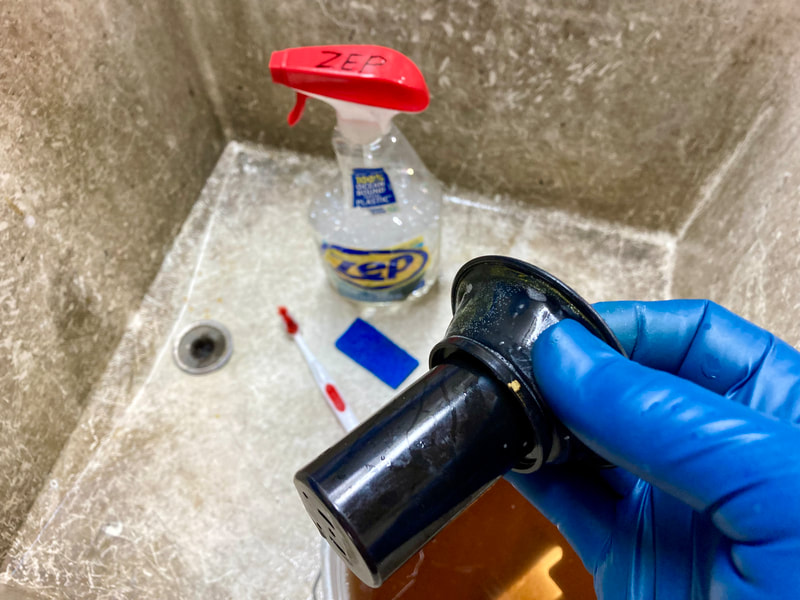
(Below) These carbs' vacuum diaphragms are afflicted with some sort of white and green stuff, possibly mold or mildew? These slide assemblies are NLA so I treat them with a delicate touch. Here I'm using Zep degreaser, a mild cleaner, massaging the rubber diaphragm with finger pressure and a soft toothbrush around the edges. In extreme cases the round rubber edge can be coated with stubborn crusty corrosion from a rusted diaphragm cap — a challenge to remove without damaging the diaphragm. I use a warm soapy bath and a fingernail to gently scrape the crust off as best I can. If the rubber seems particularly dry I will rub on a thin application of red rubber grease to rejuvenate and preserve the rubber. I also clean the plastic slide by scrubbing with a non-scuff kitchen pad followed by a hot water rinse and air dry.
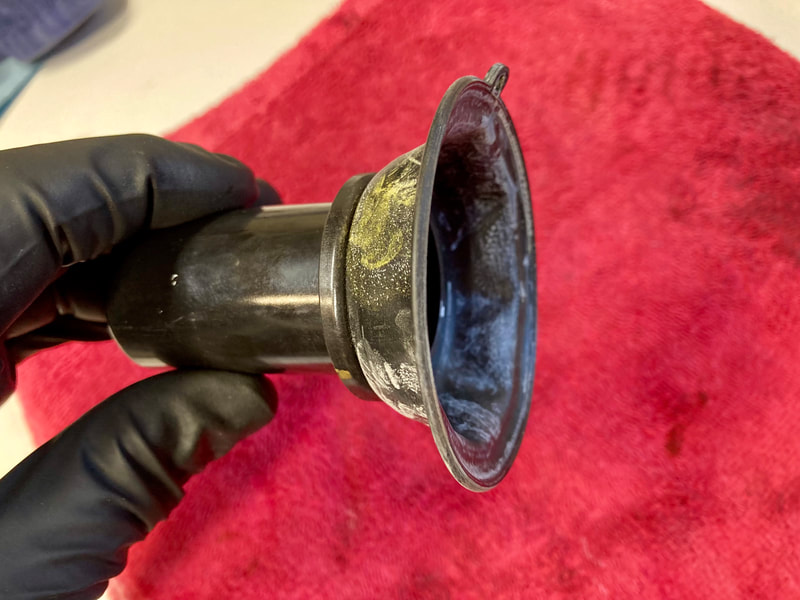
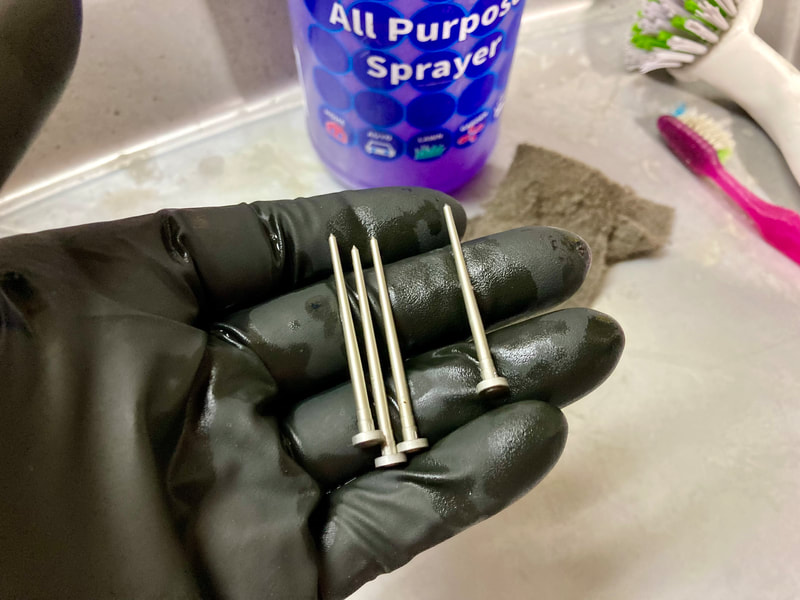
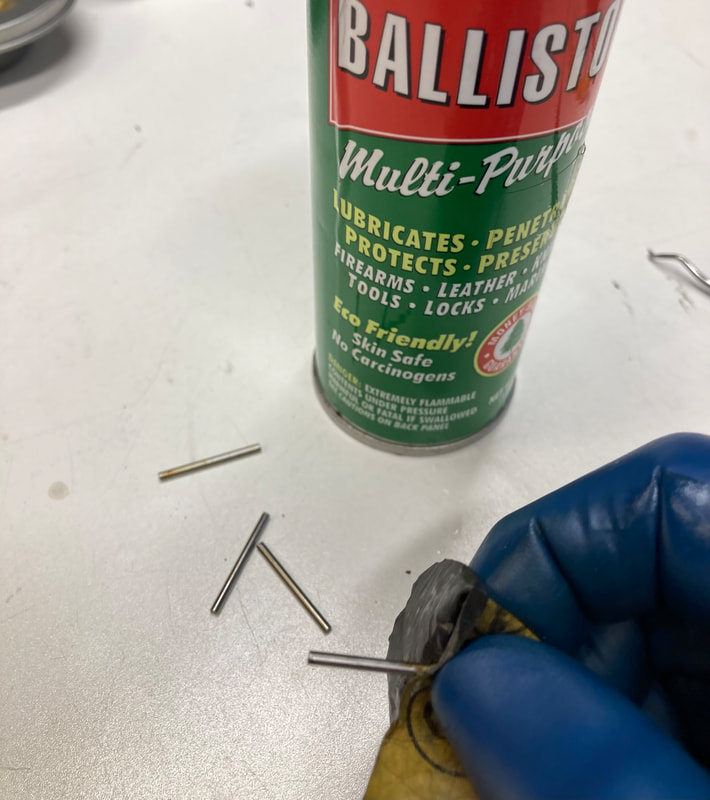
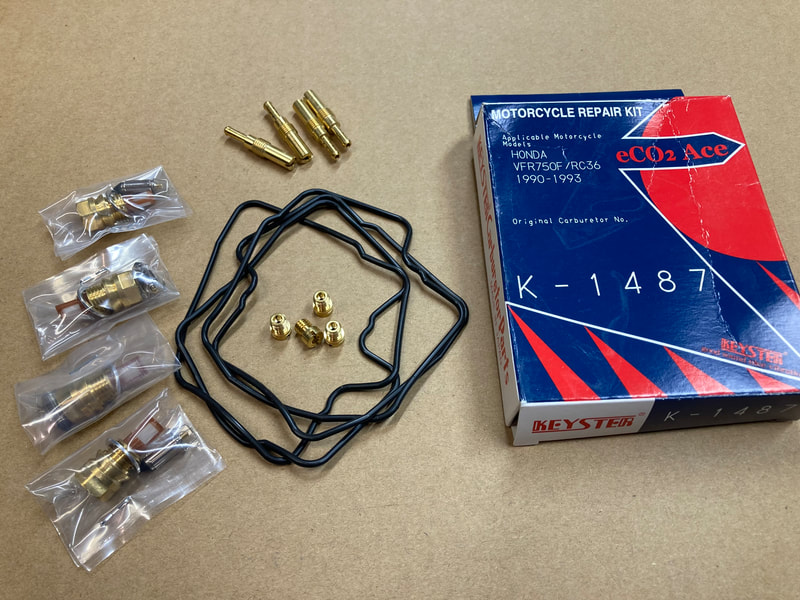
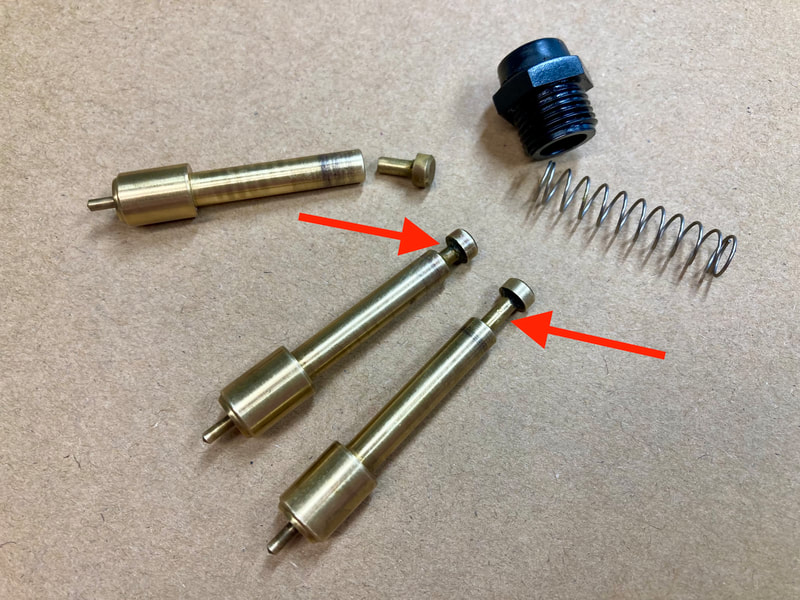
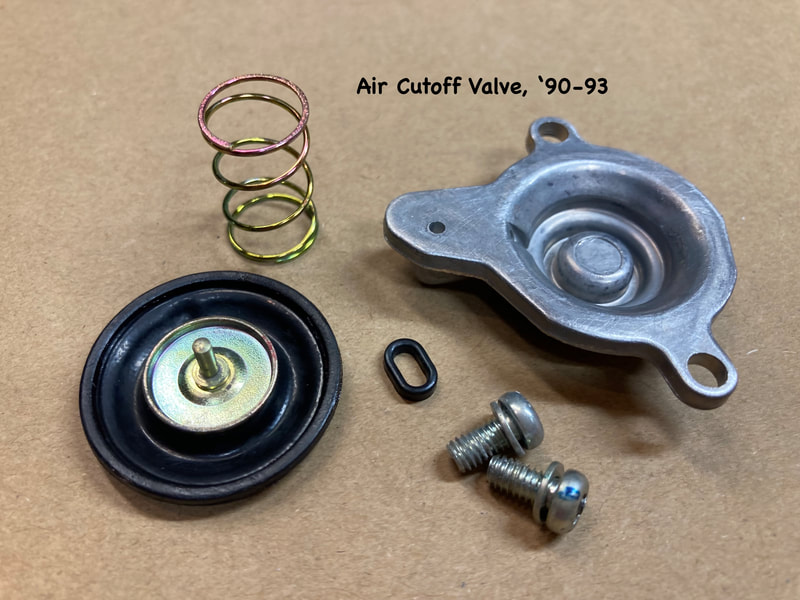
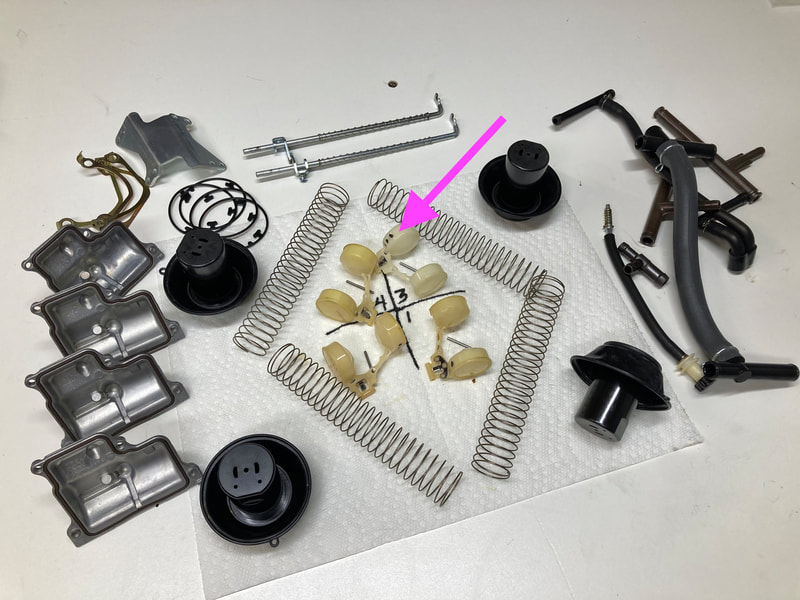
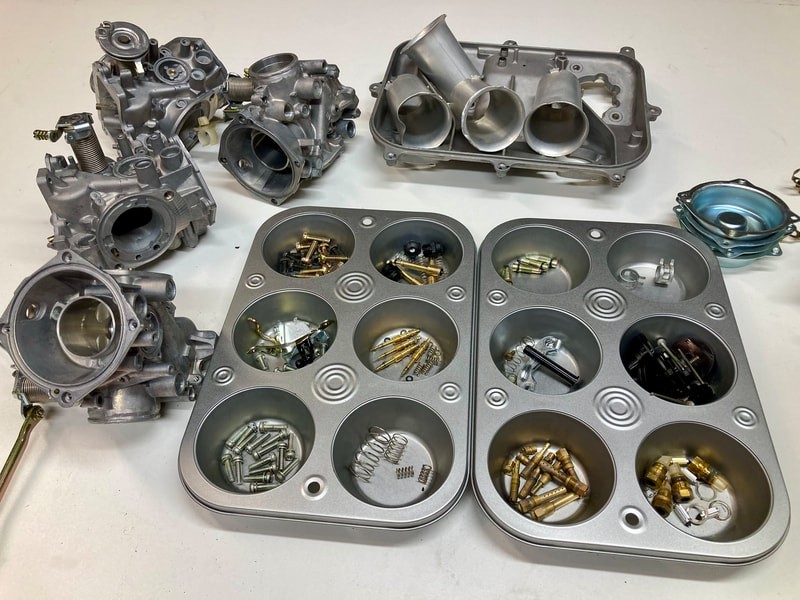
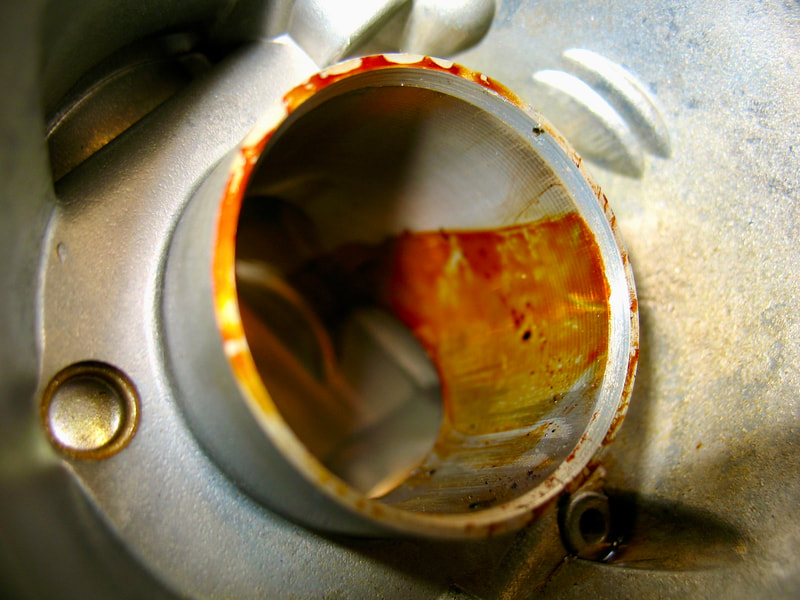
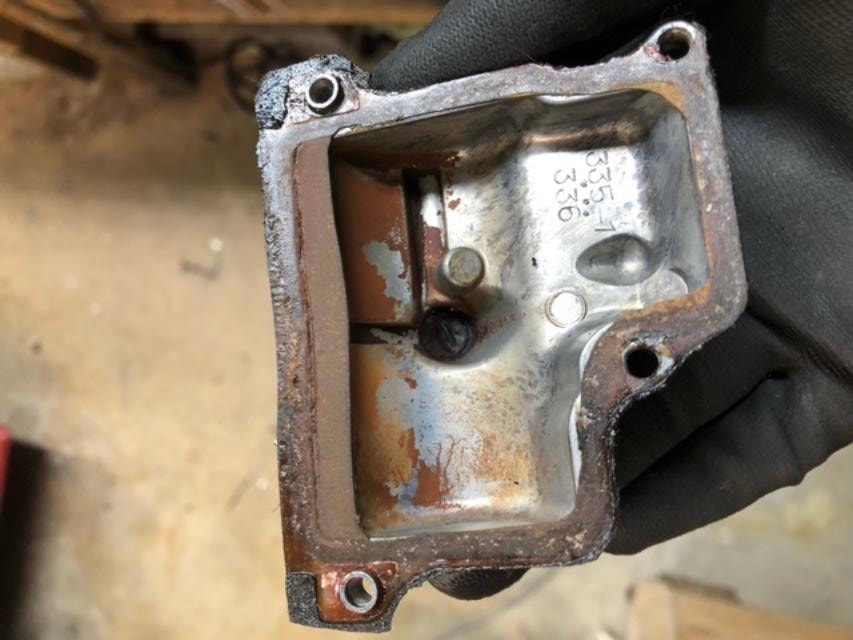
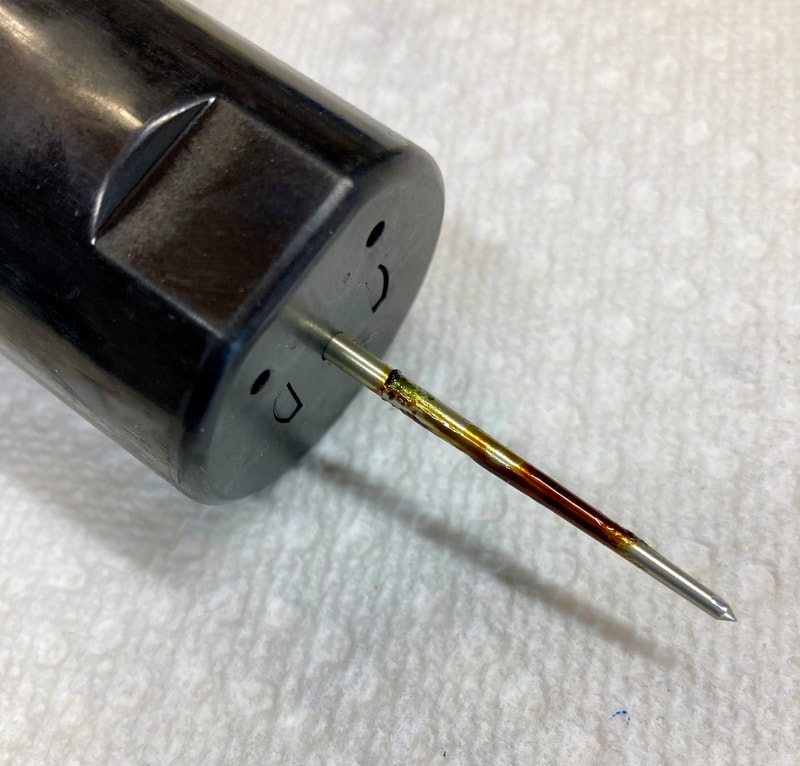
I've recently been working to clear my backlog of carburetors in need of rebuilding, consisting of five sets of Gen-3 carbs. It's always a bit like unwrapping a gift when I begin disassembly of a dirty set, never knowing what I might find lying in wait. Clogged jets and petrified gaskets are expected, but there's also broken bits, incorrect parts and creative assembly from past attempts by well-meaning DIYers. Here's a sampling of typical chores (Below) These carbs' vacuum diaphragms are afflicted with some sort of white and green stuff, possibly mold or mildew? These slide assemblies are NLA so I treat them with a delicate touch. Here I'm using Zep degreaser, a mild cleaner, massaging the rubber diaphragm with finger pressure and a soft toothbrush around the edges. In extreme cases the round rubber edge can be coated with stubborn crusty corrosion from a rusted diaphragm cap — a challenge to remove without damaging the diaphragm. I use a warm soapy bath and a fingernail to gently scrape the crust off as best I can. If the rubber seems particularly dry I will rub on a thin application of red rubber grease to rejuvenate and preserve the rubber. I also clean the plastic slide by scrubbing with a non-scuff kitchen pad followed by a hot water rinse and air dry. (Below) The main jet needles are often stained with sticky brown varnished gasoline. This I remove with a scrub pad and degreaser or solvent. Two of these four float hinge pins were very difficult to remove due to varnished gas. Again, a scuff pad used with something to cut the varnish will allow the floats to pivot freely. I like to roll these items on a flat surface to check for straightness. (Below) I'm no longer able to source individual float valves for the Gen-3 carburetors, so I rely on Keyster rebuild kits. These are quality Japanese-made parts. Next, this particular carb set had a broken enriching (choke) valve — these are soft brass and don't like to be forced. I learned this long ago when trying to remove a stuck valve by pulling with pliers. It didn't take much force to pop that little head right off, like the one shown here. This one had a bent tip which expectedly broke when straightened. Note that there's two distinct parts here…one has a wider gap to allow two pieces of linkage on carbs number 2 & 3 (red arrows). I clean these shafts with a scrub pad and cleaner/lube, like WD40 or similar. Shown next is an air cut valve assembly. These are often reusable, like this one, if treated gently. I carefully clean the rubber diaphragm and rub a film of red rubber grease to preserve it. These assemblies should be removed for a thorough carb cleaning. (Below) Here's two shots of the various parts cleaned and ready for assembly. The pink arrow shows how I mark each carbs' float with permanent marker dots. This way they maintain what float level adjustment they had previously, saving time setting the float heights after installing. I also keep the slide assemblies with their original carbs — not necessary, but my thinking is that they're well mated to their carb, so may as well keep them paired. And here's a few more examples of what may be lurking in your carb project.
0 Comments
Your comment will be posted after it is approved.
Leave a Reply. |
THE SHOP BLOG
|