The arrow points to the pilot jet air screw; see below for more on that.
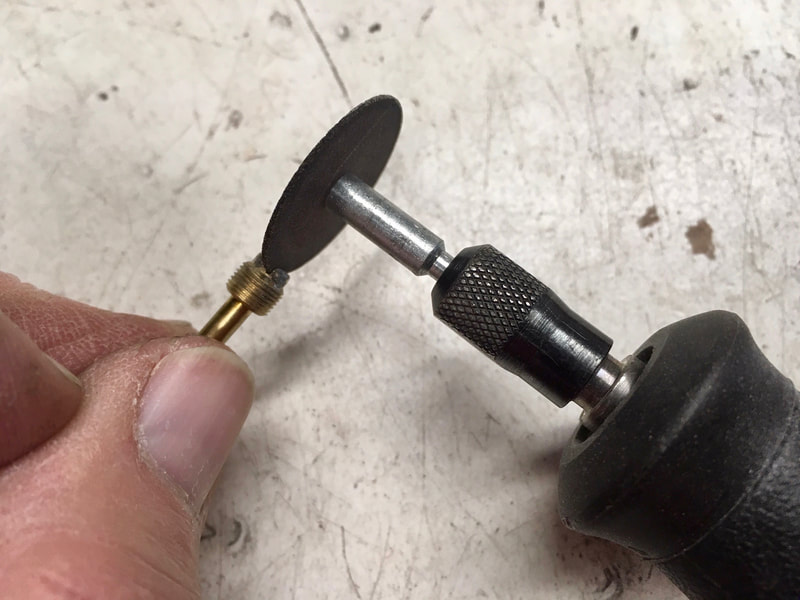
These later model carbs have the pilot screw in a unique location under the carb body. The screws also use a special D-shaped socket head, probably an attempt at foiling home-brewed adjustments which would run afoul of the factory emissions settings. I have the required socket, but I always take a minute to cut a groove into the head of the screw to allow a straight-blade screwdriver to work with these jets. This gives me a little more finesse in adjusting the air mixture. And, speaking of adjustments, I also take the screw out a bit from the factory setting (1 5/8 turns out) to a full 2 turns. This enriches the mixture just a bit for better drivability. Or at least that's my story, and I'm sticking to it.
(click on an image to enlarge)

Another interesting feature of these last carbureted VFRs is that the floats are non-adjustable. They're either correct...or they're to be replaced. Fortunately, mine were right on.
After a full service, these carbs are ready to be reunited with their V4. But first, I'll check valve settings and compression. The final step is syncing the carbs.


 RSS Feed