 Click on image for the eBay link
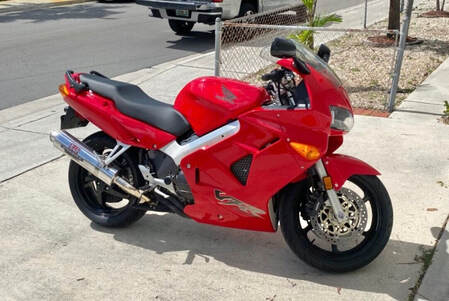
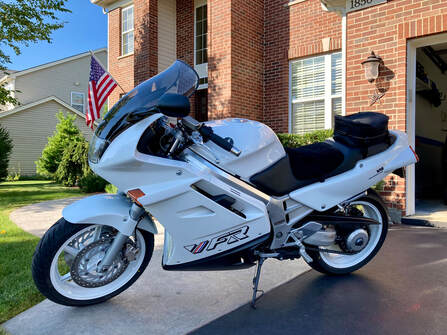
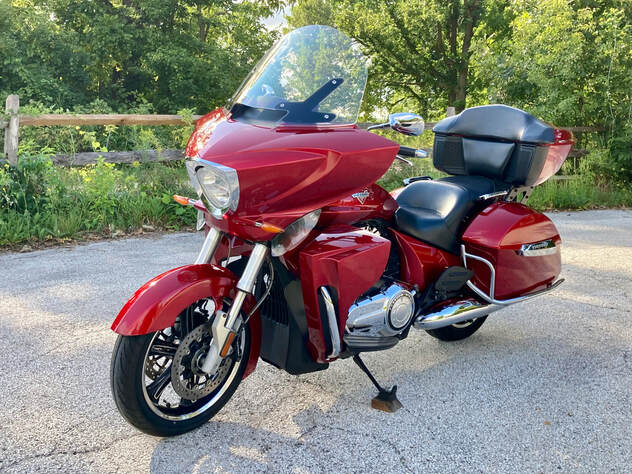
 What: 1998 VFR800 FI
Why: Low miles, complete
Where: Miami, Florida
Price: $5000 opening bid
Often considered the sweet spot in the VFR lineage, the 1998-99 models featured a complete mechanical and styling update from the previous carbureted 750s, while retaining the gear-driven cam gear.
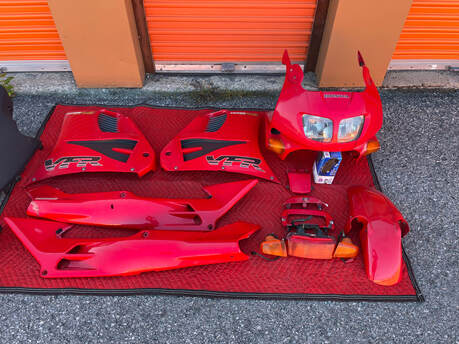
This example shows only 6450 miles with a very complete recent service history. There's not much for photos, but the seller describes it as "an honest 9/10." Not mentioned is the lovely Yoshimura slip-on and I don't see a passenger seat cowl in the photos. This is offered on an auction format with an opening bid of $5000 and no reserve.
Why: Low miles, complete
Where: Miami, Florida
Price: $5000 opening bid
Often considered the sweet spot in the VFR lineage, the 1998-99 models featured a complete mechanical and styling update from the previous carbureted 750s, while retaining the gear-driven cam gear.
This example shows only 6450 miles with a very complete recent service history. There's not much for photos, but the seller describes it as "an honest 9/10." Not mentioned is the lovely Yoshimura slip-on and I don't see a passenger seat cowl in the photos. This is offered on an auction format with an opening bid of $5000 and no reserve.


 RSS Feed