With the mechanical checks complete on Project 24, a 1995 VFR750, I hooked up the gas bottle and battery, pushed the magic button....and the beast awakened. Once warmed, I was able to sync the carbs and she's running smooth and happy. The next step is to finish up the detailing, but before I get to that how about we pull the muffler and let 'er breathe....
|
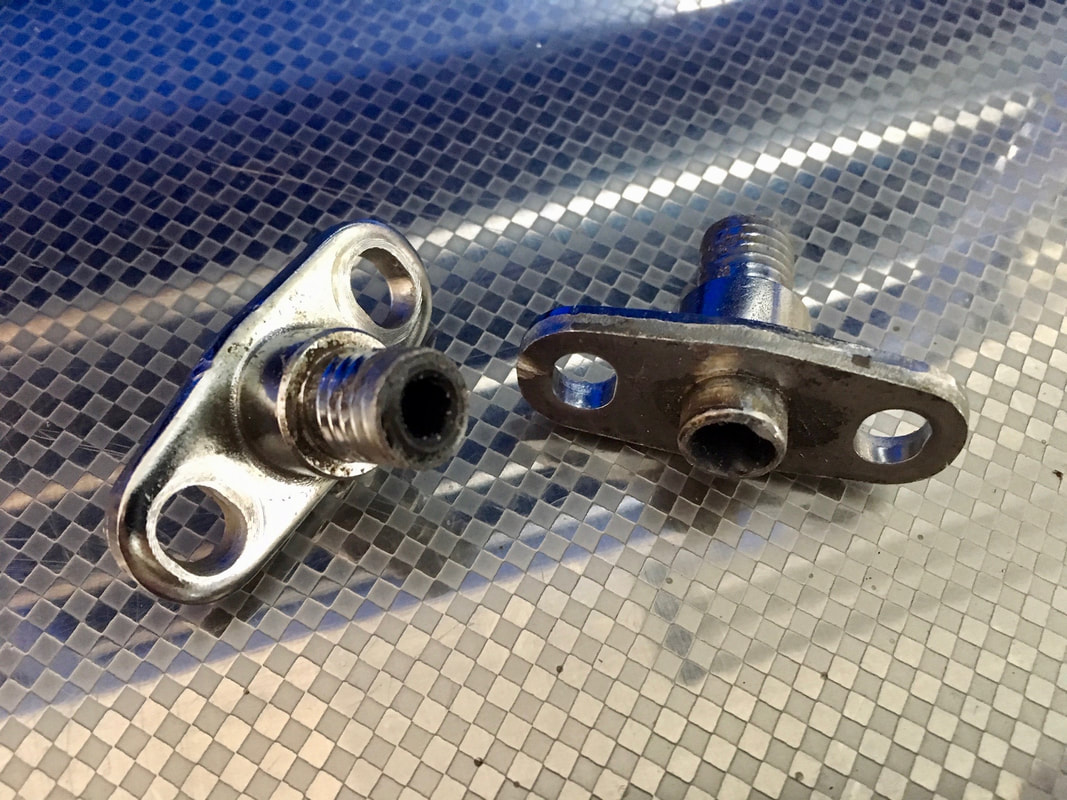
I've recently made room for my latest victim, Project 24, a 1995 VFR750, and got it stripped down for evaluation. I always begin with the mechanical basics, just to be sure we have a viable machine to work with. The carburetors were in good condition and had obviously been tweaked sometime in the past. There's a K&N air filter and DynoJet kit installed to compliment the Micron slip-on exhaust. I completed the carb work with a thorough cleaning along with new fuel tube o-rings and fuel lines. They're remounted and ready for syncing. 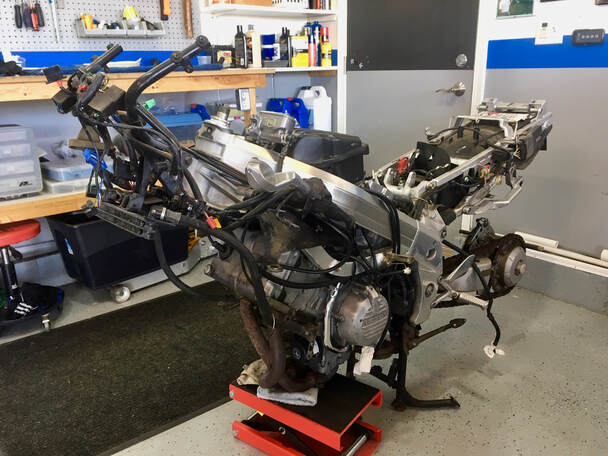 Next up is the valve clearance check. With an unknown maintenance history, I always go to the trouble of checking the valves. In this case everything was spot on with the exception of number two intakes — both were too tight. The intake valve spec for this engine is .006" with a +/- of only .001". These were at .004". Unlike the 1986-87 engines which utilize simple nut & screw adjustment, these later engines have a shim-under-bucket arrangement. As the valve train wears the valve clearances will actually get tighter — a bad situation which can lead to compression leaks and even burnt exhaust valves. So, a tight clearance is unacceptable. 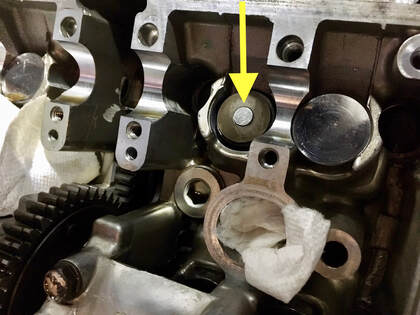 (Right) Fixing the situation requires removal of the appropriate camshaft. With the front intake cam removed the bucket is lifted free and the tiny shim is visible sitting in a shallow recess. (Below) Shown on the left are the removed camshaft components. The shims are available at my local dealer in a variety of thicknesses. I picked up two 2.000 mm shims which put both valves right in spec. $12.00. One can see why valve checks cost so much as a service item. There's a fair amount of labor involved getting to the valves, removing cams, and buttoning it all back up. Though not strictly necessary, I remove the carbs and radiator, giving much more room to do this right. It's very important to follow the book on this procedure, lest the cam timing gets screwed up. Keep it clean and torque to spec. This adjustment should be good for at least another 30K miles. 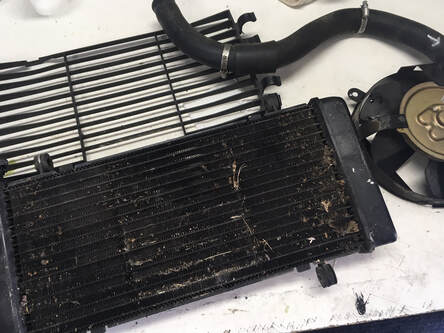 Speaking of radiators, here's a situation I find all the time — filthy, clogged and bent up radiators. This is a maintenance item. Letting your radiator get to this point (below) compromises the cooling system and stresses the engine. Coolant should be flushed every two years so it's a perfect opportunity to gently brush and hose off the radiator. The FSM will also show how to straighten bent cooling fins using a small straight-blade screwdriver (the same applies to the oil cooler). On the early models the protective grill is easily removed with four small screws, while these later models simply pop off. The expansion tank, shown in the right photo, is actually empty. That gray tint is dirty sludge left behind from years of neglect. The tank is easily removed for occasional cleaning — I use a baby bottle brush and degreaser. (Below) The instrument facia on this bike had gotten something splashed onto it in the past, leaving some light spotting on the black plastic. I didn't want to paint the facia, so to address this, I removed and disassembled the cluster, then dabbed a black dye onto the spots followed by an application of 303 plastic protectant. It looks great and the original facia is preserved. The clear lenses were in excellent condition, so just a cleaning and everything went back together. 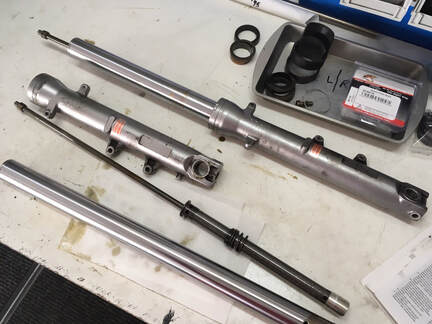 (Right) The seals were seeping on the forks, so a standard disassembly and replacement is in order. An inspection shows the bushings looking like new, so I suspect, at 38,000 miles, that these forks had had a major service in the not-to-distant past. With the forks removed, the steering head bearings can be checked by moving the steering head back and forth, feeling for roughness or a "notch" in the centered position. This bike had a distinct notch, so I fitted an All Balls tapered bearing kit. 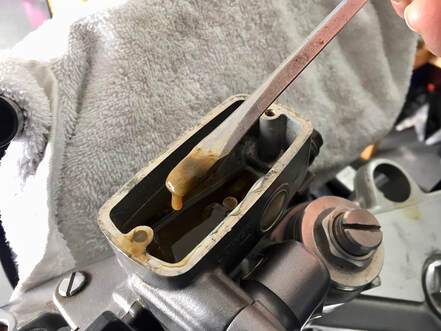 (Right) Another commonly neglected maintenance item. I always do a complete cleaning/flushing of the brake and clutch hydraulics, and here's what I find all too often. Do we really want to depend on this syrupy mess to operate our brakes? Flushing every two to three years will keep this from happening. My usual practice with regard to the PAIR (exhaust air injection system) is to simply remove it. Looking over the components, I found a deteriorated filter and hoses, so everything came off. Part of this procedure is to plug the small injection ports adjacent to the exhaust ports. I do this by cutting the tubes, tapping some 3/8" threads and epoxying in some threaded plugs (see "Plugging the PAIR Ports" on the Maintenance page). During all this activity, I've got a few items off to the powdercoater to fancy up this project just a bit. Fresh Avon tires have been mounted and the wheels detailed. My paintless dent removal guy (a true wizard) took care of a couple of small dents in the fuel tank. 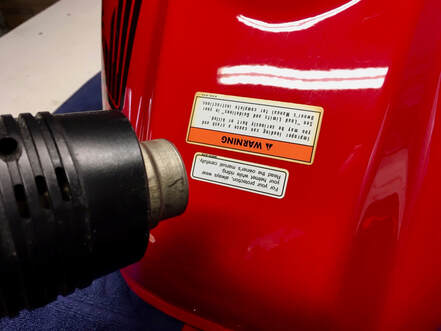 I've also begun refurbishing the paintwork. One item on the list is to remove the old dealer stickers from the fuel tank. I begin with a little heat applied and careful peeling, beginning with a plastic razor blade. The residual adhesive is removed with 3M Adhesive Cleaner. After so many years, there's going to be a shadow left behind, which I attack with a wet-sanding and machine buffing. Lots to do, but I'm turning the corner towards reassembly.
 The latest issue of Motorcycle Classics featured a beautifully restored Ariel Square Four. The bike is owned by a gentleman who happens to be one of the principals of The Throttlestop, a purveyor of fine collectable cars and bikes located a couple of hours north of us in Elkhart Lake, Wisconsin. The town may sound familiar to race fans as the home of Road America race course. 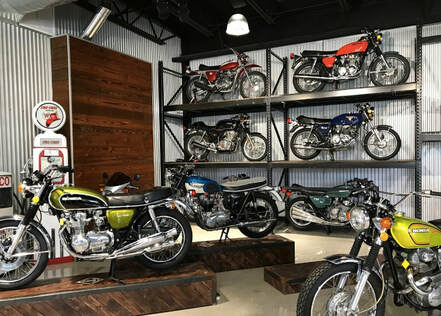 As it turns out, the owners are not only lovers of cool cars but are also passionate about old bikes. They've put together a really nice collection of relevant models and provide a small museum for us to enjoy them too. (Right) This photo caught my eye because of the green and black Honda CB500 prominently displayed — my first bike. (Below) If you click on the "Museum" tab on the website, you'll be treated to a chronological virtual tour of all their bikes, viewed in gorgeous photographs, including this unmolested 1986 VF1000R. 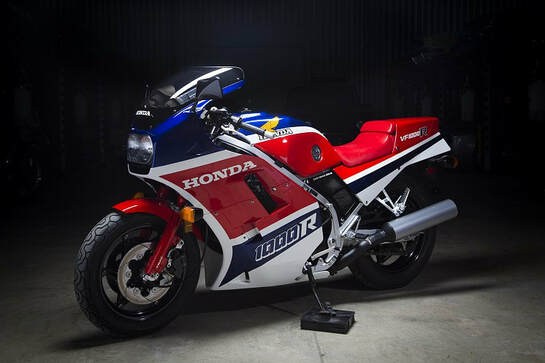 Elkhart Lake is a picturesque small town in east-central Wisconsin, situated in the midst of the Kettle Moraine, a geological region running roughly north-south through southeastern Wisconsin where two glaciers rubbed up against one another. leaving bowl-like depressions (kettles) and hills of sediment deposits (moraines). Fast forward about 20,000 years and we're left to enjoy scenic roadways through rolling hills and alongside winding streams. Patti and I are planning a day trip through the entire Kettle Moraine to Elkhart Lake for a visit to the museum and lunch at one of the resort restaurants. It's always nice to have something to look forward to at a ride's destination.  Sold - $4000
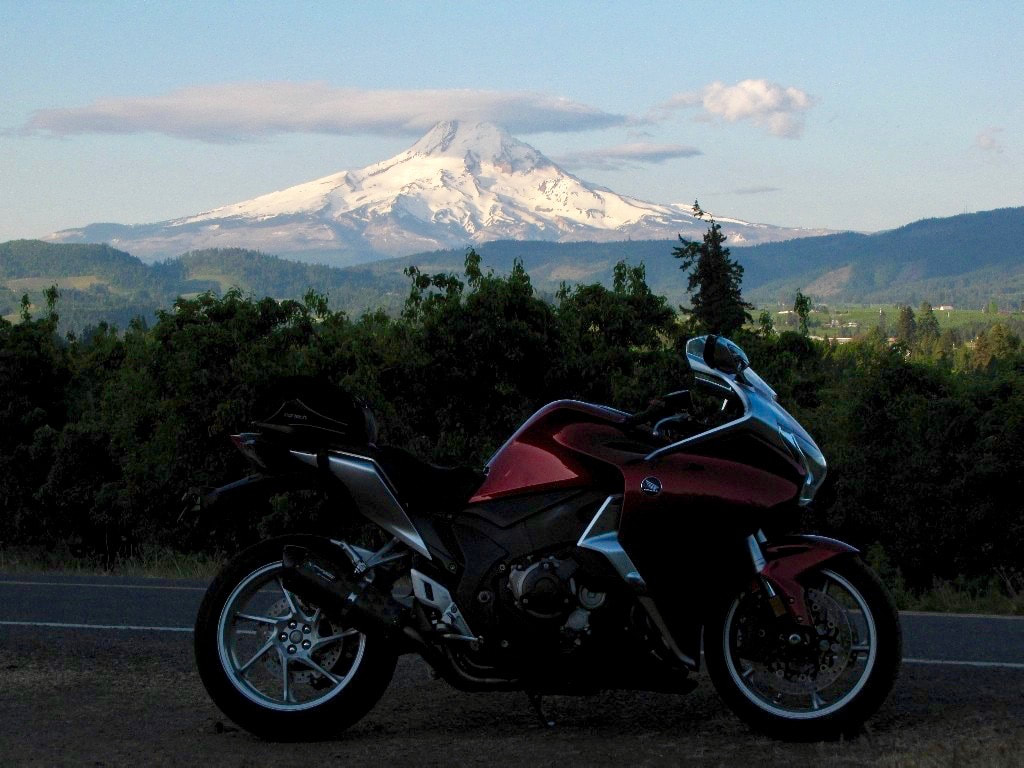
A few weeks ago this seller in Dayton, Ohio was offering a set of three V4s, including this 1986 VFR750F. Unable to find a buyer for the group, he offered them individually and the 750 recently sold via eBay auction for $4000 with 35 bids. This example has 46,000 miles, is described as an 8.5/10 and appears to be complete and original with the exception of the front turn signals. The optional rear seat cowl and centerstand are also present. 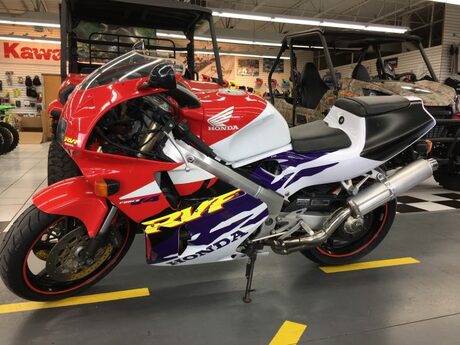 Click on image for the RSBFS link. Click on image for the RSBFS link. What: 1998 RVF400R (NC35) Where: Somewhere in Utah Why: An affordable exotic Price: $10,900 OBO From the same seller as the previously posted RC45, here we have what is often considered its baby sibling. This model is the successor to the similar-but-not-the-same NC30 and was produced for the Japanese market from 1994-96. This example shows 8667 miles, was imported by our seller, and now holds a valid Utah title. It's claimed to be nearly flawless and completely original with the exception of a set of rearsets and striped wheels. It's priced at the top of the heap for the NC series bikes, which may be an indication of their values rising. This would make a useable and fun exotic for someone who fits the compact ergonomics. 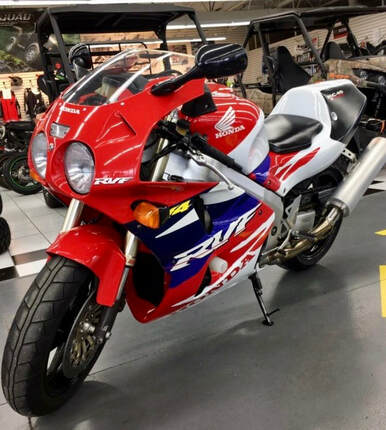 Click on image for the RSBFS link. Click on image for the RSBFS link. What: 1995 RC45 (RVF750R) Where: Somewhere in Utah Why: RC45 Price: $48,500 OBO By the mid-nineties, the Honda RC30 was showing its age, but back at Honda R&D a superbike replacement was in the works. This homologation special was actually built from 1994-99, but available in the U.S. for the first year only. Borrowing much from both the RC30 and NR750, the fuel-injected RC45 dominated tracks from '95-98. Only about 200 were manufactured worldwide and, per AMA rules, 50 imported to the U.S. with about 20 going to private race teams. It is one of the rarest Hondas and some consider it the best Superbike ever (source: Wikipedia). The U.S. street version made 105 HP, the Euro version 118 and the race bikes up to 190. This example shows ~10,000 miles but is nearly flawless, It has been "de-restricted" so produces all the ponies Honda intended. Completely original, never raced, no damage history, with all factory accessories and a clear street title. Not cheap, but these rarely come on the market and represent a bargain compared to current RC30 prices. Once the collector market comes to its collective senses, these can only appreciate. From BarKnee on ADVrider, a couple of photos from a recent ride along the Columbia River Gorge in Oregon/Washington. This past week was a bittersweet one at the V4 Dreams presentation facility (my driveway). Two projects have moved on to new riders. 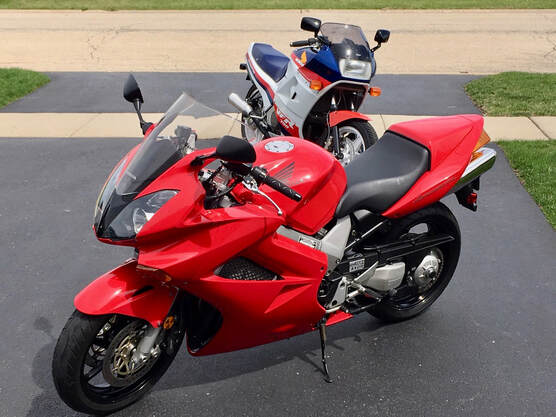 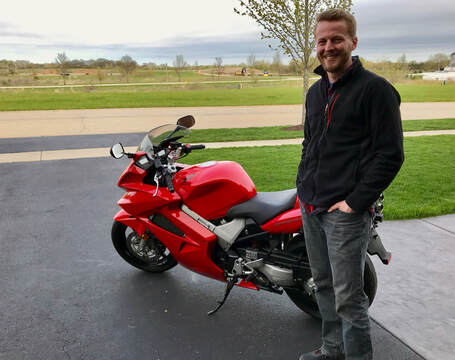 Project 23, a 2002 VFR800, caught the eye of a local rider, Karl. He's looking to move up to the perfect sport tourer and decided this 800 will be the bike for him. Karl was excited to take his first ride on the 800 back home to the Chicago west suburbs. He'll make a great new owner and we wish him fun adventures and safe travels. 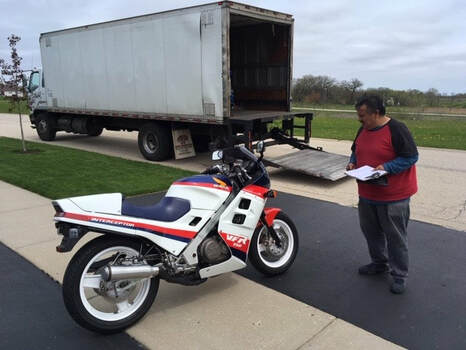 Two days later Project 13 was palletized and loaded for the first leg of its journey to Sparks, Nevada, near Reno. New owner Don had had the identical VFR750 back in the day and would like to relive some of that experience. (Below) An old photo Don sent along of his original Interceptor. It even has the same Supertrapp mufflers!  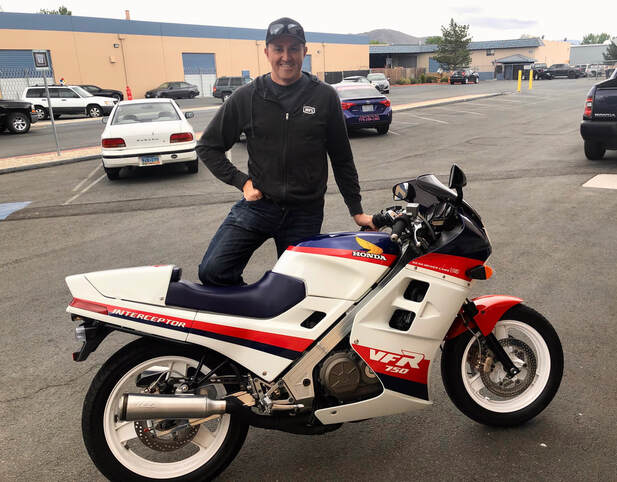 The happy new owner with his "new" Interceptor. 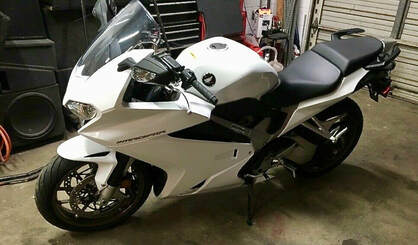 Click on image for the eBay listing. Click on image for the eBay listing. Does it ever make financial sense to buy a vehicle with a "compromised" title? That old dilemma is playing out now with at least two eBay listings for 2014 VFR800s. The key to the answer is the word "if." If you can confidently say that you're going to keep and use the bike for the long term, then, yes, the huge value depreciation for a salvage title makes sense for you. If you're okay with whatever precipitated the bad title, then that bike may well serve your needs — recovered theft, accident damage, whatever. If you realize that the salvage vehicle will be (a), difficult to sell on, and (b), that your selling price will also be hugely depreciated, then you may be in a position to own a bike with a bad title. 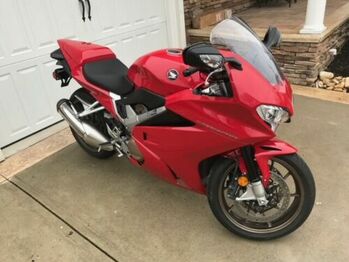 Click on image for the eBay listing. Click on image for the eBay listing. In any case, the guiding concept here is buyer beware. I've owned a few salvage vehicles and each was long-term reliable with no funny noises, handling quirks or dripping body fluids. But they were hard to sell when the time came. Strangely, the older the salvage event, the less buyers seem to care — like the passing of time has ironed out any potential pitfalls. A salvage '78 Honda CB750 seems to be less intimidating than a salvage '14 VFR800. Humans.
In any case, here we have a pair of eighth-gen VFRs saddled with bad titles. The white one is located in Kentucky, shows only 1439 miles, and is sparsely described as "unharmed." It's offered for only $3000 or make offer. A screaming deal, but I would need to know the detailed history of this lost soul. The red bike is in New Jersey and has been listed for quite awhile at $5250 or make offer. I've seen clean-titled 2014's go for not much more than that, so our seller may need a value adjustment, both mentally and physically. This bike has only 498 miles and the seller claims that the light cosmetic damage was fully repaired with only a new gas tank and side panel, and has been inspected by a Honda dealer and the State of New Jersey. If the vagaries of salvage vehicle ownership work for your situation, then here's two candidates looking for their forever home. Update: The white bike failed to sell at $3000 and has been relisted at $2700 or Make Offer. 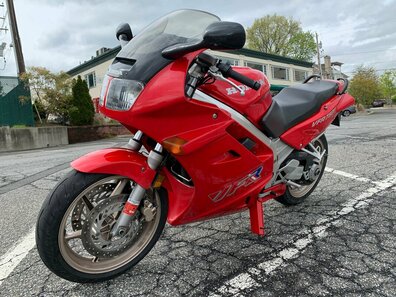 Click on image for the Craigslist link. Click on image for the Craigslist link. What: 1991 VFR750F Where: Nyack, New York Why: Low miles, great value Price: $2500 OBO Here's living proof that the Honda VFR represents the best value in "pre-owned" motorcycles. Showing only 26,390 miles this nicely sorted third-gen has had a recent and comprehensive professional service, to include forks, carbs, fluids and battery. Tires and drive chain are good to go — this bike is ready for the season. And, our seller is willing to work with the already reasonable asking price. The '91 model is the only year to combine Italian Red bodywork with unique platinum-colored wheels. Another great bargain. Also listed on ADVrider. |
THE SHOP BLOG
|


 RSS Feed