 Click on image for the eBay link.
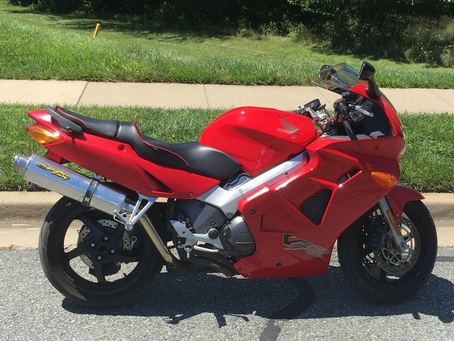
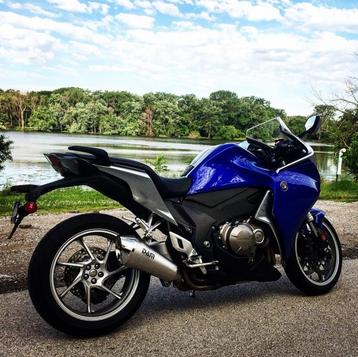
 What: 1998 VFR800FI
Where: Rockville, Maryland
Why: Low miles, desirable model
Price: No reserve auction
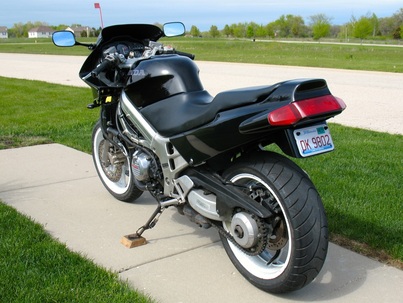
The fifth-generation Interceptor is a "tweener" model; still employing the trademark gear-driven cams, but pre-VTEC. Produced from 1998-2001, some consider this to be the best of both worlds. With a slight bump in bore and stroke, displacement went from 748cc to 781cc. Power went up a tiny bit, but the big news for 1998 was the addition of fuel injection. This brought the VFR series into the modern era and could now comply with tightening emissions worldwide while allowing tuning options never available with the old carburetors. Add in the new, lighter "Tune-Flex" chassis and linked brakes, and it was obvious that Honda's sport touring platform had just taken a leap forward.
Our example today is a first-year 800 and shows only 15,263 miles. The photos show the addition of a Two Brothers Racing slip-on muffler and Corbin leather seat. The seller indicates normal wear & tear plus some rash on the left-side headlight fairing. Checking Partsfish.com, I see that the fairing is still available ($405) in Italian Red. Considering the low miles and otherwise great-looking condition, this might be worth the $$ to replace with new. With some basic detailing this bike could be an exceptional rider. Bidding is at only $1525 with no reserve and ends on Monday. Some buyer might get lucky on this one.
Where: Rockville, Maryland
Why: Low miles, desirable model
Price: No reserve auction
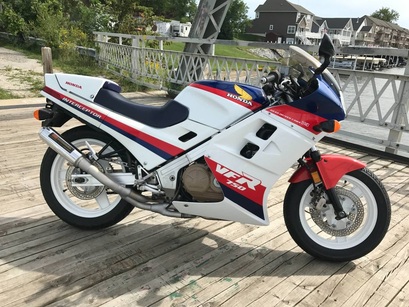
The fifth-generation Interceptor is a "tweener" model; still employing the trademark gear-driven cams, but pre-VTEC. Produced from 1998-2001, some consider this to be the best of both worlds. With a slight bump in bore and stroke, displacement went from 748cc to 781cc. Power went up a tiny bit, but the big news for 1998 was the addition of fuel injection. This brought the VFR series into the modern era and could now comply with tightening emissions worldwide while allowing tuning options never available with the old carburetors. Add in the new, lighter "Tune-Flex" chassis and linked brakes, and it was obvious that Honda's sport touring platform had just taken a leap forward.
Our example today is a first-year 800 and shows only 15,263 miles. The photos show the addition of a Two Brothers Racing slip-on muffler and Corbin leather seat. The seller indicates normal wear & tear plus some rash on the left-side headlight fairing. Checking Partsfish.com, I see that the fairing is still available ($405) in Italian Red. Considering the low miles and otherwise great-looking condition, this might be worth the $$ to replace with new. With some basic detailing this bike could be an exceptional rider. Bidding is at only $1525 with no reserve and ends on Monday. Some buyer might get lucky on this one.


 RSS Feed