Last weekend a Chicago area rider, Dave, contacted me about buying his no-longer-running VFR. Dave's bike had been superseded a few years ago by a big yellow Honda Gold Wing, relegating the Interceptor to the back of the garage. Time ticked away and eventually the VFR could no longer muster the necessary combination of ingredients to light the fires — it wouldn't start. But the final straw in the chain of events leading to this bike ending up in my garage was a spill with the Gold Wing on a rainy curve in Wisconsin. The bike went down and Dave's two-wheeled days went with it. That's when I got his call.
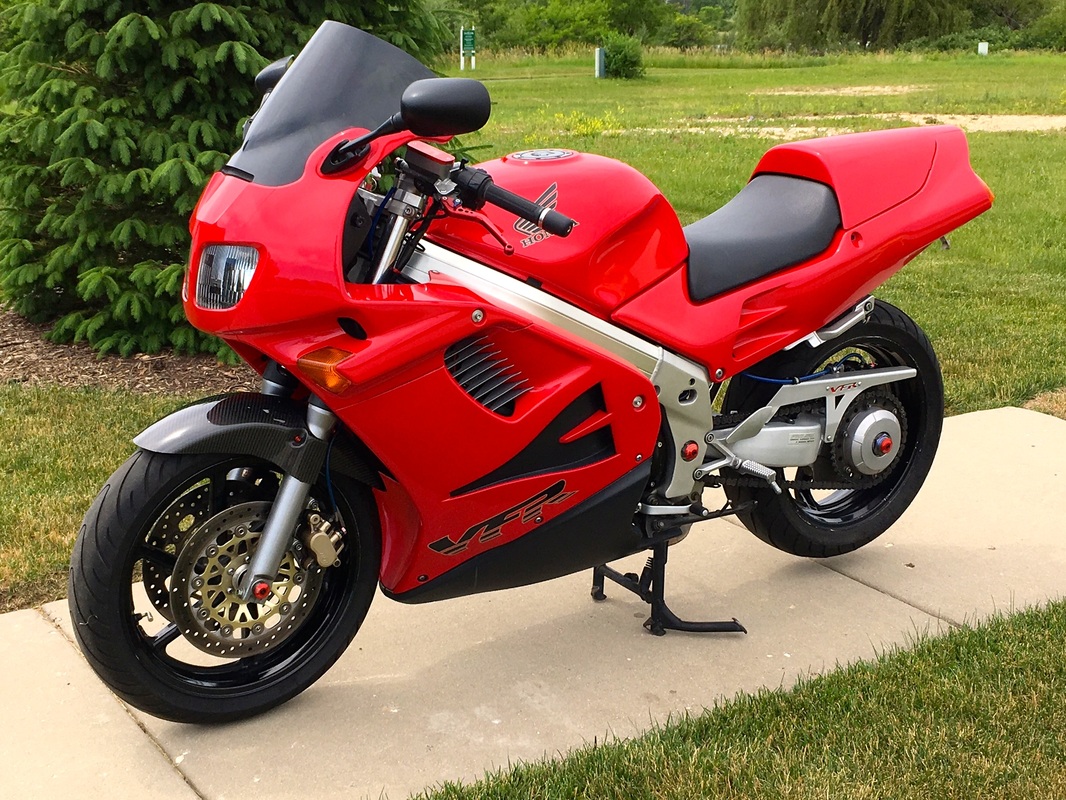
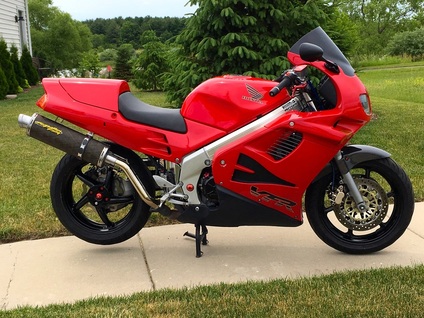
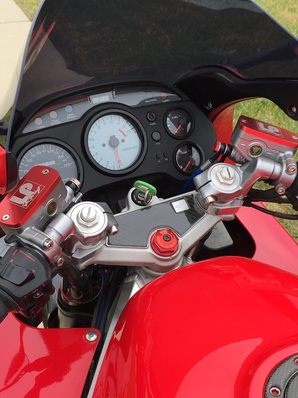
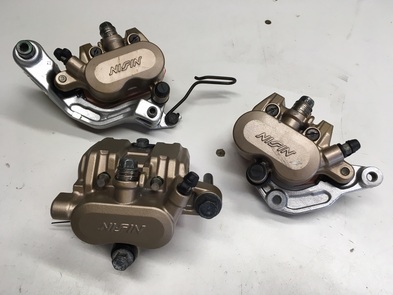
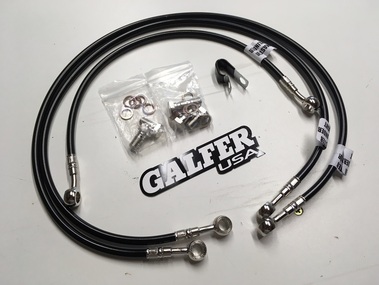
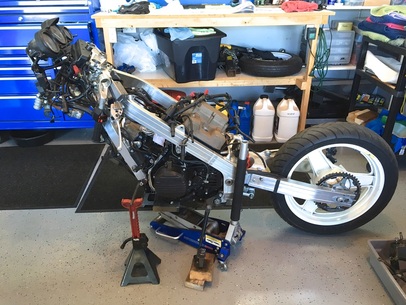
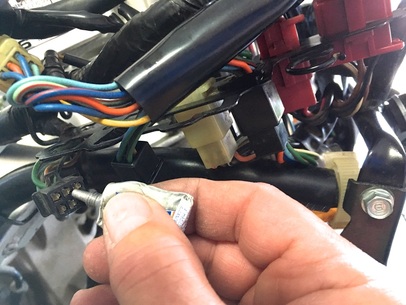
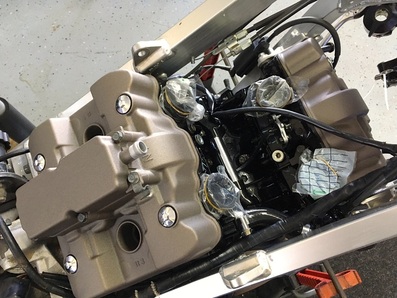
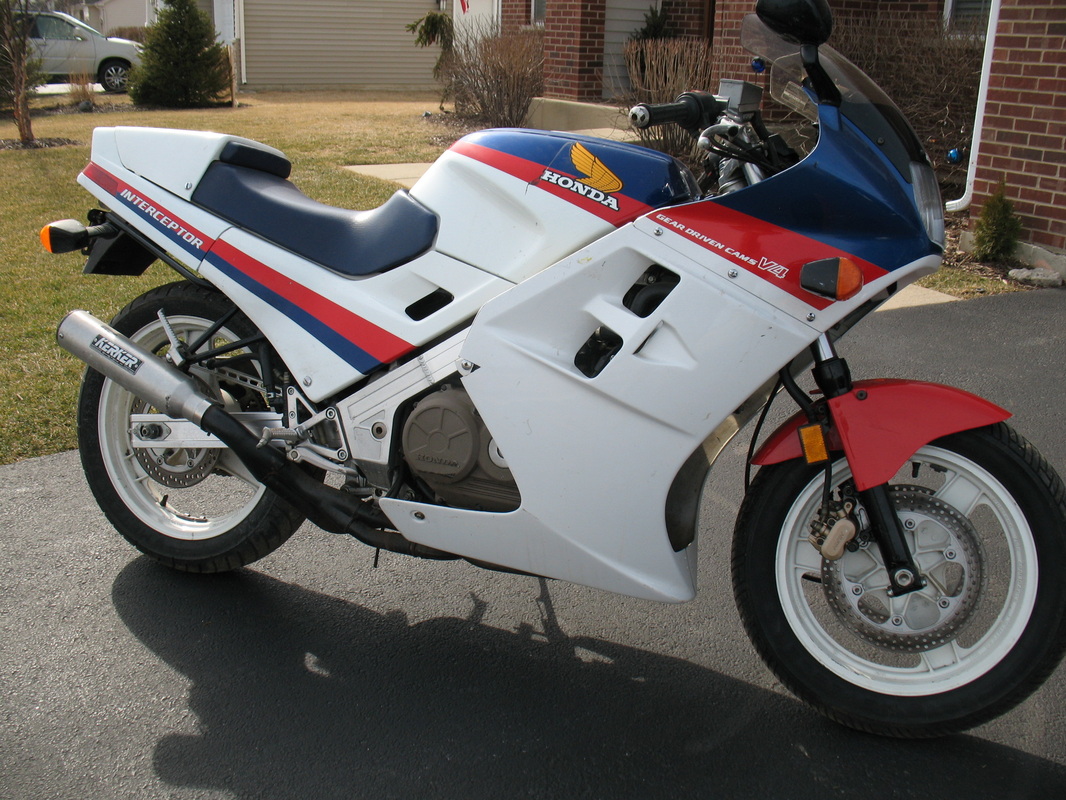
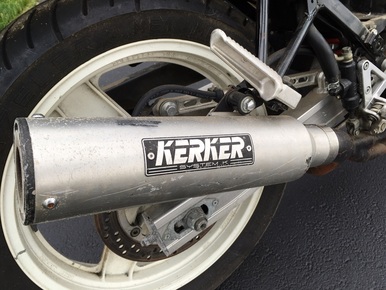
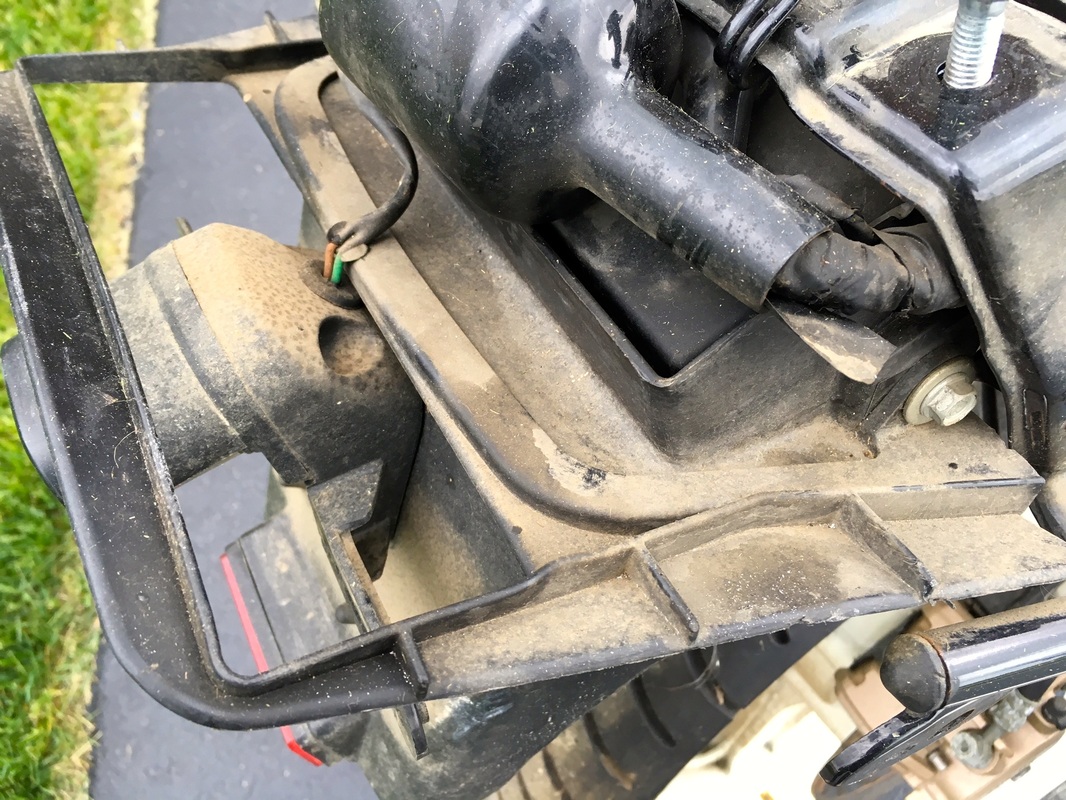
So what do we have here? Well, we have the final production year of the VFR750, a 1997 model with 32,000 miles — but looking like it has a tenth of that. In addition to the excellent bodywork this one sports several nice farkles. Like the DMr converted Honda 929 shock absorber, aftermarket fork springs, Two Brothers slip-on, bar risers and carbon fiber front fender. There's more nice touches, too — VFR-ness installed with aftermarket regulator/rectifier, rear fender eliminator, stainless braided brake lines, rear brake wave rotor and a snazzy aftermarket chain guard.
The plan: Mechanical checks throughout, fresh tires...and get some miles on this beauty.


 RSS Feed