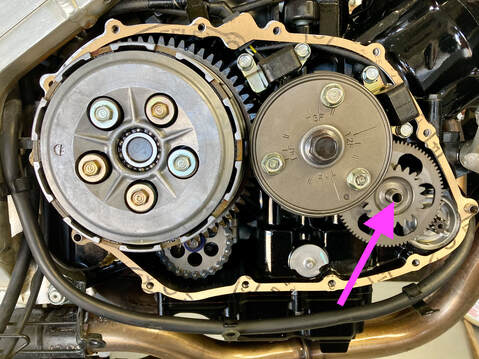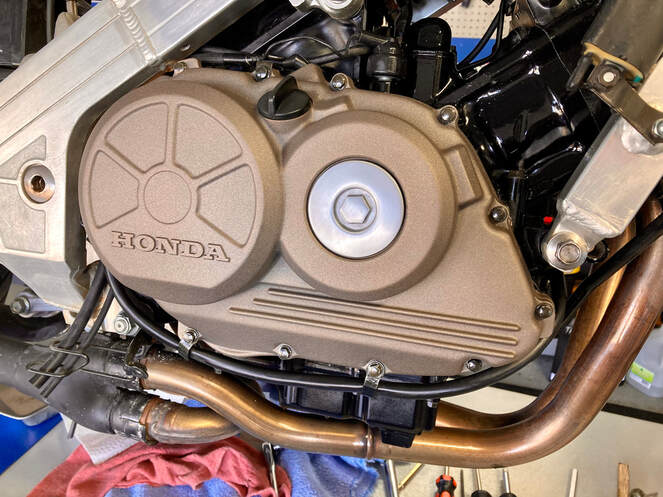
This is a straight-forward parts swap, but the fun comes when removing the stubborn old gasket material which has adhered itself to the engine and cover surfaces.
One other point: when removing the clutch-side cover, you'll be hoping that the little starter clutch gear locating dowel (pictured, arrow) remains in place as you pull the cover free. If not, you'll be struggling with a mechanical puzzle attempting to get the gears realigned.
Cleaning the cover of old gasket is simple enough on the bench, but the engine casings present the problem of keep the scrapings out of the engine. I carefully insert paper towel into the nooks and crannies and begin scraping, first with a flat gasket scraper then with the very effective pull-style gasket scraper. I finish with a general clean-up with a fine grit emery cloth, carefully pull the paper towel clear and inspect the area for any bits of gasket left behind. A final wipe with solvent and the surface is ready for the gasket.
I hang the new gasket, dry, onto the dowel pins, if the casting has them. The alternator cover, for example, does not, so I just hold the gasket in place with an attachment bolt when assembling. If gravity has your gasket drooping downward, apply a smear or two of gasket cement or RTV just to hold it in place as you install the cover. Insert the bolts and snug in an alternating sequence until tight.
TIP: The clutch cover swap can be done without draining the engine oil by leaning the bike on its sidestand.


 RSS Feed