 Honda Part Number: 64105-MV8-505
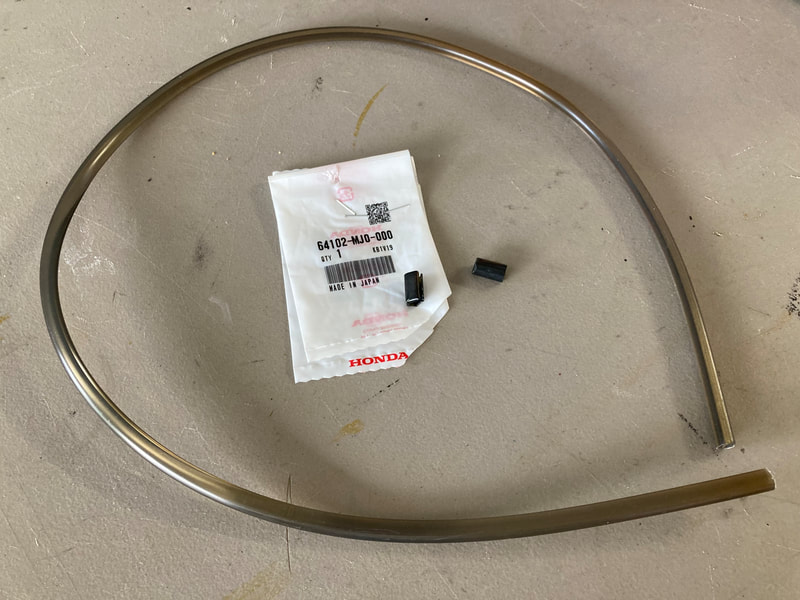
 The molding has been NLA from Honda for several years, but some time ago I found three OEM sets available on eBay and grabbed all three, one of which came in handy as I put the final touches on this project. For a substitute part, see note below.
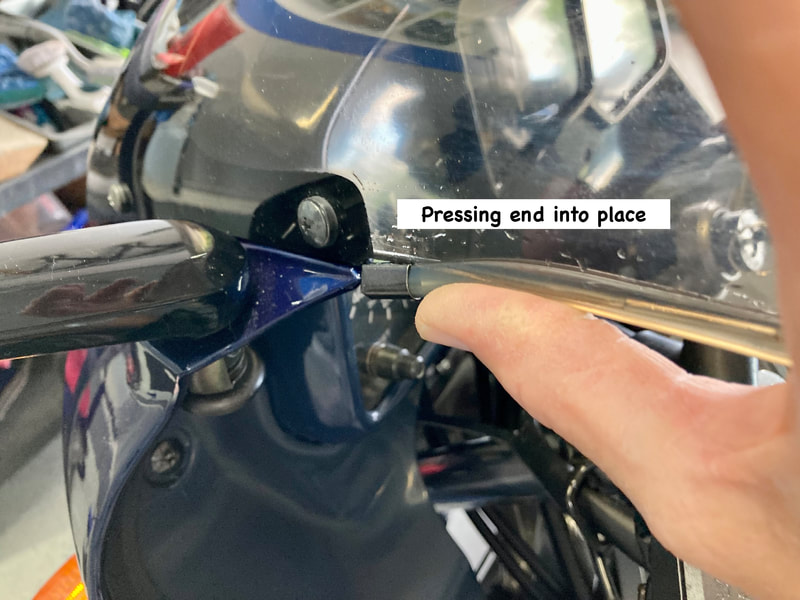
To my surprise, I didn't have any end clips in my parts stash, but, equally surprising…Honda still does. My local dealer had them ready for me five days after ordering: $5.20 each. The molding is very soft and flexible — very much like silicone — and has extra length, as it's used on other Honda models. Here's how I install the molding.
(see photos below, click on an image to enlarge)
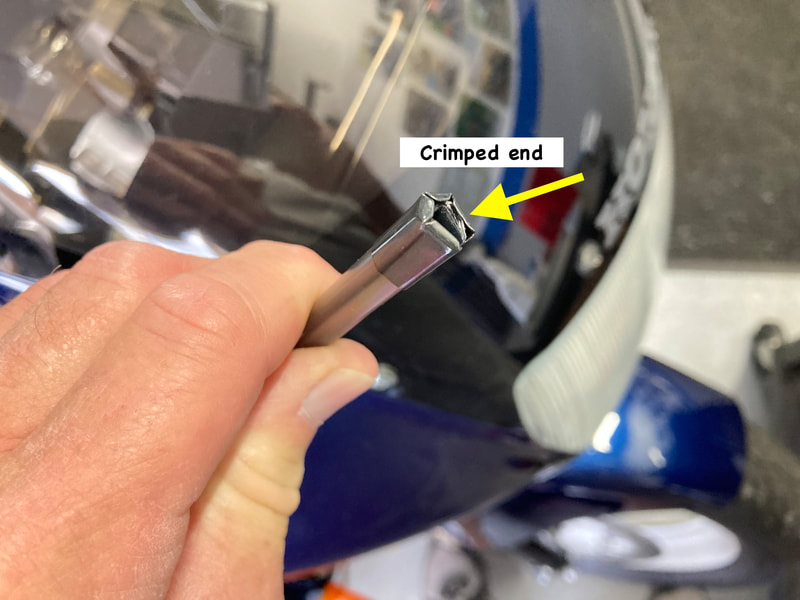
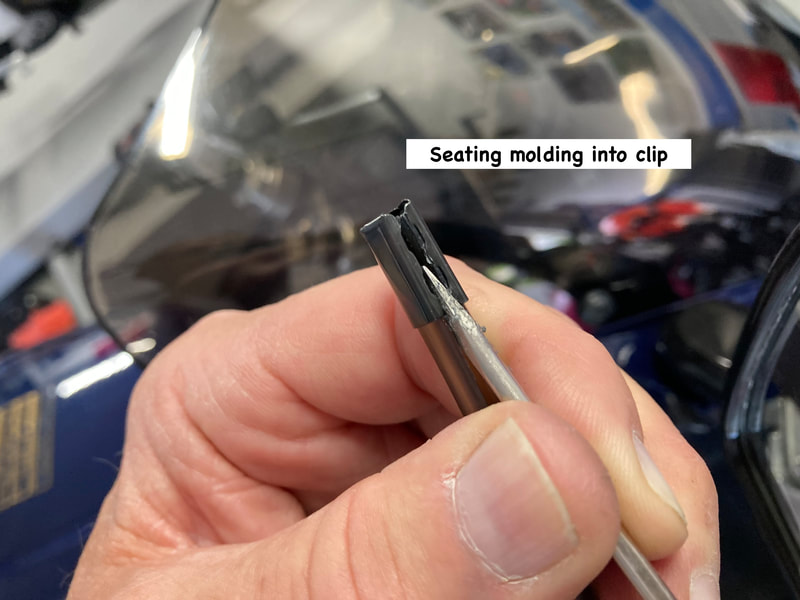
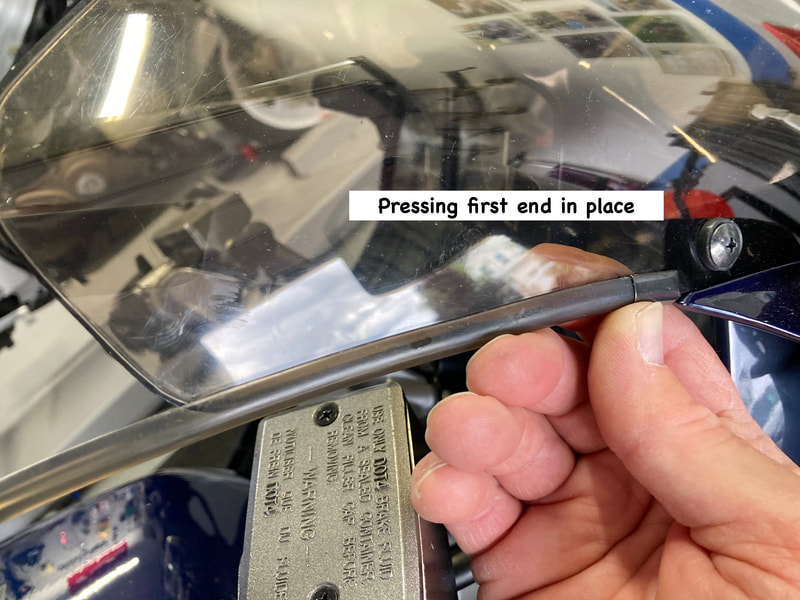
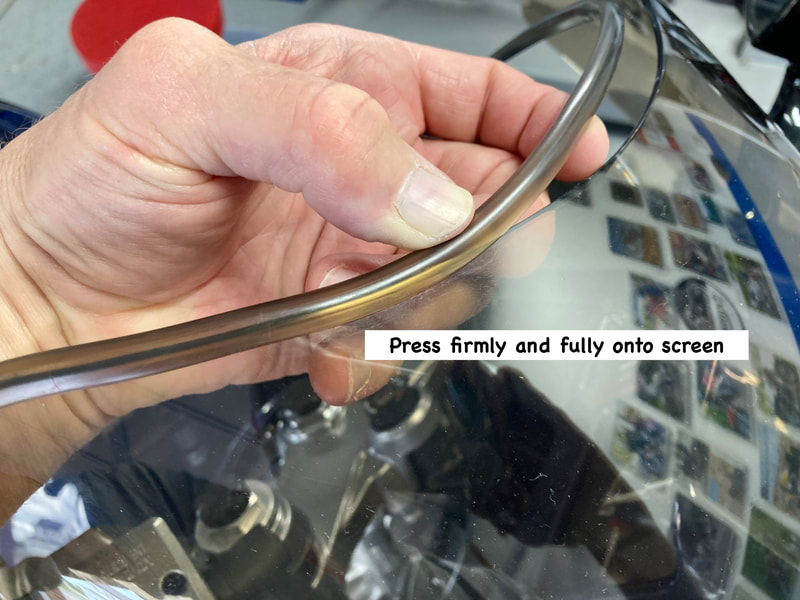
The end clips have an open end and a crimped, or closed end. The crimped end is first installed onto one end of the molding, and I then use a small screwdriver to seat the molding fully into the clip, also spreading the clip a bit to aid in pressing it into place onto the windscreen (if reusing an old clip, you needn't spread it). I install the first few inches of molding onto the screen and press the clip into place. Note that you will be pushing and pressing forcefully as the screen/fairing creaks in protest, so support the screen as you proceed.
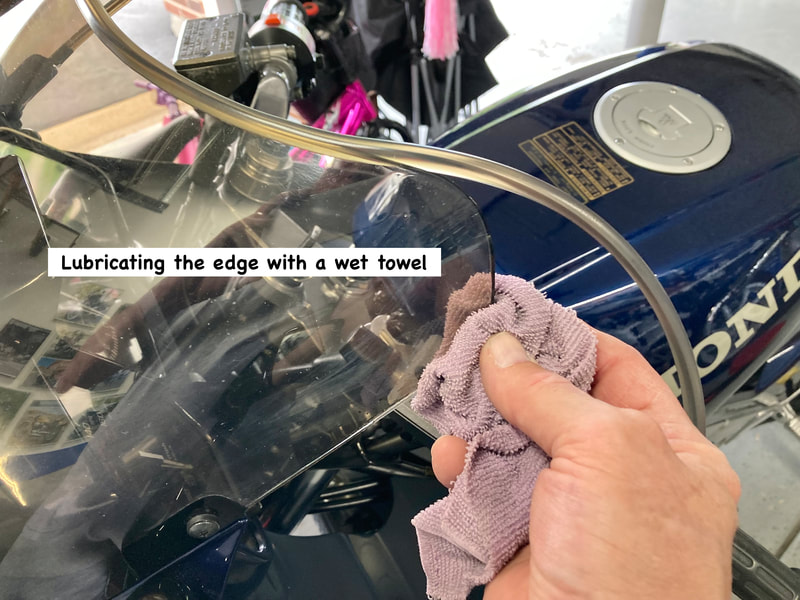
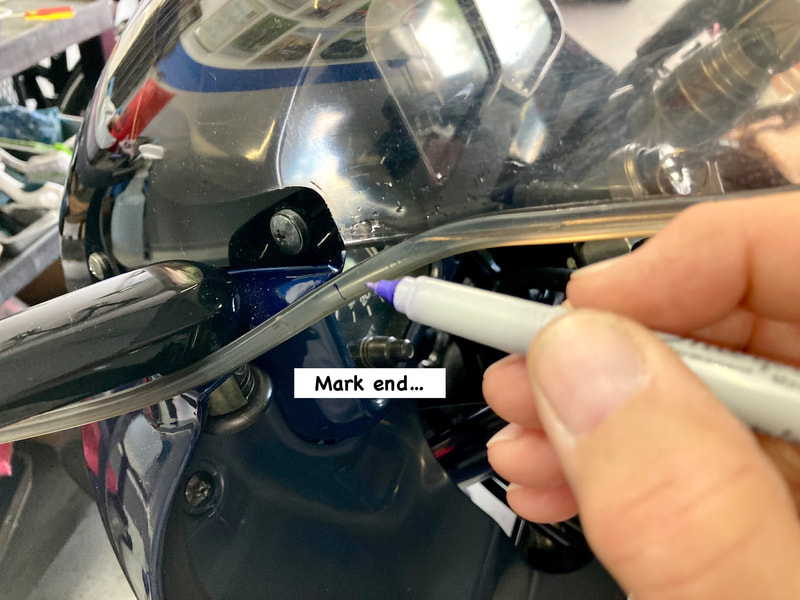
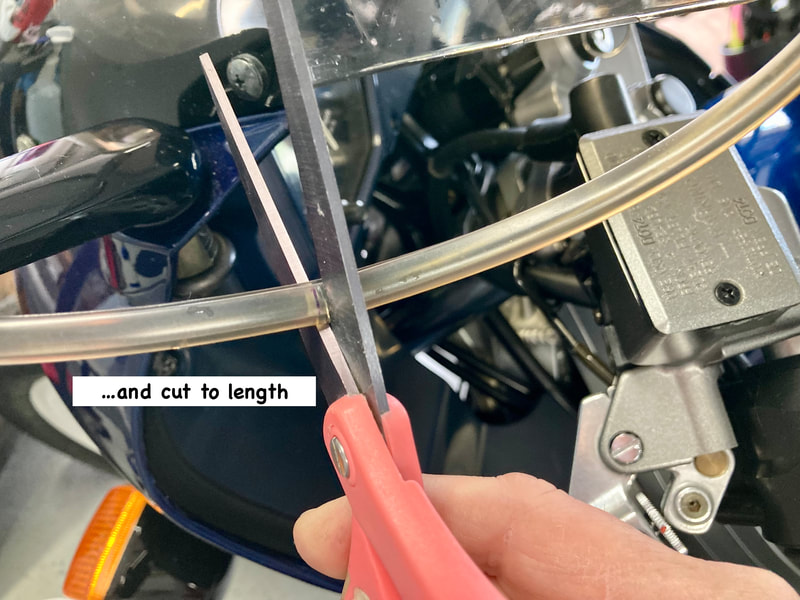
I wet the screen edge with a water-soaked towel to help the molding slip into place (alternatively, heat gently with a heat gun), then work my way along the screen edge. Be certain you're fully seating the molding, as it affects the final length. Nearing the end, I mark the end point and cut the excess. Install the clip onto the molding, seat and spread the clip with the screwdriver, and press into place. Finished.
NOTES:
• Reader Kevin shared that he has found a substitute molding from Suzuki; part # 94631-33C01, about $16
• No glue is required to install the molding.
• If you're reinstalling an old molding which has stiffened with age, try softening with a heat gun or soaking in hot water, pressing into place while warm.
 RSS Feed