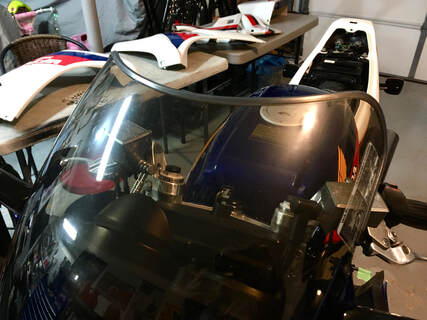
One of the final bits to finish on the freshening of Project 9 is to install the windscreen molding. This is a vinyl strip that surrounds the exposed edge of the windscreen. It's a factory part, but is no longer available from Honda. Fortunately, I have a few in the warehouse, so let's get it on the bike.
The molding is designed to install by simply pressing onto the windscreen edge, held by friction. In the past, I've had to add a bit of clear adhesive to older molding which had lost its elasticity, but this NOS molding installed easily, with a little help from warming with the heat gun.
(Below) Be careful with the heat; the molding has a low melting temperature, which I quickly discovered. Fortunately, extra material is supplied. When I reached the end I snipped off the excess.


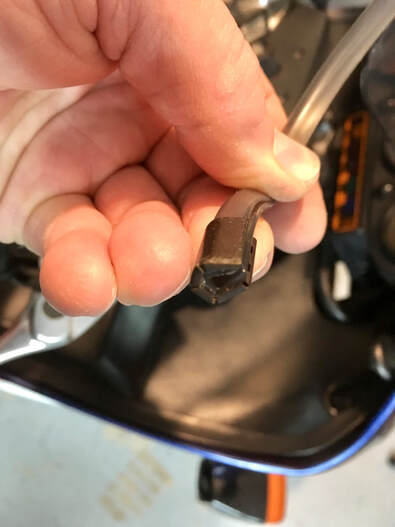
One thing to note about the little molding clips, which secure the molding at either end, is that they have an open end and a closed end, so they must install as shown. Slip the clip onto the end of the molding, then with a firm push it pops onto the windscreen, holding the end securely. If yours are missing, these clips are still available from Honda.
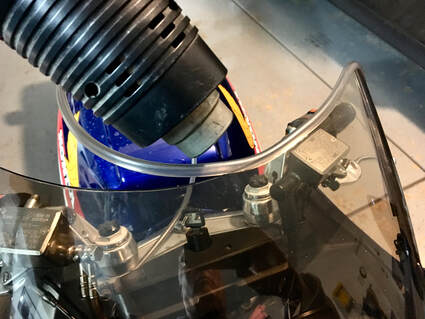
Finally, I gently heat the entire length of the molding making sure it's evenly seated.
Job done.
Finally, I gently heat the entire length of the molding making sure it's evenly seated.
Job done.
 RSS Feed