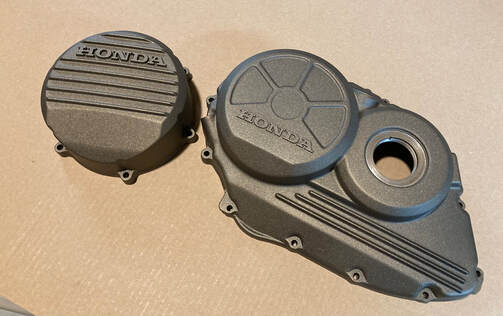
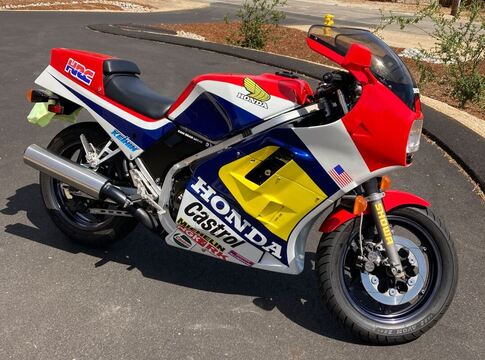
Yesterday I received back this set of RC24/26 clutch and alternator covers, expertly powder coated by Tom at Tom's Cycle Recycling.
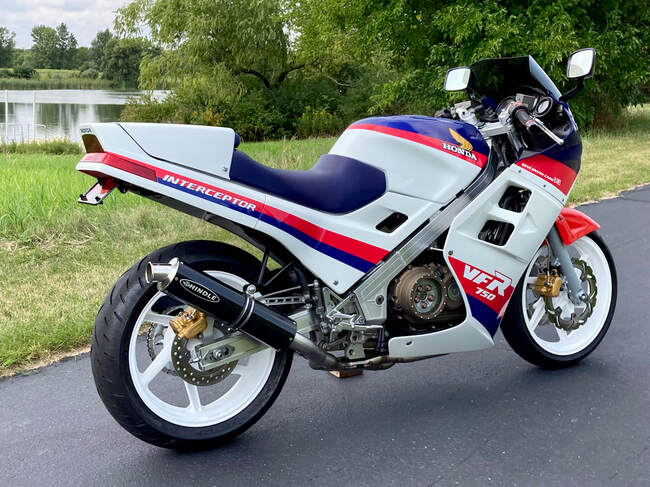
What makes the 2d-gen VFR covers so special? In a nod to weight savings for Honda's complete remake of the Interceptor model for '86, one of the changes was to cast the valve and engine covers in magnesium. Aluminum was used on earlier and later generations.
To find a set like these which haven't suffered garage and road rash makes them well worth saving. The color chosen is "Gold Dust" from Prismatic Powders. Thanks, Tom, nice work!


 RSS Feed