 Click on image for the eBay link
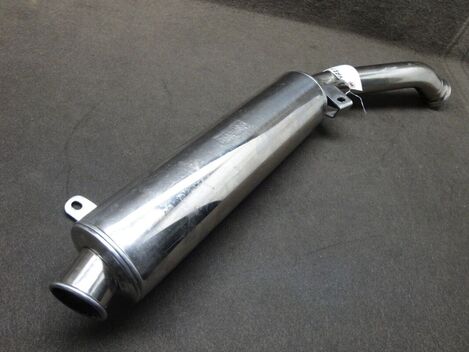
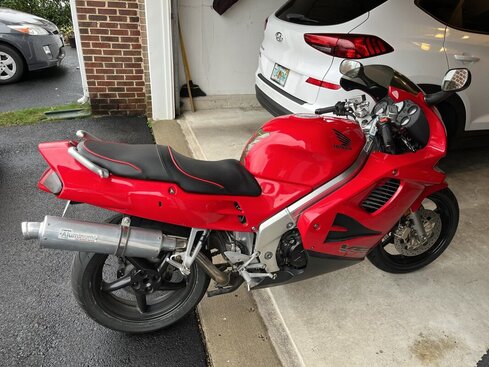
 I don't see these come up very often, at least not in serviceable condition. This Staintune slip-on should fit the 1994-97 VFR750 with two mounting points in addition to the flared header mount.
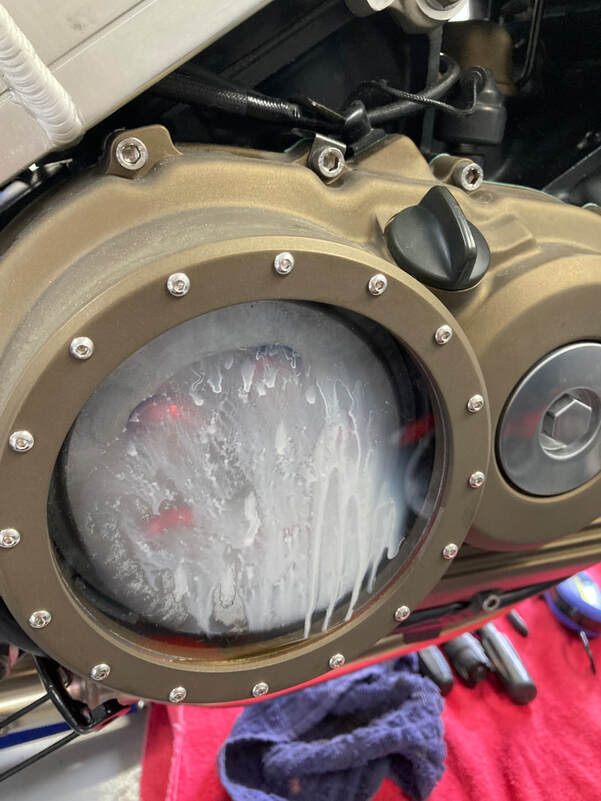
I'm assuming the finish is stainless steel, so it won't respond to refurbishment as easily as aluminum, but the seller states, "No dents, scrapes, holes, or leaks. Usual light scratches in the finish." I can't tell if this is a high or mid-mount but judging from the length of the mid-pipe I'm thinking high mount. In any case, a useable Staintune slip-on for $194.40 shipped is what I consider a fair deal.
I'm assuming the finish is stainless steel, so it won't respond to refurbishment as easily as aluminum, but the seller states, "No dents, scrapes, holes, or leaks. Usual light scratches in the finish." I can't tell if this is a high or mid-mount but judging from the length of the mid-pipe I'm thinking high mount. In any case, a useable Staintune slip-on for $194.40 shipped is what I consider a fair deal.


 RSS Feed