 Click on image for the VFRworld.com ad
 What: 2007 VFR800
Where: Charlotte, N. Carolina
Why: Low miles, unmolested
Price: $5000
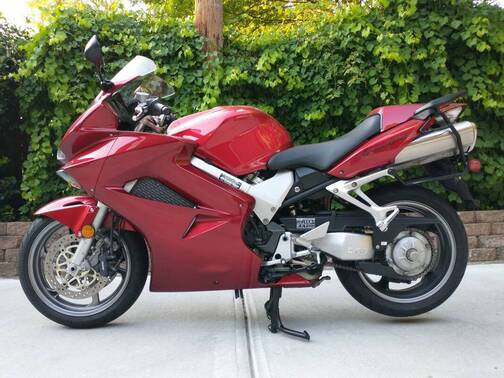
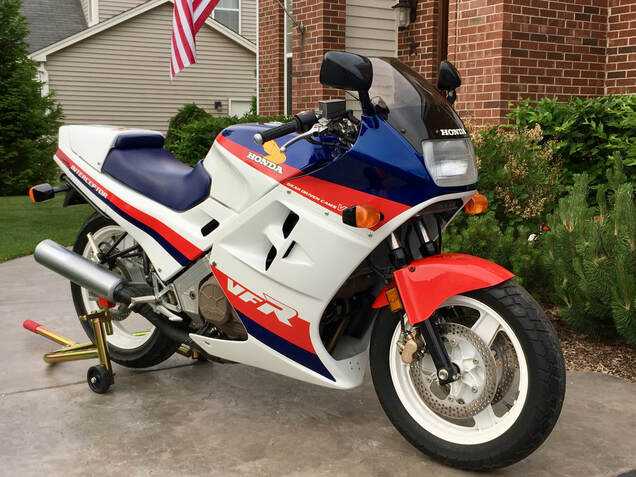
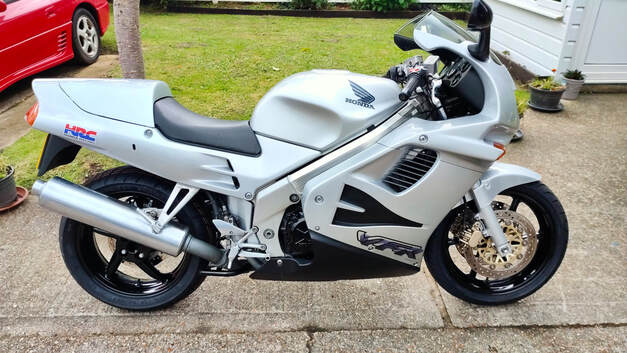
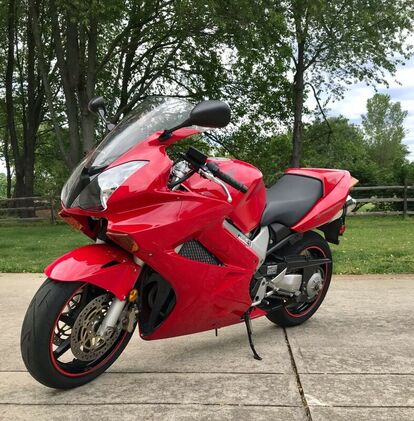
If you were shopping for a new Interceptor in 2007 your color choices were two: the r/w/b Anniversary Edition or this more Honda-like Candy Glory Red.
Today's example is a one-owner, purchased new in 2010 and ridden only 5500 miles. The seller claims the bike is unmodified, never down and "not a scratch on it," excepting some scuffs on the matching OEM saddlebags. The title is clean and the price firm. If you're in the market for a new-looking sixth-generation Interceptor, your search could easily end here.
Where: Charlotte, N. Carolina
Why: Low miles, unmolested
Price: $5000
If you were shopping for a new Interceptor in 2007 your color choices were two: the r/w/b Anniversary Edition or this more Honda-like Candy Glory Red.
Today's example is a one-owner, purchased new in 2010 and ridden only 5500 miles. The seller claims the bike is unmodified, never down and "not a scratch on it," excepting some scuffs on the matching OEM saddlebags. The title is clean and the price firm. If you're in the market for a new-looking sixth-generation Interceptor, your search could easily end here.


 RSS Feed