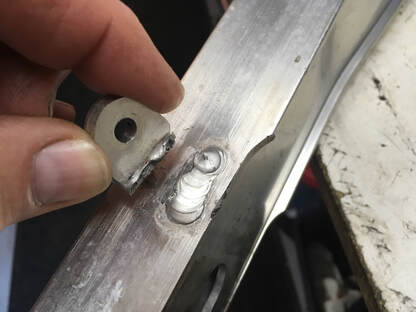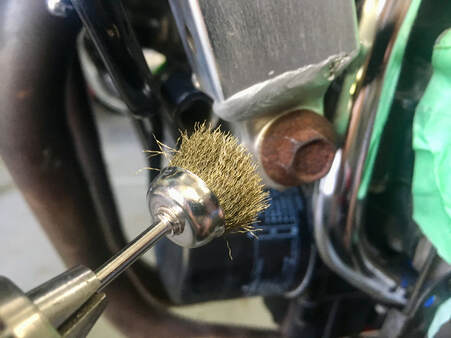
In this case I manually remove the rust with brass rotary brushes mounted on a drill or Dremel. I get these in a packaged selection from Harbor Freight.
The finished bolts are now ready for another 30 years of service.
|
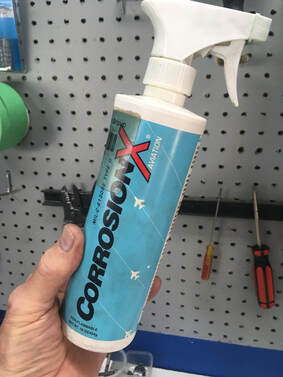
My usual approach to refurbishing rusty bolts/nuts/screws is to soak them in a rust remover overnight and then polish or paint or metal treat them, but sometimes I want to leave the bolt in place, as in the case of the engine mount bolts on Project 26. In this case I manually remove the rust with brass rotary brushes mounted on a drill or Dremel. I get these in a packaged selection from Harbor Freight. Next, I coat the cleaned bolt with a metal treatment. I like this product, Corrosion X. It's an aviation-based mil-spec product originally developed to protect the aluminum panels subject to jet blast on Blackhawk helicopters. I've used it for years on aircraft and every vehicle I've owned. It's a penetrant, a long-lasting lubricant, and it stops corrosion dead. It's even safe on electronics and environmentally friendly. Good stuff to keep handy on the shelf. The finished bolts are now ready for another 30 years of service.
0 Comments
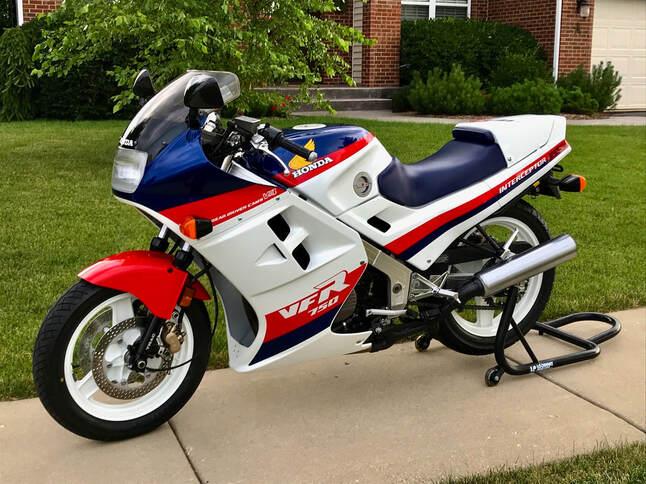
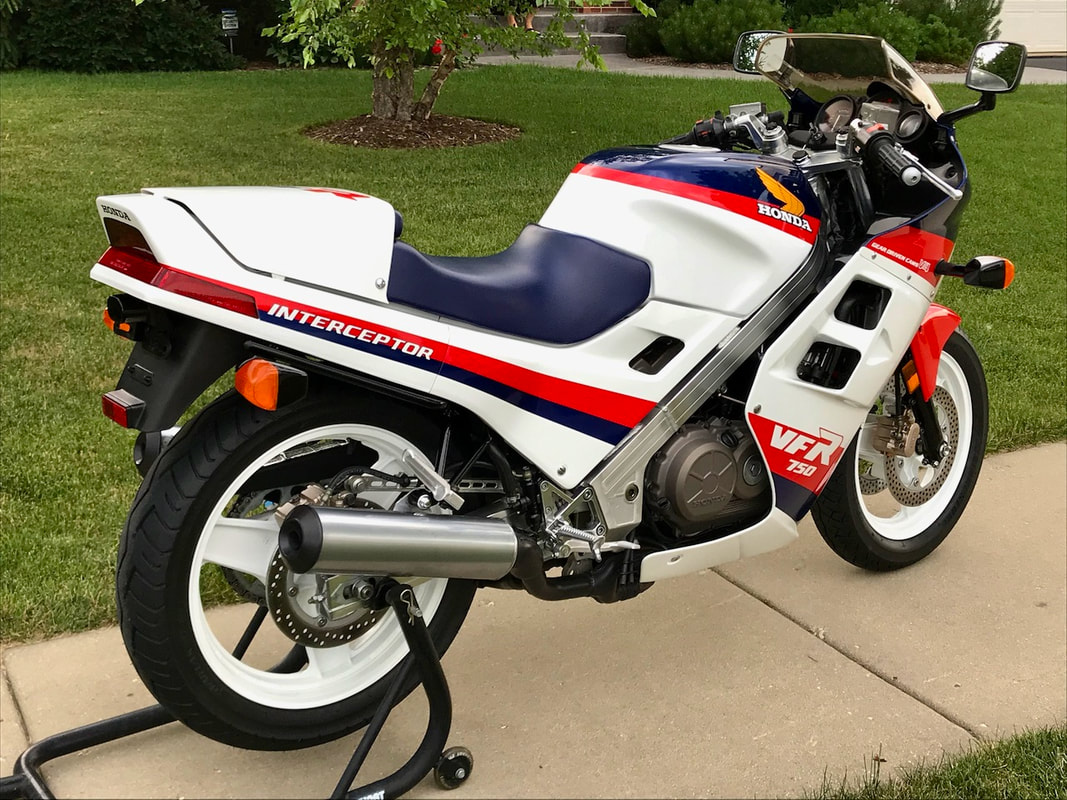
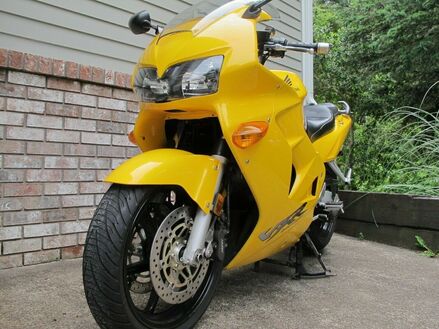
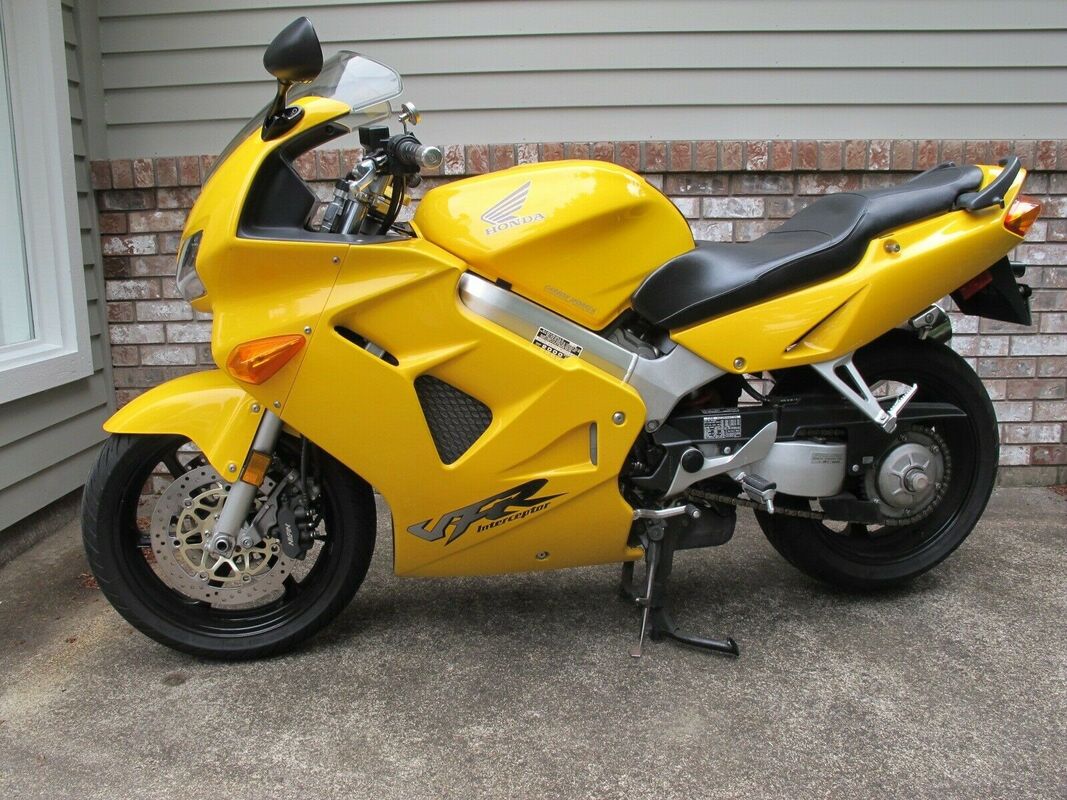
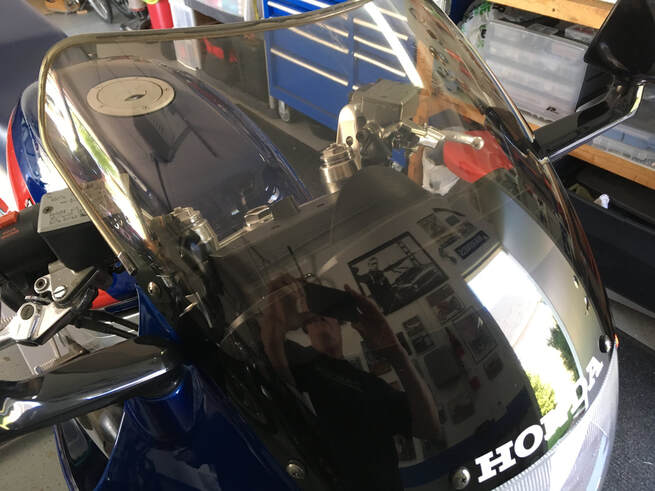
Project 26 is nearing the finish line, and as I tackle the body panels and other cosmetics piece-by-piece, I eventually had to face the windscreen. The camera has a hard time picking up the details, but this scuffed and scratched windscreen had me thinking that I might not be able to bring it up to the level of the rest of this Interceptor (upper photos).
But I attacked it aggressively, beginning with gentle wet-sanding on the front side with several grades of paper, beginning with 800-grit and progressing to 5000-grit. The backside was sanded with only 5000-grit. Then a low-speed orbital buffing with three grades of compound. After about an hour's worth of labor I was able to save this factory original piece, which is the goal of both the owner and myself (lower photo). (click on an image to enlarge) Today is Independence Day in the United States, when we pause to celebrate July 4, 1776, the day that the Continental Congress signed the Declaration of Independence from England, declaring the original 13 states free from the British monarch's rule. It would take the Revolutionary War to cement that independence and lead to the formation of the United States. The war for independence had actually begun a year earlier, officially ending in 1783.
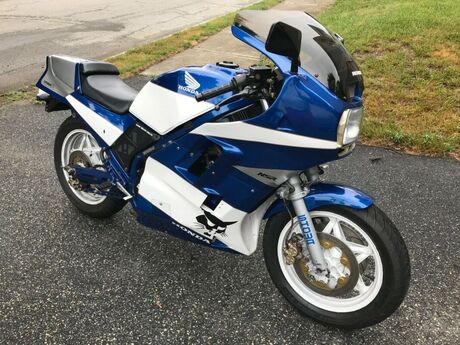
This year the traditional celebrations of fireworks, backyard BBQs and parades will be stunted, but we'll be back next year, you can count on that. Happy Birthday, America Click on image for the eBay link What: 1991 VFR400R Where: St. Petersburg, Florida Why: Low miles, unique Price: $6290 or make offer This bike represents the third, and final, generation of the VFR400, which would evolve into the RVF400 NC35 in 1994. This one shows 10,002 miles and sports Tyga Performance aftermarket body panels, brake rotors and triple clamp with custom-made exhaust. Race replica livery isn't my cup of tea, but the Pepsi scheme is pretty low-key, and compliments an early VFR styling key, white wheels. I suspect that the asking price would be more achievable if the bike were wearing stock bodywork, but this looks like a unique and fun scoot. As I work my way toward the finish of Project 26, some of the more difficult details come my way. The objective with this build is to preserve as much of the original bike as possible while bringing it up to its best level. As such, my preference is refurbish what we have, as opposed to replacing or repainting. A perfect case in point are the mirrors and turn signals. This may be a low-mileage VFR, but after 34 years, things that poke out from the bike take a beating from garage rash and normal use. The mirror pictured is a good example. The camera has a hard time detailing its condition, but suffice to say it's covered in scuffs, stains and scratches. These parts have a painted finish, but the difference from standard painted plastic or metal bikes parts is that the underlying plastic is black also, so deep scratches (within reason) can be sanded smooth without the need for repainting. The process begins with wet sanding, using the finest grade possible to remove the imperfections, in this case 600-grit. Then I work my way to 1200, 2000, 3000 and, finally, 5000-grit. With luck, 95% of the scruff will have disappeared and we're ready for polishing. And here we are at the finish line. I've used my Griot's G8 Mini Random orbital polisher with orange polishing pads and three grades of polishing compound; • Meguiar's Mirror Glaze #83 • Griot's Correcting Cream • Meguiar's Ultimate Polish The final step, once the bike is completed, is a hand-applied coat of wax to all the shiny parts. Works on signals too, including the lenses. Yesterday my latest shop tool arrived. In this case, a 450-lb tool...a Tuxedo M-1000C air/hydraulic lift. I've been putting off getting a proper motorcycle lift for years and finally decided it's time. The lift itself comes assembled and the optional front wheel vise is boxed separately. The vise is essential to hold the bike in place. Here I'm assembling the vise. As my knees complain more and more about being on the floor while working on my projects, this tool will be a welcome addition. The simplest way to remove old hand grips is to simply cut them lengthwise with a razor and peel them off. But, if you have a need to save the grips you'll need to use a little finesse. I first take a long, narrow screwdriver, or similar, run it under the grip, then all the way round to loosen any cement. With the screwdriver forming a gap at the top I spray in a blast of electronic cleaner and immediately twist the grip off. Usually pops right off. With 30+ years of use and abuse, I often find that it's necessary to repaint the exhaust pipes on my projects. I'm referring to the black pipes and muffler tips, not the headers. After much trial and error, I found a technique that gives a very factory-like sheen. I begin with a thorough cleaning, sanding, and finish with three or four coats of flat black high-heat paint. But, of course, the flat finish doesn't look at all correct. My trick is to wait about a week for the paint to cure, then firmly rub out the paint with a dry terrycloth towel. The result is a nice satin finish, very much like the original. Here are the pipes on Project 26, freshly buffed and looking great. NOTE: This finish in NOT fuel or solvent proof—resistant, but not proof. Protect it accordingly. Click on image for the vfrd.com link. What: 2002 VFR800 Where: Vista, California Why: Fully modified, ready-to-ride Price: $4800 When a vehicle becomes your passion, things can get expensive, even when it's only two wheels. The eventual lesson learned, of course, is that all that investment in time and money will ultimately return the owner pennies on the dollar. That's why it's called a labor of love, and here's a perfect example. Located in Southern California and showing only 16,822 miles, this first-year VTEC 800 has been lavished with performance and cosmetic upgrades—the seller claims over $8000 in extras within the last 2800 miles. The list is long and begins with a black powder coated frame, moving to custom exhaust work, DMr suspension front & rear, dyno-tuned (w/chart), 4th-gen rear wheel, see-thru clutch cover, Sargent seat, 8th-gen bars & triple clamp...all the way to the polished fuel cap and much more. The performance upgrades show 10 HP and 4 lb. torque increases beginning at about 6000 RPM. Cosmetically, the bike still gives a very stock look, with the obvious, and striking, white wheels setting this one apart from the crowd. Value? In OEM configuration this model might realistically sell for $3000 (despite the plethora of over-priced VTECs offered out there), so our seller is offering a boat load of extras for not much dinero, making this a relative bargain for the buyer looking for a low-mileage VTEC 800 that's pre-farkled. If it were wearing Anniversary Edition bodywork with ABS, I wouldn't be able to resist. Nice job, good luck to our seller. Click on image for eBay link. What: 1990 VFR750R (RC30) Where: Grand Rapids, Michigan Why: RC30 Price: Auction w/ $39,000 BIN This gorgeous RC30 is up for auction with bidding up to $24,100 and reserve not met. It shows 7047 miles and was originally a Florida bike. Not much word on condition, but it looks near-perfect, though the factory rear stand seems to be MIA. Auction ends Sunday evening. Good luck to seller and buyer. |
THE SHOP BLOG
|