 Click on image for the eBay link.
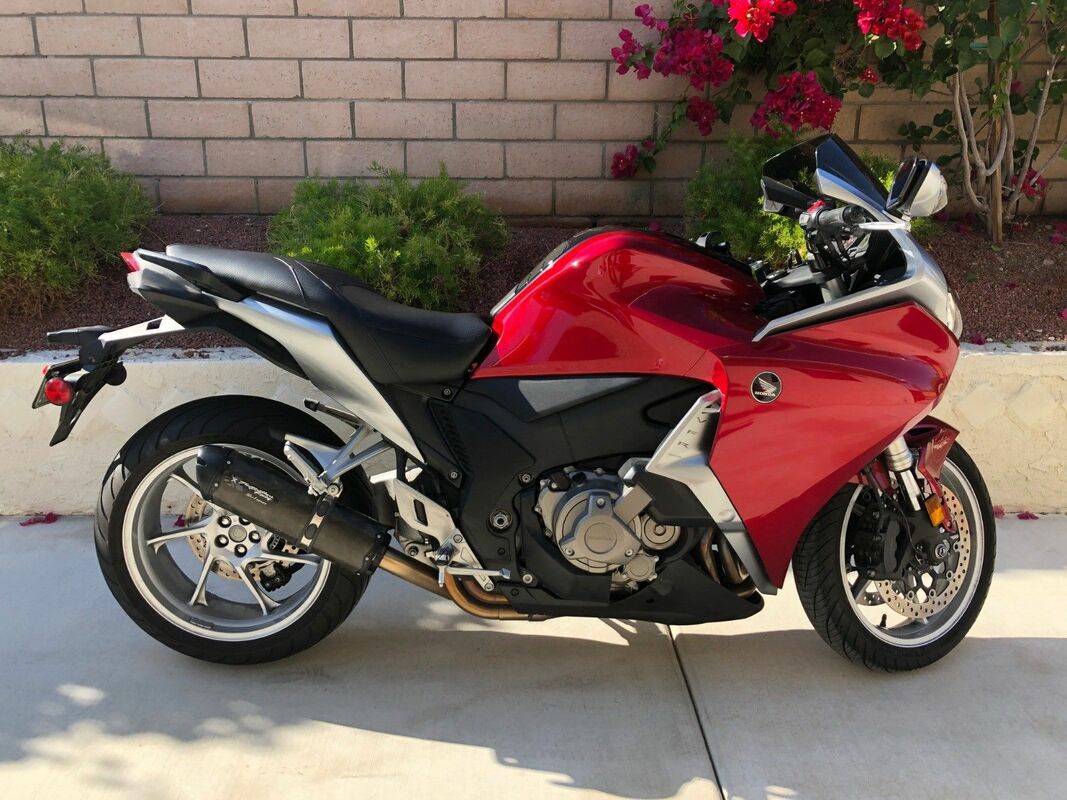
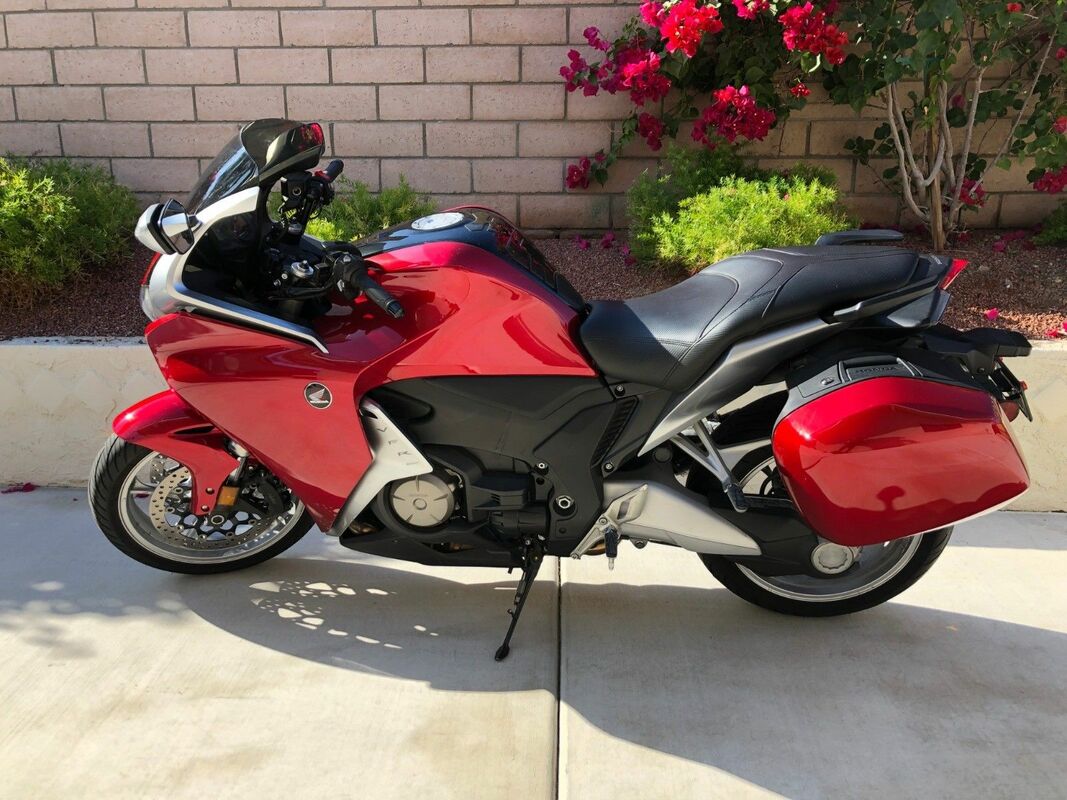
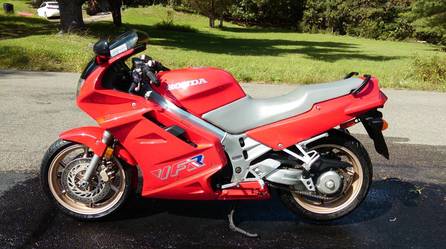
 What: 2010 VFR1200F DCT
Where: Cathedral City, California (Palm Springs)
Why: Low miles, mature owner, fair price
Price: $5900 opening bid
Showing only 8066 miles, our seller is calling it quits on two wheels. That's unfortunate, but it does make his lightly-used and nicely-fitted VFR available to a discerning buyer. The bike features a Two Brothers muffler, custom seat, factory saddlebags and fresh Michelin GT tires. The original exhaust is included and will be required if the owner wishes to use the saddlebags.
The VFR1200F is world-class sport touring at its highest level and represents the absolute best value in that market segment. With its multiple personality of daily rider and 150 HP mile-munching sport bike, it can be everything most riders need or want. Some lucky buyer will get $16,000 worth of motorcycle (new w/extras) for a song.


 RSS Feed