 Click on image for the eBay link.
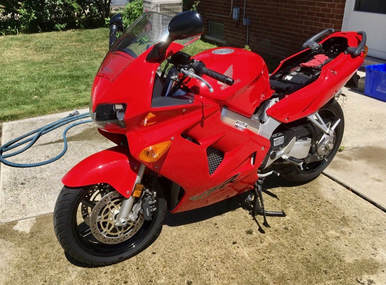
 What: 1999 VFR800 FI
Where: St. Clair Shores, Michigan (Detroit)
Why: Almost no miles (!)
Price: $5000 or offer
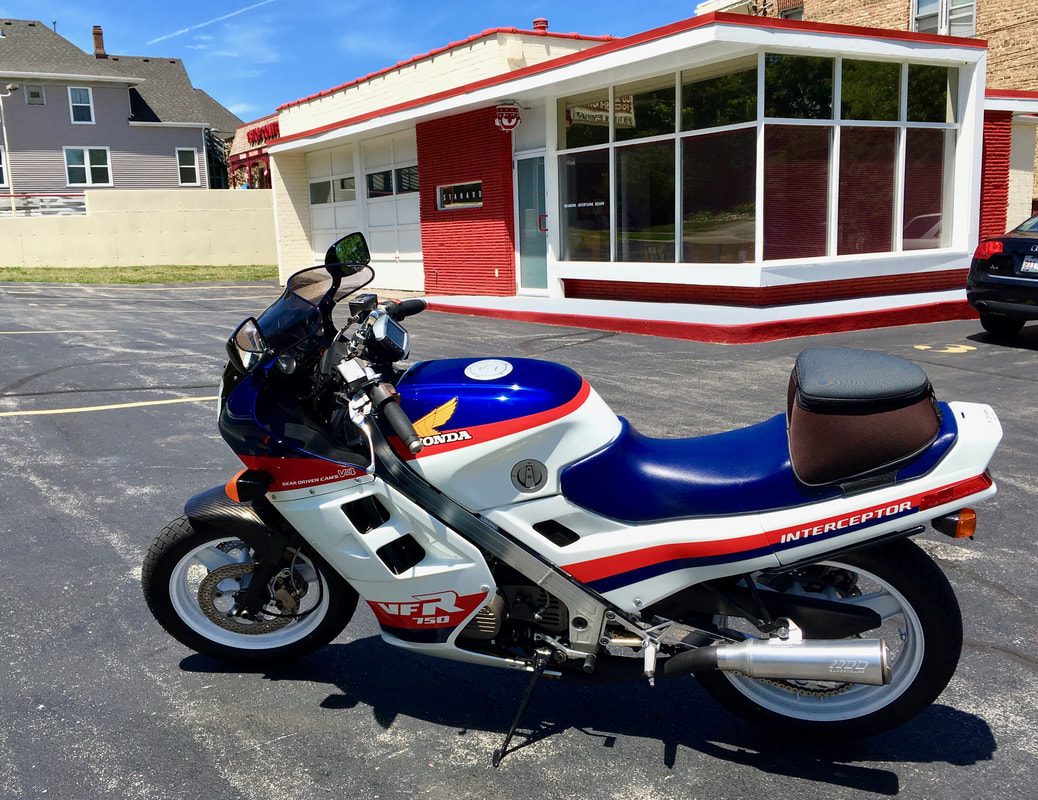
I just came across this fifth-gen 800 up for sale on eBay. Showing an incredibly low mileage of 1245, the seller claims to be the original owner and the bike to be in "pristine as new" condition. If the mileage can be verified then this is a rare opportunity to pick up a showroom example of the first generation 800 — featuring fuel injection but without the VTEC valve gear.
The seller's asking price of $5000 is extreme, but the "make offer" button is active. A more typical fifth-gen with average miles would be valued at around $3500. What does almost no miles add to the value? That's between the seller and buyer; good luck to both.
Where: St. Clair Shores, Michigan (Detroit)
Why: Almost no miles (!)
Price: $5000 or offer
I just came across this fifth-gen 800 up for sale on eBay. Showing an incredibly low mileage of 1245, the seller claims to be the original owner and the bike to be in "pristine as new" condition. If the mileage can be verified then this is a rare opportunity to pick up a showroom example of the first generation 800 — featuring fuel injection but without the VTEC valve gear.
The seller's asking price of $5000 is extreme, but the "make offer" button is active. A more typical fifth-gen with average miles would be valued at around $3500. What does almost no miles add to the value? That's between the seller and buyer; good luck to both.


 RSS Feed