 Click on image for the Cycle Trader link
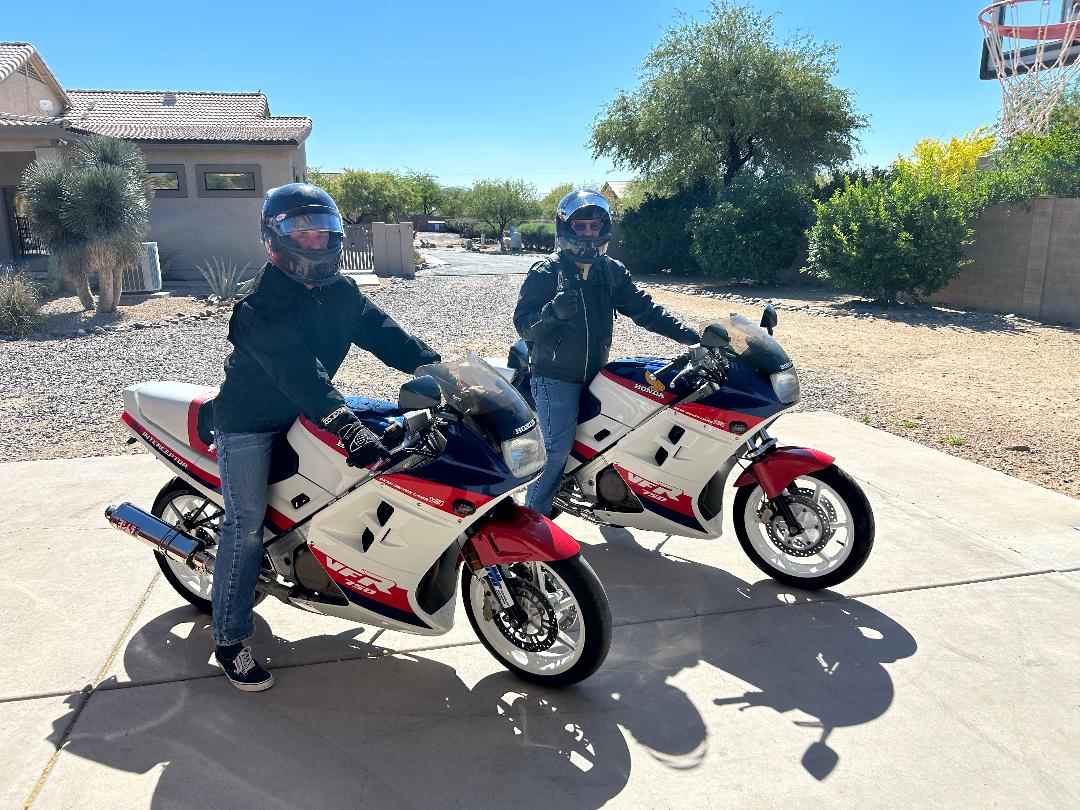
 What: 1986 VF500F Interceptor
Why: Nice survivor, mostly original
Where: Neenah, Wisconsin
Price: $3695
For all the folks who write to ask me if I know of a nice 500 Interceptor available for sale, well, here ya' go!
This example appears to be a very complete example — aftermarket mirrors the only non-original bits to catch my eye — with just enough patina to show its originality. Showing 32,785 miles, the black chrome mufflers are intact, the steel frame doesn't show the usual rust areas, the black engine area gleams, the paint looks very good with some scuff marks, and the windscreen shows fading. The selling dealer notes, "...purrs like new, no leaks and does not smoke. Drives and shifts perfectly."
Overall, I would rate this a #2 or 3 rider-grade bike, which puts the asking price somewhat high, but I'm assuming there's some negotiating room built in.


 RSS Feed