 Click on image for eBay listing.
 SOLD - $12,000
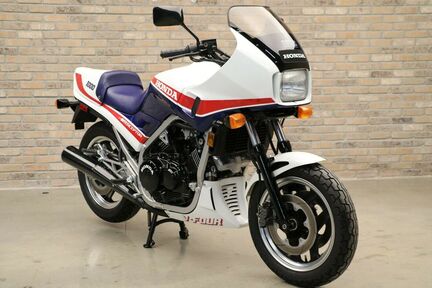
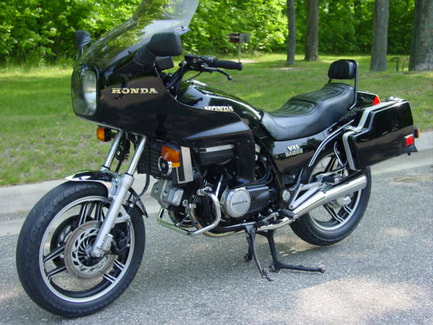
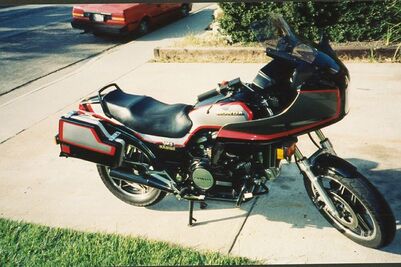
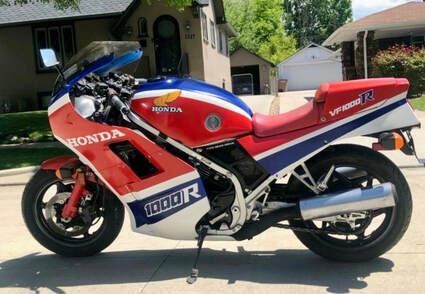
Just sold via eBay auction, this pristine 1984 VF1000F went for an impressive $12,000 with 19 bids. Offered by Throttlestop in Elkhart Lake, WI this is a first-year, collector-grade example of the big-block VF Interceptor.
The "F" model of the 1000 lasted only one model year (U.S.) before being replaced by the Euro liter-bike, the VF1000R. The F was developed as an upsized street-oriented version of the VF750 but suffered from poor sales, resulting in Honda's decision to offer the completely redesigned endurance racer-derived "R" model worldwide.
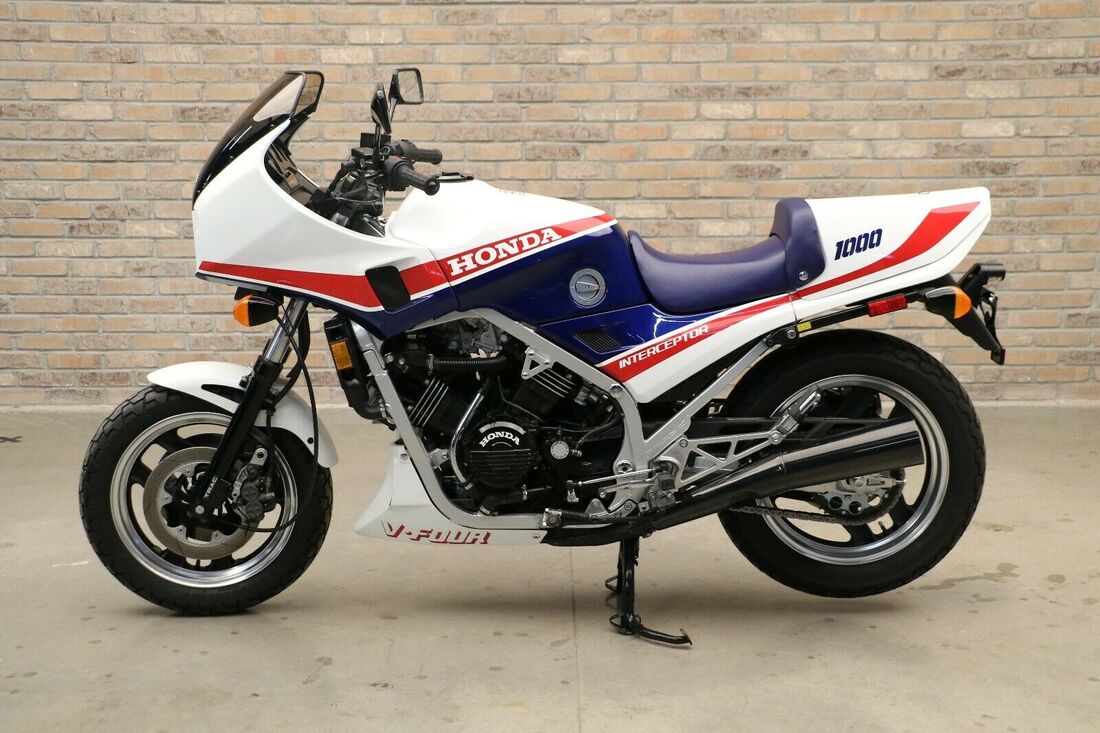
This example shows only 1532 miles and is described in "phenomenal condition" and "an absolute time capsule." While the R may be the more collectible of the big VF Interceptors, the F is arguably the more civilized and approachable when evaluated from the rider's perspective....and, at least in my humble opinion, the better-looking. I've never seen an F anywhere near this price point, so my preference may be shared by others. I hope this one sees some street time with its new caretaker. Well sold.
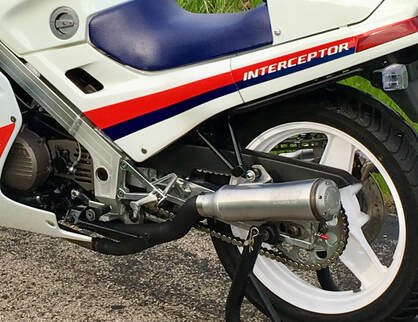
Just sold via eBay auction, this pristine 1984 VF1000F went for an impressive $12,000 with 19 bids. Offered by Throttlestop in Elkhart Lake, WI this is a first-year, collector-grade example of the big-block VF Interceptor.
The "F" model of the 1000 lasted only one model year (U.S.) before being replaced by the Euro liter-bike, the VF1000R. The F was developed as an upsized street-oriented version of the VF750 but suffered from poor sales, resulting in Honda's decision to offer the completely redesigned endurance racer-derived "R" model worldwide.
This example shows only 1532 miles and is described in "phenomenal condition" and "an absolute time capsule." While the R may be the more collectible of the big VF Interceptors, the F is arguably the more civilized and approachable when evaluated from the rider's perspective....and, at least in my humble opinion, the better-looking. I've never seen an F anywhere near this price point, so my preference may be shared by others. I hope this one sees some street time with its new caretaker. Well sold.


 RSS Feed