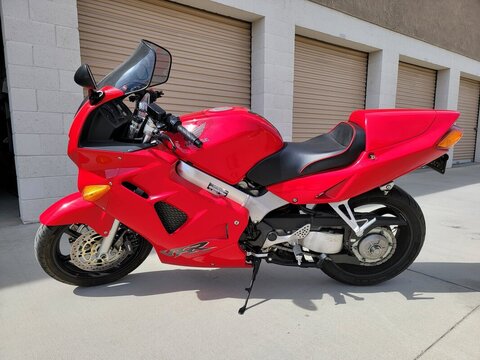
 Click on image for the BaT link
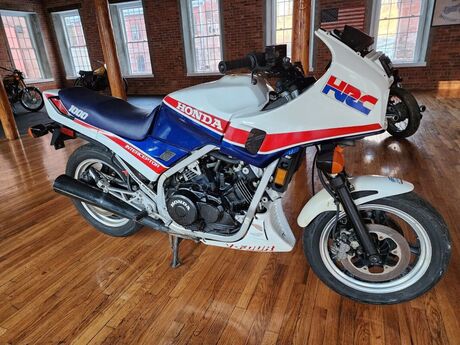
 What: 1990 VFR750R
Where: Tiptop, Virginia
Why: RC30
Price: BaT auction
UPDATE: Sold for $30,000
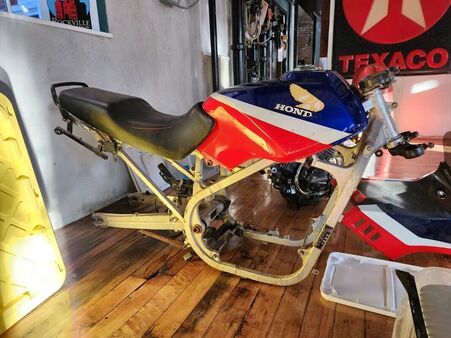
This is an unusual offering in the world of RC30 trading. Showing 20,000 miles with a recent mechanical refurbishment, this bike lives in the netherworld between a collector's dream and a rider's opportunity. This example displays a lot of originality but suffers (from a collector's view) from many missing and incorrect parts along with cosmetic blemishes, and, there's an unknown history, with the likelihood of a racing past. The RC30 was never meant to function well as an everyday rider — it's a race bike sold to a relative handful of consumers only to satisfy racing homologation rules. In the end, this example might be a good basis for a full restoration. If so, Honda's recent “RC30 Forever” Genuine Parts Program should help — just keep your credit healthy. Auction ends January 17.
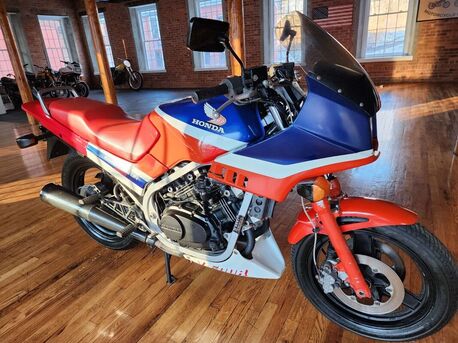
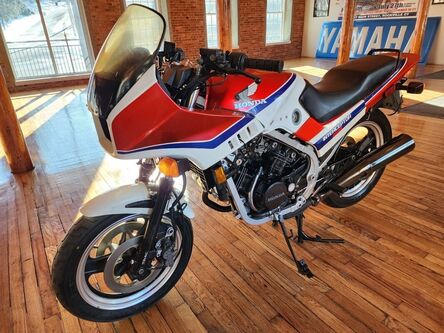
Where: Tiptop, Virginia
Why: RC30
Price: BaT auction
UPDATE: Sold for $30,000
This is an unusual offering in the world of RC30 trading. Showing 20,000 miles with a recent mechanical refurbishment, this bike lives in the netherworld between a collector's dream and a rider's opportunity. This example displays a lot of originality but suffers (from a collector's view) from many missing and incorrect parts along with cosmetic blemishes, and, there's an unknown history, with the likelihood of a racing past. The RC30 was never meant to function well as an everyday rider — it's a race bike sold to a relative handful of consumers only to satisfy racing homologation rules. In the end, this example might be a good basis for a full restoration. If so, Honda's recent “RC30 Forever” Genuine Parts Program should help — just keep your credit healthy. Auction ends January 17.


 RSS Feed