 Click on image for the BaT link
 SOLD: $9000
If you're an auction seller, here's your dream scenario: Two or three bidders who just need to have this item for reasons known only to them.
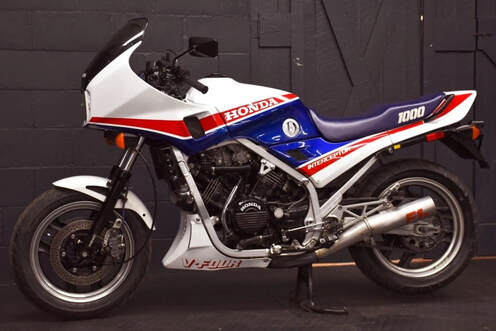
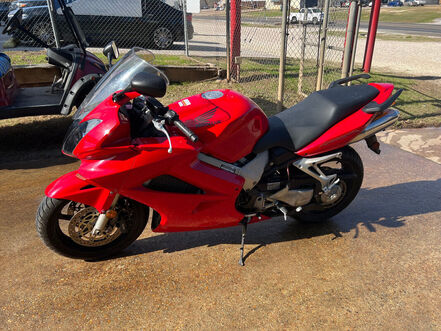
This is money typically reserved for a decent "R" version of the VF1000. But here we have a very average "F". Per the BaT listing, "The selling dealer notes paint chips on the fuel tank, and photos show finish blemishes on the frame along with scuffs on various panels."
The odometer shows an enticing 13,000 miles and basic maintenance has been carried out. The aftermarket F1 mufflers are in average condition, but some nice originals would have gone a long way toward making the sale price more palatable. Well sold.
If you're an auction seller, here's your dream scenario: Two or three bidders who just need to have this item for reasons known only to them.
This is money typically reserved for a decent "R" version of the VF1000. But here we have a very average "F". Per the BaT listing, "The selling dealer notes paint chips on the fuel tank, and photos show finish blemishes on the frame along with scuffs on various panels."
The odometer shows an enticing 13,000 miles and basic maintenance has been carried out. The aftermarket F1 mufflers are in average condition, but some nice originals would have gone a long way toward making the sale price more palatable. Well sold.


 RSS Feed