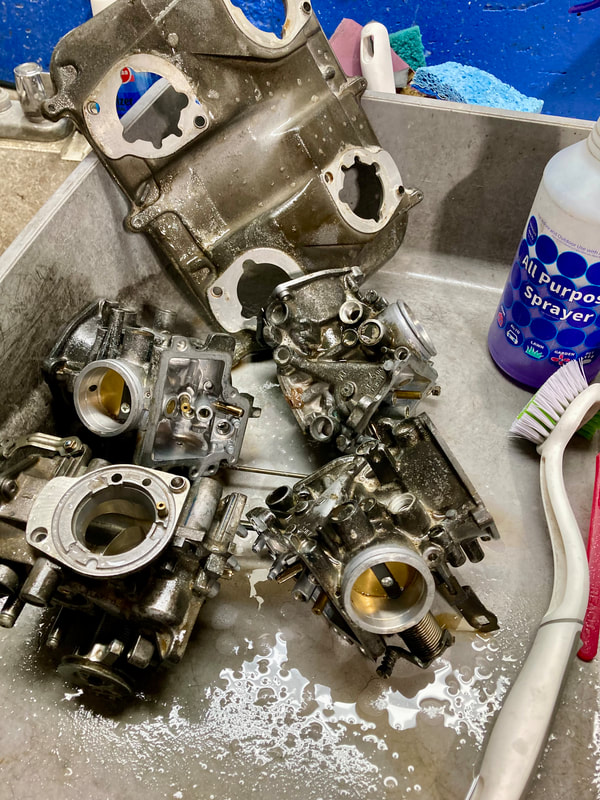
The second phase of my carburetor rescue regimen is cleaning. While it's tempting to throw everything into the ultrasonic cleaner and hope for the best, I've found that a more detailed, hands-on cleaning will deliver the best results. Completely disassembling/reassembling a set of four carburetors is no small task and we don't want to be doing it a second time due to cutting corners in the cleaning phase.
(Below) I begin with a "pre-cleaning" of these very dirty and soot-blackened carb bodies, using purple water-based degreaser and a few sizes of brushes. I just want to get the majority of this dirt so the ultrasonic cleaner has an easier job and its solution stays cleaner, longer. The second photo shows a comparison after a minute or two of scrubbing and a quick rinse. Next, I take a piece of 1200-grit wet/dry sandpaper and scuff clean the slide bores and bowl gasket surfaces. If there's tough gasket cement residue I switch to something more aggressive, like 600-grit.
(click on an image to enlarge)


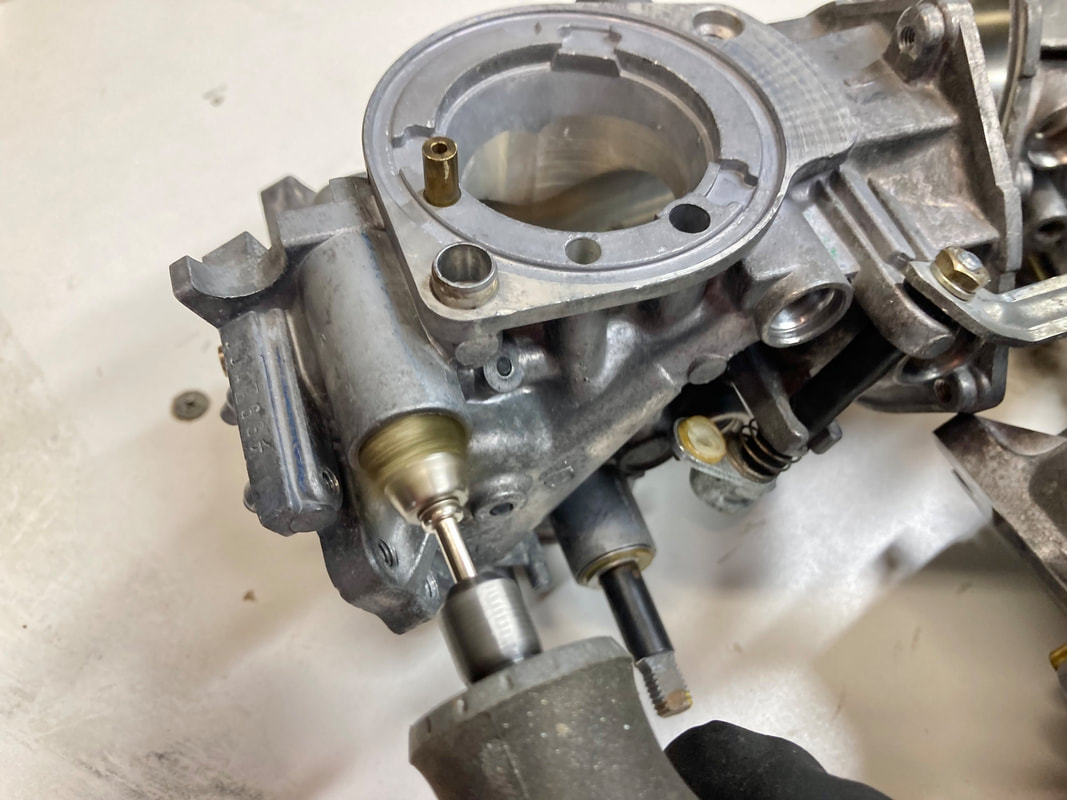
(Below) Before entering the ultrasonic cleaner, I take a moment to clean the fuel and vent tube inlets using a brass brush on the Dremel tool. This will ensure a clean and smooth surface for the tubes' o-rings to make a good seal, especially important for the fuel supply tubes. Then it's into the warm ultrasonic solution for a 20-minute clean followed by a 20-minute soak and a second 20-minute cleaning. I'll also add in the brass jet collection to begin their cleaning process.
When finished I blow the carb bodies clear with 80-100psi compressed air, paying particular attention to the various orifices and passages. This is often, but definitely not always, enough to clear everything out, so, using two sizes of vacuum hose, I verify every passage is clear by blowing by mouth pressure, listening for the escaping air in the appropriate place — this took years of experience to know where the air is supposed to be exiting and how much air resistance each passageway should have.
When finished I blow the carb bodies clear with 80-100psi compressed air, paying particular attention to the various orifices and passages. This is often, but definitely not always, enough to clear everything out, so, using two sizes of vacuum hose, I verify every passage is clear by blowing by mouth pressure, listening for the escaping air in the appropriate place — this took years of experience to know where the air is supposed to be exiting and how much air resistance each passageway should have.


(Right) In this case one of the carbs had a clogged passage in the choke jet. This is the second most common place to find a clog, right after the pilot jets. Both of those jets can be cleared with a very fine wire, shown here. This tiny passage can be stubborn, so I soak it for a bit in Gum Cutter, or a similar solvent, then carefully probe the orifice, being especially careful to avoid stressing the wire to the point of it breaking off in the opening, which would create a real problem as the choke jets are not removable — at least I've never been able to do so. This clog cleared after a few minutes of effort. I then blow Gum Cutter through the entire circuit by mouth pressure, followed immediately by hitting it with compressed air. It's difficult to see in this photo, but the arrow points to a small drain port which is connected to the jet, so that port needs to be plugged with a spare fingertip when blowing through the circuit to ensure the entire circuit is clear. All the rest of these carbs' passages were clear — YAY!
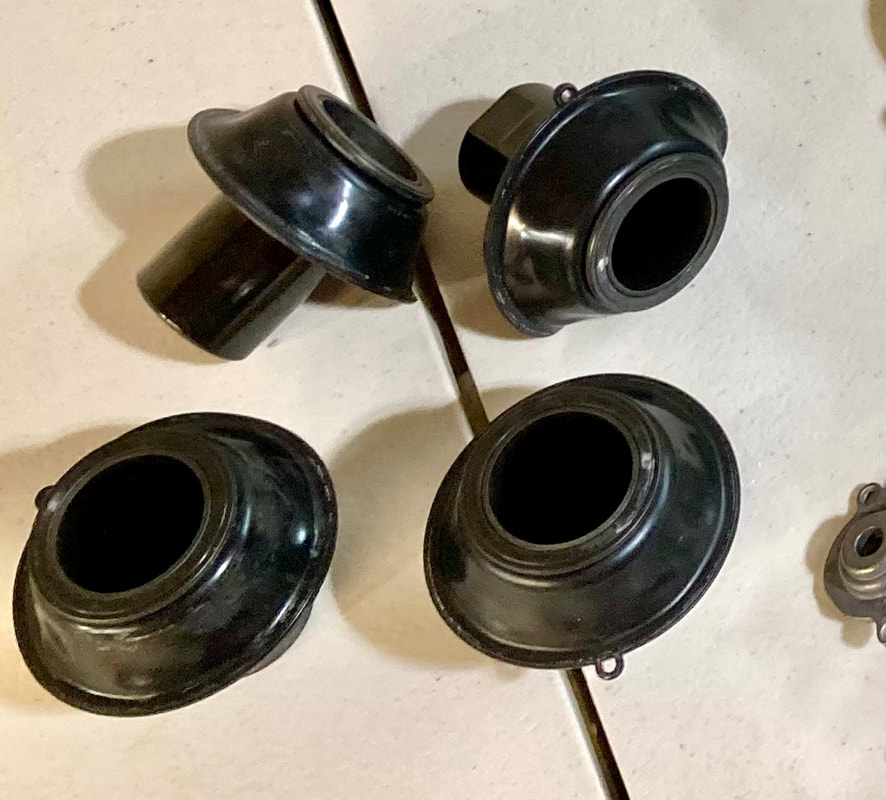
(Below) While the carb bodies and other metal parts are enjoying their ultrasonic bath I tackle the remaining parts, like the slide/diaphragms shown here. These were coated in this unknown white crusty residue which, fortunately, cleaned up well with Zep degreaser and gentle finger rubbing. I use the same cleaner on the plastic slides along with a blue non-scuff kitchen pad. I always remove the needle from the slide, but not really necessary if the needle can be cleaned sufficiently while installed, your call.

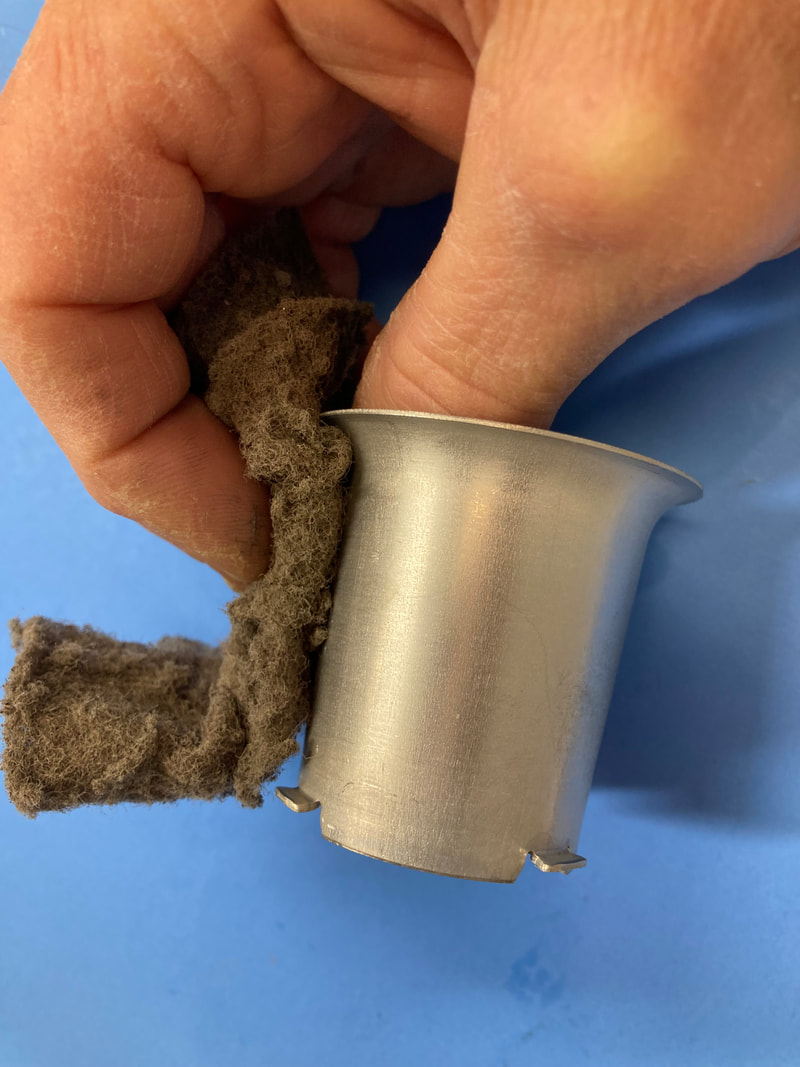
(Below) Some of the smaller parts get attention too. From left to right: The float bowl covers are hand washed, the gasket grooves scraped of residual gunk, and their new Viton gaskets fitted. The floats are cleaned as necessary, sometimes requiring a degreaser soak and scuff pad to remove varnished gas, but these cleaned easily. I also submerge the floats for several hours to test for leaks — I've never found one. I gently clean the air cut valves and coat with a thin layer of red rubber grease (Gen-3 & -4). In the center photo these parts are cleaned with fine sandpaper, like 2000-grit, and/or a brass rotary brush. Finally the aluminum velocity funnels are washed, then scuffed to a satin finish with an auto painter's scuff pad, used wet or dry.


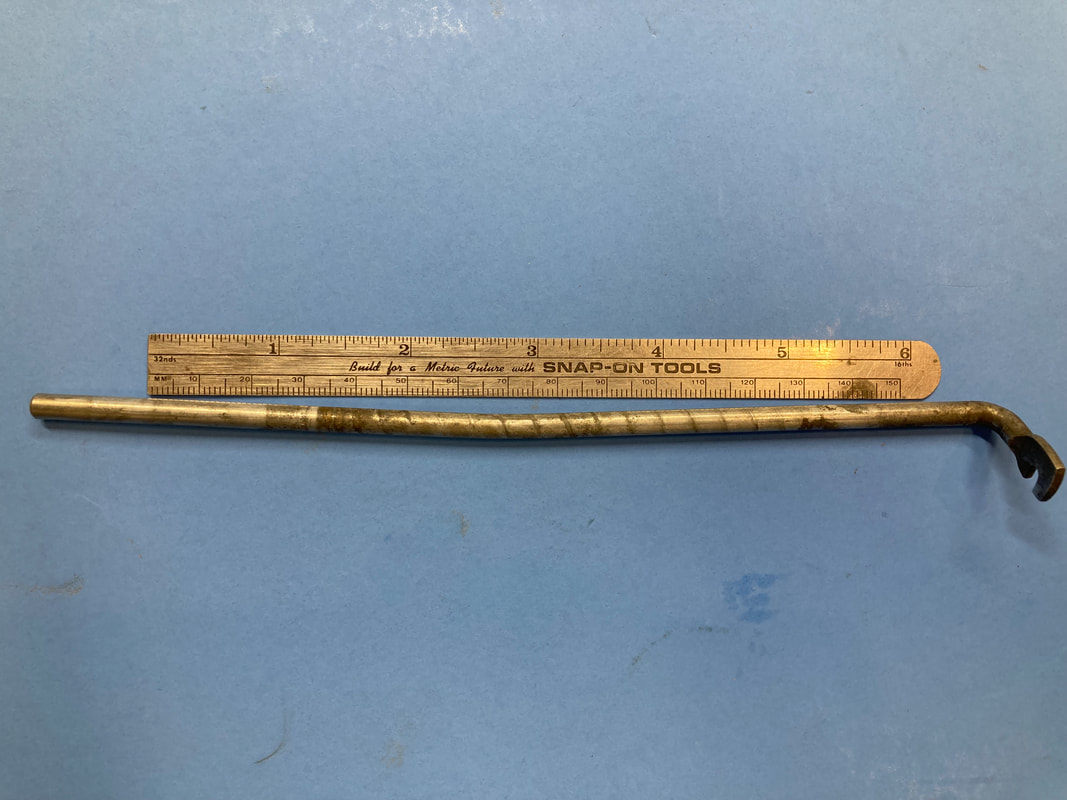
(Below) I found upon disassembly that one of the choke rods was bent, so I quickly straighten it using a straightedge for reference. Gently tapping as necessary with a brass mallet on a flat surface makes quick work of this task. Raising each end a bit helps get things nice and flat — here I'm using the rods' end brackets as shims.


(Below) Here's a collection of many of the auxilliary parts, all hand-washed. Every one of these individual parts are inspected during the cleaning process, with repairs or replacement made. This allows an easy flow into the next phase of the process — assembly.

 RSS Feed