Our old Hondas were treated to an impressive level of fit & finish…for their time. Still, there's a few areas where the factory didn't make the extra effort, one of which are the foot levers.
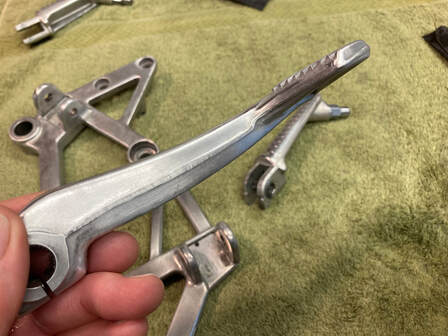
Shown here is a typical example; a 2d-gen brake lever. They're actually elegant cast aluminum pieces, but were left with a crude casting line running the perimeter. With some effort, we can finish the job.
I begin with a thorough cleaning and then attack the casting line with a selection of Dremel sanding attachments (below). Next, I hand sand with increasingly finer grades of wet sandpaper, beginning with 320 grit. When I'm happy with my progress, I decide whether to paint or polish. For paint, I've had these powder coated or simply prime/paint/clearcoat with a quality spray, like Dupli-Color engine paint. For a mirror-like finish, I polish with white rouge on the buffing wheel. The final step is to apply Sharkhide protectant to maintain the shine. Either way, you've now got a custom detail that sets your project apart.


 RSS Feed