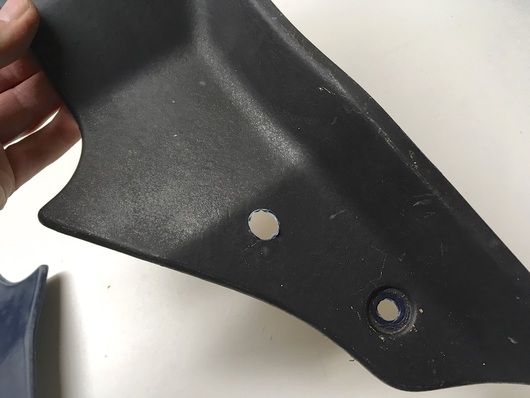
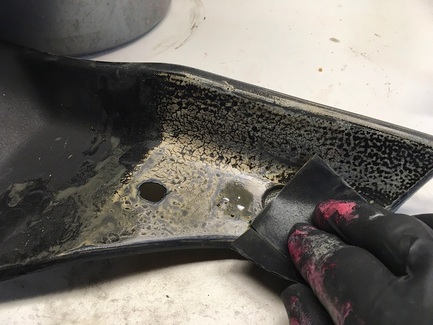
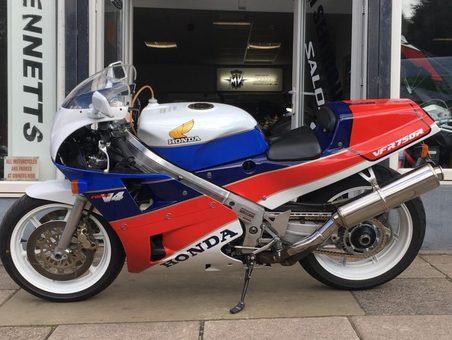
Today I began to fit bodywork to Project 14, a 1987 VFR700 F2. I was anxious to see the effect of the black accents applied to the otherwise stock red/white/blue look. Some of those accents include the wheels, front fender (still in red), mirrors (still in white) and mufflers. The wheels in particular give it a whole 'nother vibe compared to the OEM white. The front is also a larger 17-inch and the fender trimmed to a slimmer profile. The wheels have a single white pinstripe applied. The rear fender area has been cleaned up with a fender eliminator, tucked-in LED signals and the helmet lock tab eliminated along with the original turn signal mounts. The mufflers are shortened originals with one baffle chamber removed. So far I like the look and once the fender is blacked-out it should flow pretty well.
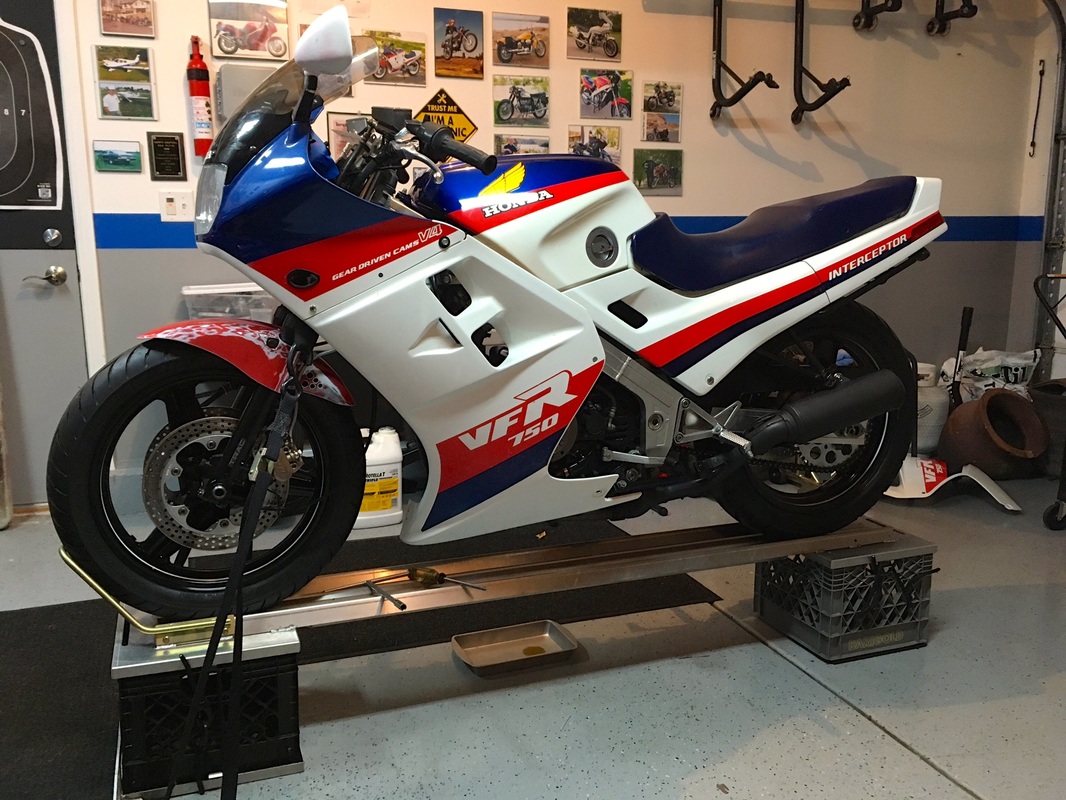
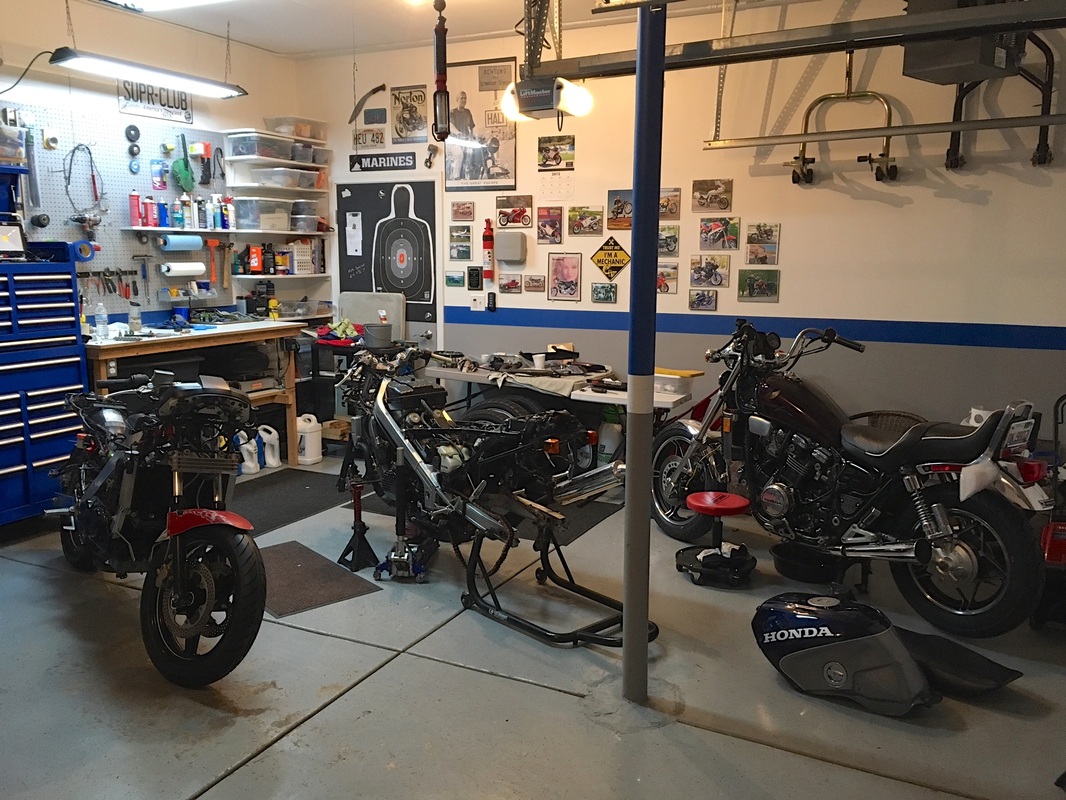
I've been asked about the work stand. I picked this up from AeroStich several years ago when it was on sale for only $100. It utilizes a pair of heavy-duty milk crates (I see the latest version uses a third in the center span) and is rated at 500 pounds. There's a ramp included, it's made of lightweight aluminum and it all breaks down to store against a wall or under a work bench. The bike is raised 11 inches off the ground, which doesn't sound like much but makes a noticeable difference. I don't have the room for a full-size motorcycle lift, so this is the next best thing. I wouldn't be without one.
Here's the Aerostich link.
Here's the Aerostich link.


 RSS Feed