|
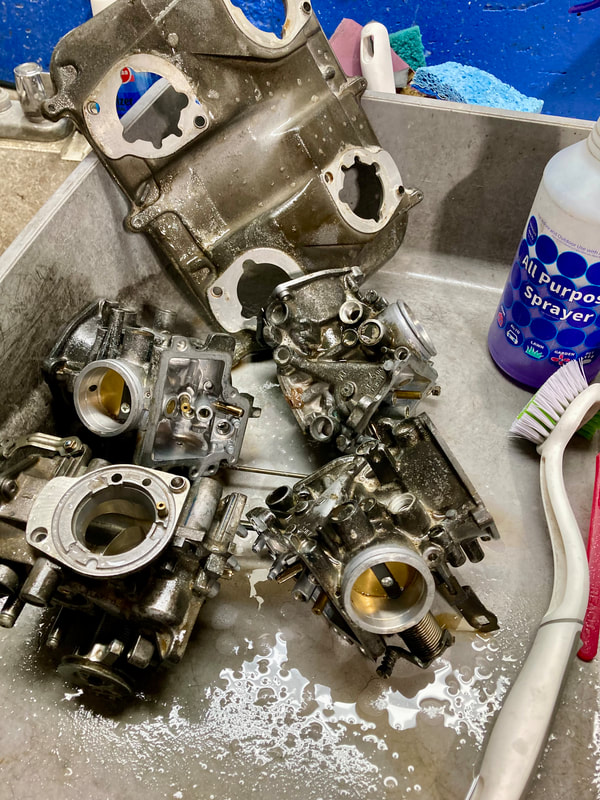
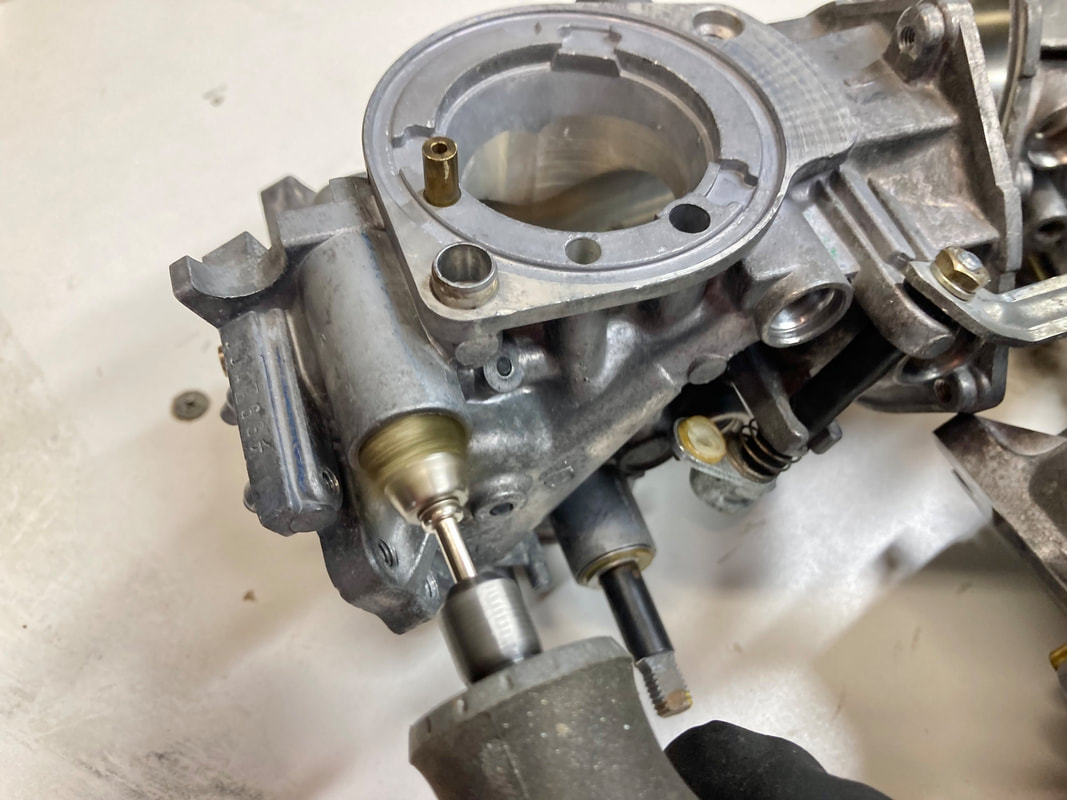
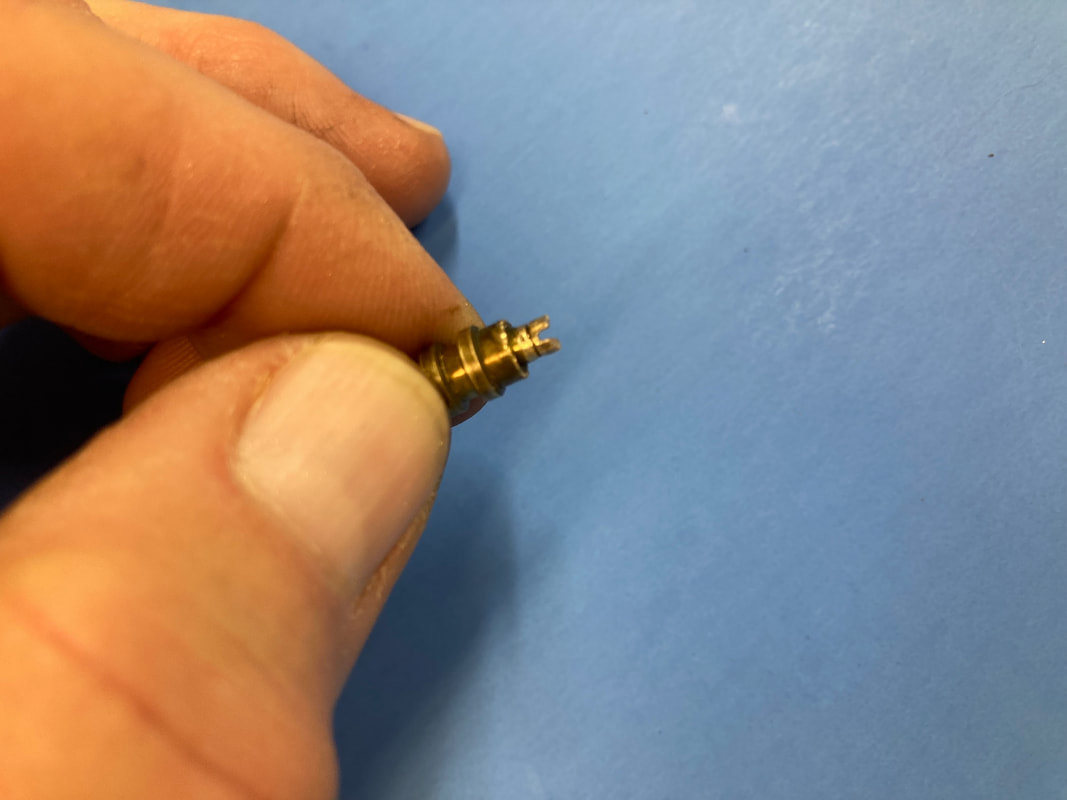
Here's a trick I learned in my aviation days. I try to reuse Honda's OEM carburetor parts when they're still serviceable, and this includes the float valve seats. These are quality brass parts and, with a little effort, will clean up nicely. But, that leaves their thin aluminum sealing washers, a unique dimension which I've never been able to source, so I'll need to reuse the old washers.
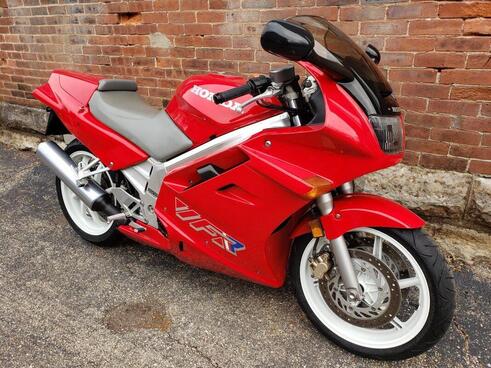
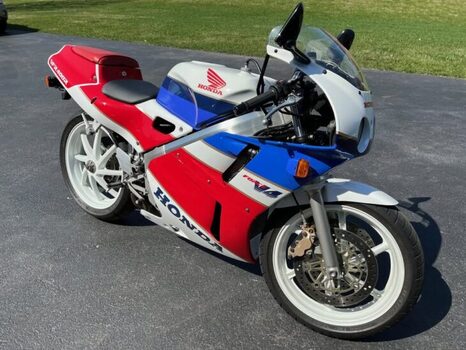
One useful property of aluminum (or copper) is its ability to be "re-softened," allowing the "crush" part of a crush washer to reappear. When metal is "worked," it naturally hardens, becoming more brittle. Torquing down a fixture, like an oil drain plug, is considered working the metal washer and it looses some of its flexibility, or softness in this case. I know…you can just torque harder and force the used washer to crush, but you also risk stripping some threads or not being successful, resulting in a leak, and a leaking float valve washer will flood the carb bowl, showing up on the garage floor. In other words, this is not somewhere we want to risk a leak. (Below) Here's a quick and simple way to bring used aluminum washers back to life. I begin with a quick cleaning using spray solvent. I then mark each washer with a permanent marker — when I add heat the mark will disappear as the aluminum reaches the correct temperature. The thin aluminum is easily overheated and will distort, rendering them useless, so the permanent marker is a handy indicator (soot from a candle flame will accomplish the same thing, but a Sharpie is handier). Using any portable small torch — here I'm using my Sondiko butane torch — evenly heat the washers on a metal surface just till the marks disappear. Remove the heat and allow to naturally cool. I heated these for about 15 seconds, so this is a quick chore. When cool, the crush washers are good as new. Some interweb experts will say to shock cool the metal in a bath of water or oil. This isn't correct for our purposes. Dousing the hot metal actually tends to harden it a bit, the opposite of our goal. Copper items use a different heat level; the metal is heated till it turns a ruddy brown, then cooled. (click on an image to enlarge) Click on image for a link to the dealer's website What: 1991 (?) VFR750F Why: Clean, original, low miles Where: Xenia, Ohio Price: $6500 Williams Vintage Cycle Company in central Ohio is offering this very original-looking Gen-3 VFR. The ad lists the bike as a 1991, but the white wheels would indicate a 1990 model. Showing only 16,086 miles, this one includes the passenger seat cowl, a hard-to-find item if missing. The dealer indicates recent maintenance is completed, the bike starts well cold or hot, everything "works as it should" and the tool kit and Haynes manual are included. I'm a little surprised to not see a center stand, as I've always assumed it was standard on all Gen-3s. A little hyperbole may be in play when the phrase "collector quality condition" is used, as there's a few imperfections visible in the photos, including what appears to be a chip on the tank's left side. That's not to take away from the bike's overall condition, which is pretty stunning, as evidenced by the beautiful original windscreen and perfect-fitting mirror covers, two common wear indicators. This example appears to be a genuine survivor, right down to the unmolested rear fender, almost never found intact after 30+ years. Taken altogether, the asking price of $6500 is at the top of the market, but so is the bike. Any classic bike enthusiast should be proud to roll up on this beauty. Click on image for the FB M'place ad What: 1989 VFR400R (NC30) Why: Very nice original example Where: Crystal Lake, Illinois Price: $16,000 This lovely first-year NC30 is hiding 45 minutes from the sprawling V4 Dreams campus, tucked away as a display piece. There's not much for details in the Marketplace ad, but it's a Japanese import with a current Illinois title, the odometer shows 11,200 miles and this '89 model sports its big brother's RC30 paint scheme. This is the final model in the VFR400R lineage, evolving into the updated RVF400R NC35 in 1994. If your stature and flexibility fit the more compact dimensions of the NC bikes, these are competent and useable street bikes…and look great to boot. I happened across a photo of a 1990 Ducati the other day and was struck by how closely it resembles the 1990 Honda VFR. I realize styles follow trends, but it sure looks like someone was admiring someone else's design.
Click on image for the Iconic link SOLD: $11,128 This exceptional 1983 VF750F Interceptor sold earlier this month on Iconic Motorbikes Auctions for an impressive $10,400 + buyers fee. The bike is a Euro-spec example (note the gold wheels), was reportedly imported when new, has a California title and shows only 267 miles! The photos show a high level of originality and condition, with some expected patina creeping through after 42 years as a display piece. Recent maintenance has brought it back to operational status, with the odd omission of mounting new tires (original tires are sometimes left on collectible bikes, but these are not originals). Often cited as the first modern Superbike — near-stock examples won eight of the fourteen AMA Nationals in 1983 — this is an important Honda, especially to us V4 fans. It probably belongs in a museum but I hope its new caretaker isn't afraid to add some miles…on fresh rubber. November 11 is Veterans Day—a day to honor and remember the bravery, contributions, and sacrifices of the members of our armed services who have defended us so ably, who have run toward danger rather than away from it, and helped to sustain our freedom through their courage and service.
Yes, you can thank a veteran for your freedom. On November 11, be sure to show our veterans that you respect their years of service and commitment to this country. Salute them, in your own way, on Veterans Day. From The Archives: November 2022 The space vehicle we call Earth has tilted once again, reducing Mother Sun's effective calefaction to those of us on the top half of the globe…in other words, winter us upon us, and here in America's snow belt, that translates into some five months of motorbike hibernation.
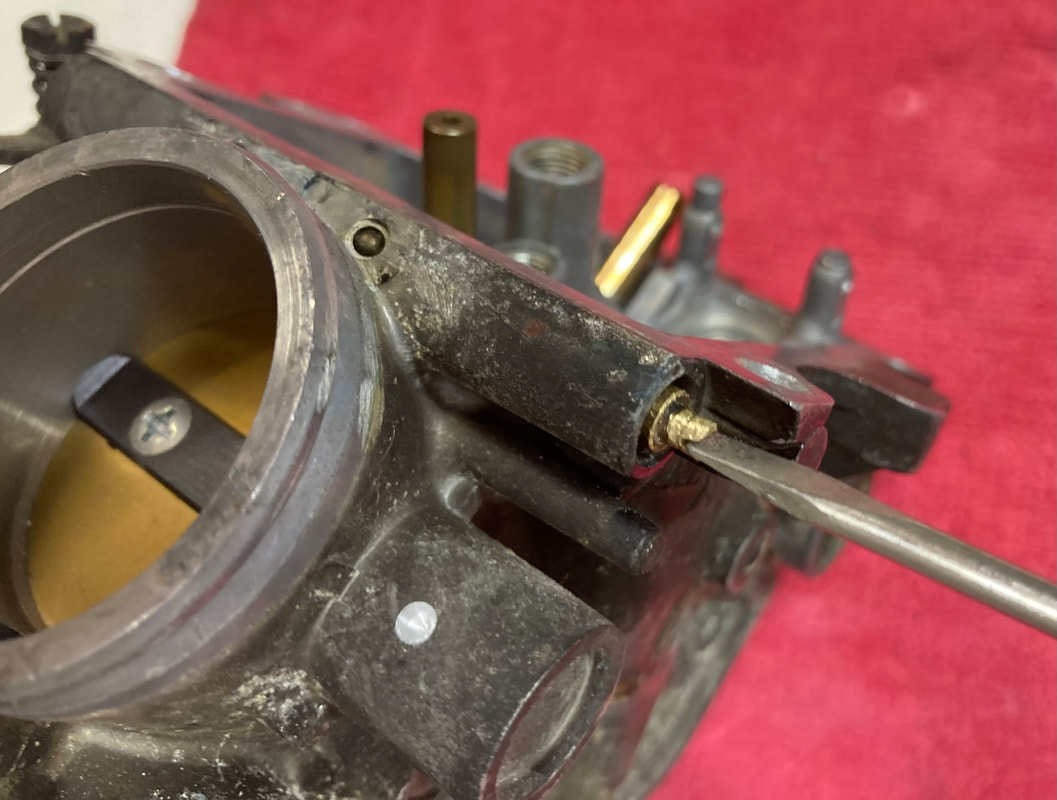
Machines don't respond well to disuse, but there's at least one common storage misconception that we need to heed, and that's the fallacy that running an engine during storage is somehow "good" for the machine. It is not, and the photo above is graphic proof. What we're looking at is an amazing window into the innards of a 1986 VFR750F (Project 38), thanks to Sebspeed's modified clutch cover. What we see is a huge accumulation of moisture created when a cold engine has been run for the first few minutes after startup. What we don't see is the production of acids created by the incomplete combustion process, due to the cold engine's need for a rich fuel setting and those gasses slipping past the not-yet-expanded cylinders and rings. Note that by "cold" I mean any ambient temperature — not just the cold months. This photo was taken on a warm summer day. This situation took 20 minutes of running in order to heat the engine's interior to the point where the excess moisture finally evaporated and the window cleared. When a well-meaning owner starts his engine every few weeks and idles it for several minutes this is what he or she is producing. The inside surfaces of the crankcase are awash in this water and acid soup, and when it's shut down the corrosion of aluminum and steel parts begins — bearings, gears, camshafts, etc. A stored engine does not need this exercise, but if you insist on making yourself feel better by running your stored engine, then it must be taken on the road for at least 20 minutes of normal riding to effectively dissipate this stuff. If not, you're doing more harm than good. And, speaking of acids, remember that used motor oil holds suspended combustion acids. These too will spend the winter months eating away at your engine's internal bits. That's why engine oil should be changed at the END of the riding season, NOT the beginning. Be considerate of our machine's needs; when the warmth returns we will be rewarded with a willing and able riding companion. Yesterday I deferred to Mother Nature in the face of our changing seasons, sneaking a final ride on a beautiful sunny day in preparation for winter storage. My '93 VFR seemed to appreciate the gesture, running splendidly in the cool, dry air and handling my local twisties with smoothness and confidence. I realize that personifying machines is just a human foible, but those of us who relate to mechanical devices know how real it feels. With the engine warmed, last season's oil drained easily, followed by screwing on a new HiFlo Filtro HF303 and the oddly gratifying addition of fresh Honda GN-4 10w40 — speaking of, I was shocked to find my dealer's oil price had grown to $37 from my last purchase of $25! Tariffs? Inflation? Price gouging? With fewer than 1000 miles accumulated over the season, my additional checks went smoothly; chain clean/lube, check the hydraulic fluids and apply a coat of instant detailer. I had already filled the tank on my previous ride with ethanol-free fuel with added stabilizer, so no worries there. A final check of the tire pressures and I think she's ready for a winter's sleep. A reader recently asked a simple but important question regarding the best way to remove carburetor jets. It's a simple question because they're just flat blade screwdriver compatible, but important because if you manage to break off the soft brass ears you're left with a chore that may not end well. I learned this the hard way years ago when both the pilot and main jets refused to move and I managed to damage them to the point of rendering that carb body into junk. Since I began using this simple technique I've never had another issue. The most important thing is to have a screwdriver blade that fits properly—not loose and definitely not so tight that it won't bottom out in the groove--it must bottom in the groove. Search your screwdriver collection, or a multi-purpose screwdriver like the one pictured often has a blade to fit large and small jet sizes. Next, my technique is to fit the blade squarely in the groove, not tilted side-to-side or front-to-back, really grab the handle, push down hard onto the jet, then give a quick and forceful "snap" to break the jet loose. You may only have one or two chances to get it right, so take your time to be square in the jet's groove. If a jet still refuses to budge, rather than force it to the point of breaking, I will soak the threads in parts penetrant overnight and then add heat from a small butane torch and try again. If you're in the unfortunate circumstance of having a broken jet, you can try to cut a new screwdriver groove with a Dremel tool or grab with a small vise grip or, as a last resort, carefully drill out the jet with successively larger bits until the remaining threads (hopefully) twist free. FOR QUICK REFERENCE
|
THE SHOP BLOG
|


RSS Feed